Upgrading To Windows 11: A Comprehensive Guide
Upgrading to Windows 11: A Comprehensive Guide
Related Articles: Upgrading to Windows 11: A Comprehensive Guide
Introduction
In this auspicious occasion, we are delighted to delve into the intriguing topic related to Upgrading to Windows 11: A Comprehensive Guide. Let’s weave interesting information and offer fresh perspectives to the readers.
Table of Content
Upgrading to Windows 11: A Comprehensive Guide
Windows 11, the latest iteration of Microsoft’s popular operating system, offers a range of new features and improvements designed to enhance the user experience. Whether you’re a casual user or a tech enthusiast, upgrading to Windows 11 can bring about significant benefits. This guide provides a comprehensive overview of the upgrade process, its advantages, and essential considerations.
Understanding the Upgrade Process
Upgrading to Windows 11 involves replacing your existing operating system with the latest version. This process can be performed in two primary ways:
- Clean Installation: This method involves erasing your hard drive and installing Windows 11 from scratch. This ensures a fresh system with no leftover files or settings from the previous operating system.
- In-Place Upgrade: This method allows you to upgrade your existing Windows 10 installation to Windows 11 while retaining your personal files, applications, and settings.
System Requirements and Compatibility
Before attempting an upgrade, it’s crucial to ensure your computer meets the minimum system requirements for Windows 11. These include:
- Processor: 1 gigahertz (GHz) or faster with 2 or more cores
- RAM: 4 gigabytes (GB)
- Storage: 64 GB or larger storage device
- Graphics Card: Compatible with DirectX 12 or later, WDDM 2.x driver
- Display: High definition (720p) display with a minimum resolution of 1366 x 768 pixels
Benefits of Upgrading to Windows 11
Upgrading to Windows 11 offers several advantages, including:
- Enhanced Security: Windows 11 features improved security measures, including enhanced threat protection, hardware-based security features, and regular updates to address vulnerabilities.
- Improved Performance: Windows 11 is optimized for modern hardware, resulting in faster boot times, improved application performance, and smoother multitasking.
- New User Interface: Windows 11 boasts a redesigned user interface with a simplified Start menu, rounded corners, and a more modern aesthetic.
- Enhanced Gaming Experience: Windows 11 includes features specifically designed to enhance gaming performance, such as DirectX 12 Ultimate support, Auto HDR, and Xbox Game Pass integration.
- Improved Focus and Productivity: Features like Focus Assist and Snap Layouts help users minimize distractions and enhance productivity.
Preparing for the Upgrade
Before initiating the upgrade process, it’s essential to prepare your system to ensure a smooth transition:
- Back Up Your Data: Create a backup of your important files, including documents, photos, and other essential data. This will safeguard your data in case of any unexpected issues during the upgrade.
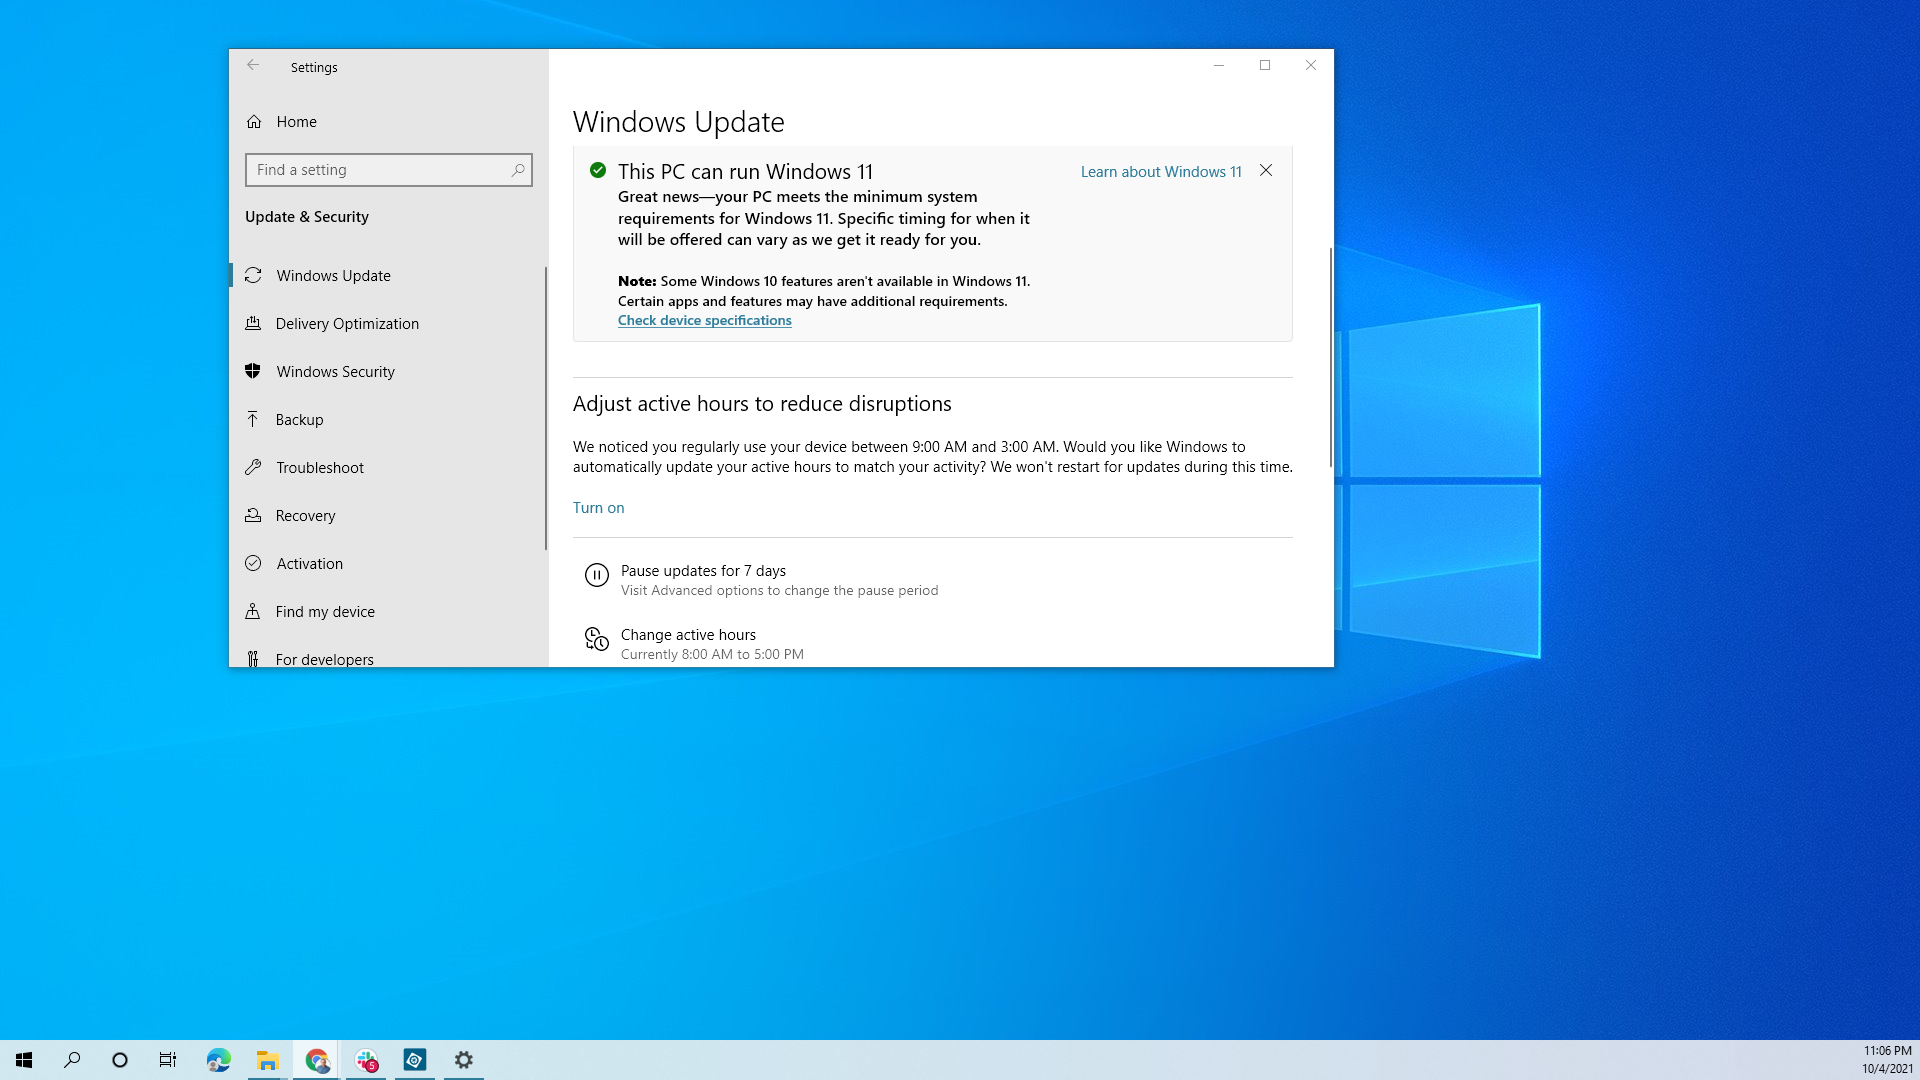
- Check for Compatibility: Verify that your hardware and software are compatible with Windows 11. This can be done by using Microsoft’s PC Health Check app.
- Update Your Drivers: Ensure that your device drivers are up to date. Outdated drivers can cause compatibility issues during the upgrade process.
- Uninstall Unnecessary Programs: Remove any unused programs or applications to free up storage space and improve performance.
Upgrading to Windows 11: Step-by-Step Guide
The upgrade process can vary depending on the chosen method. Here’s a general guide for both clean installation and in-place upgrade:
Clean Installation:
- Create a Bootable USB Drive: Download the Windows 11 installation media from Microsoft’s website and create a bootable USB drive.
- Boot from USB Drive: Restart your computer and boot from the USB drive.
- Follow On-Screen Instructions: The installation process will guide you through the steps, including selecting language, region, and partition.
- Format the Hard Drive: Choose to format the hard drive to ensure a clean installation.
- Install Windows 11: Wait for the installation process to complete.
- Configure Windows 11: After installation, configure your settings and personalize your system.
In-Place Upgrade:
- Check for Updates: Ensure that your Windows 10 system is up to date by checking for available updates.
- Download Windows 11: Download the Windows 11 setup file from Microsoft’s website.
- Run the Setup File: Run the setup file and follow the on-screen instructions.
- Accept the License Terms: Read and accept the license terms.
- Choose the Upgrade Option: Select the option to keep personal files and apps during the upgrade.
- Wait for Installation: Allow the upgrade process to complete.
Troubleshooting Common Issues
During the upgrade process, you may encounter some common issues:
- Insufficient Disk Space: Ensure you have enough free space on your hard drive to accommodate Windows 11.
- Incompatible Hardware or Software: Check for compatibility issues with your hardware or software and update drivers if necessary.
- Installation Errors: If you encounter errors during installation, try restarting the process or seeking assistance from Microsoft support.
Frequently Asked Questions
Q: Is it safe to upgrade to Windows 11?
A: Yes, upgrading to Windows 11 is generally safe if you follow the recommended steps and ensure your system meets the minimum requirements.
Q: Will I lose my data during the upgrade?
A: If you choose the in-place upgrade method, you can retain your personal files and applications. However, it’s always recommended to back up your data before upgrading.
Q: Can I downgrade back to Windows 10 after upgrading?
A: Yes, you can downgrade back to Windows 10 within 10 days of upgrading to Windows 11. However, this will erase all data and settings installed on Windows 11.
Q: What are the minimum system requirements for Windows 11?
A: Refer to the system requirements mentioned earlier in this guide.
Q: What if my computer doesn’t meet the minimum requirements?
A: If your computer doesn’t meet the minimum requirements, you may not be able to upgrade to Windows 11. You can consider purchasing a new computer or upgrading your existing hardware.
Tips for a Smooth Upgrade
- Check for compatibility before upgrading.
- Back up your data before starting the upgrade process.
- Ensure you have enough free disk space.
- Update your drivers to the latest versions.
- Disable antivirus software during the upgrade process.
- Restart your computer after the upgrade is complete.
Conclusion
Upgrading to Windows 11 can offer significant benefits, including enhanced security, improved performance, and a modernized user interface. By following the recommended steps and addressing potential issues, you can ensure a smooth and successful upgrade experience. Remember to back up your data, check compatibility, and update drivers before initiating the upgrade process.


Closure
Thus, we hope this article has provided valuable insights into Upgrading to Windows 11: A Comprehensive Guide. We hope you find this article informative and beneficial. See you in our next article!
Leave a Reply