Understanding Disk Partitions In Windows 11: A Comprehensive Guide
Understanding Disk Partitions in Windows 11: A Comprehensive Guide
Related Articles: Understanding Disk Partitions in Windows 11: A Comprehensive Guide
Introduction
With great pleasure, we will explore the intriguing topic related to Understanding Disk Partitions in Windows 11: A Comprehensive Guide. Let’s weave interesting information and offer fresh perspectives to the readers.
Table of Content
Understanding Disk Partitions in Windows 11: A Comprehensive Guide
In the realm of computer operating systems, Windows 11 is a sophisticated platform that empowers users with a multitude of features and functionalities. Among these capabilities, the concept of disk partitioning plays a pivotal role in managing storage space effectively and organizing data efficiently. This comprehensive guide delves into the intricacies of disk partitions in Windows 11, providing a clear understanding of their importance, benefits, and practical applications.
The Fundamentals of Disk Partitions
A disk partition is essentially a logical division of a physical storage device, such as a hard drive or solid-state drive (SSD). Imagine a hard drive as a vast expanse of land, and disk partitions as carefully demarcated plots within it. Each partition functions as an independent storage unit, allowing you to allocate specific sections of your storage space for different purposes.
Why Partition Your Drive?
The practice of partitioning a drive offers several advantages that enhance the organization and performance of your Windows 11 system:
-
Enhanced Data Organization: By dividing your storage space into partitions, you can create dedicated areas for different types of data. For example, you might designate one partition for the operating system and applications, another for user files, and a third for backups. This structured approach helps maintain order and prevents data from becoming cluttered.
-
Improved Security: Partitions provide a layer of security by isolating data. If one partition encounters a problem, such as a virus infection or system failure, the other partitions remain unaffected. This isolation helps protect critical data from potential damage or loss.
-
Optimized Performance: Allocating specific partitions for different purposes can improve system performance. For instance, assigning a dedicated partition to the operating system can speed up boot times and application launches, while reserving another partition for frequently accessed user files can enhance data retrieval speeds.
-
Dual Boot Configurations: Partitioning allows you to install multiple operating systems on a single drive, enabling you to switch between them as needed. This feature is particularly useful for users who require both Windows and another operating system, such as Linux, for specific tasks or development purposes.
Types of Partitions in Windows 11
Windows 11 supports several types of partitions, each serving a specific purpose:
-
Primary Partition: This is the most common type of partition, serving as the primary storage area for the operating system, applications, and user data. A hard drive can have up to four primary partitions.
-
Extended Partition: An extended partition acts as a container for logical partitions. It cannot be used directly for data storage but serves as a framework for creating multiple logical partitions within it.
-
Logical Partition: A logical partition is created within an extended partition. It functions as a separate storage unit but is dependent on the extended partition for its existence. You can create numerous logical partitions within an extended partition.
-
System Partition: This partition houses the operating system’s boot files and essential system components. It is typically a small partition, often designated as the "EFI System Partition" in Windows 11.
-
Recovery Partition: This partition contains system recovery tools and images that allow you to restore your system to its original state in case of problems.
Creating and Managing Partitions in Windows 11
Windows 11 provides built-in tools for managing disk partitions, allowing you to create, delete, format, and resize them as needed. Here’s a step-by-step guide on how to create a partition in Windows 11:
-
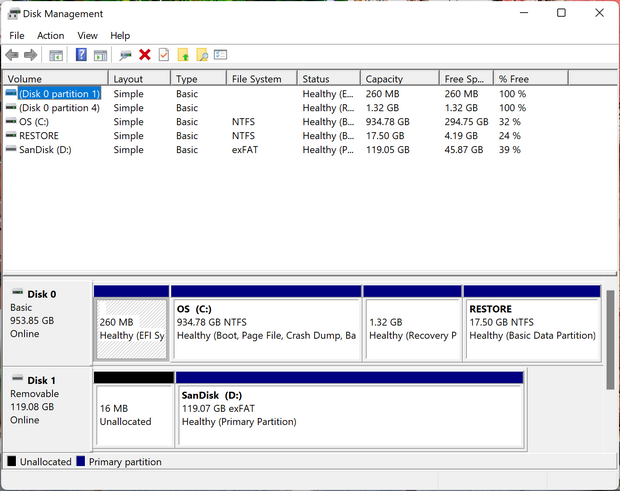
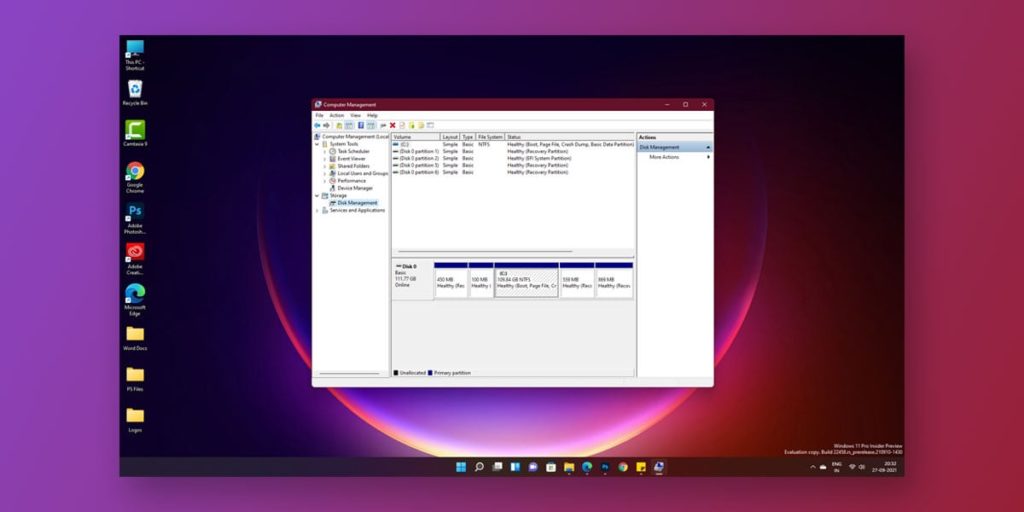
Open Disk Management: Press the Windows key + X and select "Disk Management" from the menu.
-
Identify the Disk: In the Disk Management window, locate the drive you want to partition. It will be listed as a physical disk with its capacity and current partitions.
-
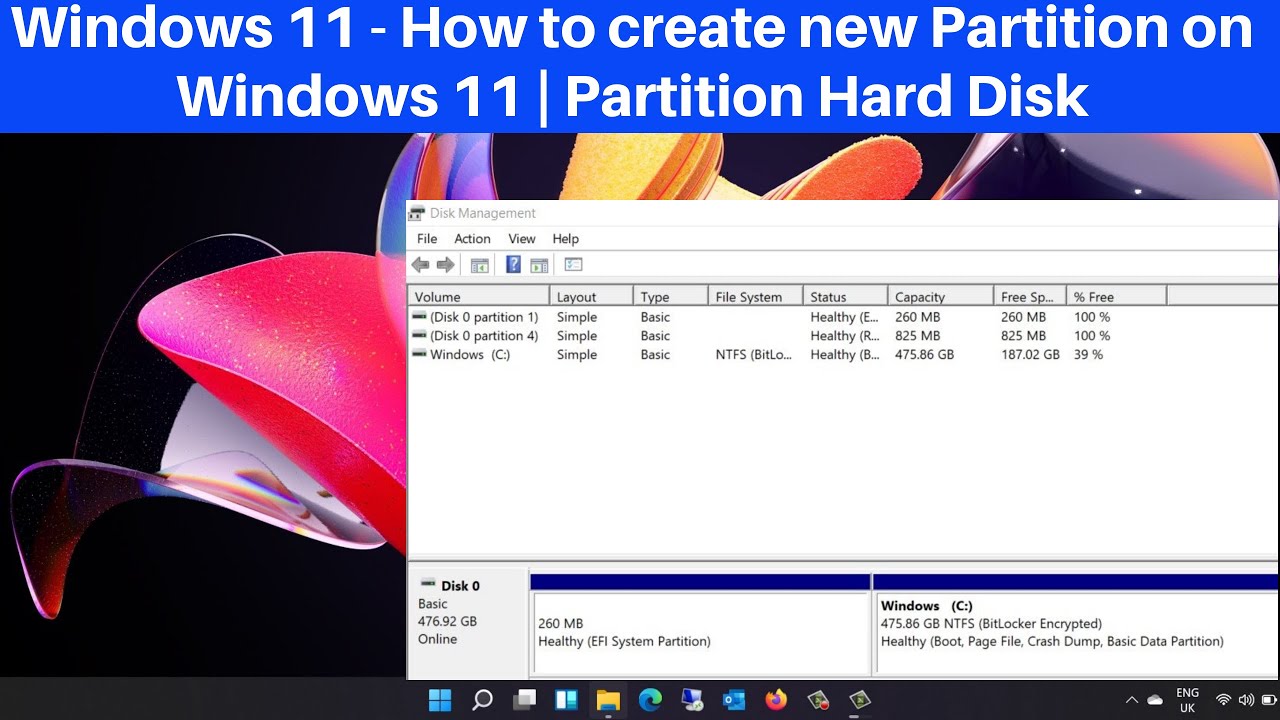
Create a New Partition: Right-click on the unallocated space on the drive and select "New Simple Volume."
-
Configure the Partition: Follow the wizard prompts to specify the size of the new partition, assign a drive letter, and choose a file system (usually NTFS for Windows).
-
Format the Partition: Once the partition is created, format it to prepare it for use.
Tips for Partitioning Your Drive
-
Plan Ahead: Before partitioning your drive, carefully consider the size and purpose of each partition. Allocate sufficient space for the operating system, applications, and user files.
-
Back Up Your Data: Before making any changes to your disk partitions, ensure you have a complete backup of your data. This precaution safeguards your valuable information in case of unforeseen issues.
-
Use Disk Management Carefully: The Disk Management tool is powerful, but it can be complex. Exercise caution when making changes to your partitions, as incorrect actions can lead to data loss.
-
Consider Third-Party Tools: While Windows 11 provides built-in tools for partition management, several third-party applications offer more advanced features and user-friendly interfaces.
Frequently Asked Questions (FAQs)
Q1: Can I partition an external drive in Windows 11?
A: Yes, you can partition external drives in Windows 11 using the same methods described above.
Q2: What are the best practices for partitioning a drive?
A: Allocate sufficient space for the operating system, applications, and user files. Consider creating separate partitions for different purposes to enhance organization and security.
Q3: Can I convert a logical partition to a primary partition?
A: No, you cannot directly convert a logical partition to a primary partition. However, you can delete the logical partition and create a new primary partition in its place.
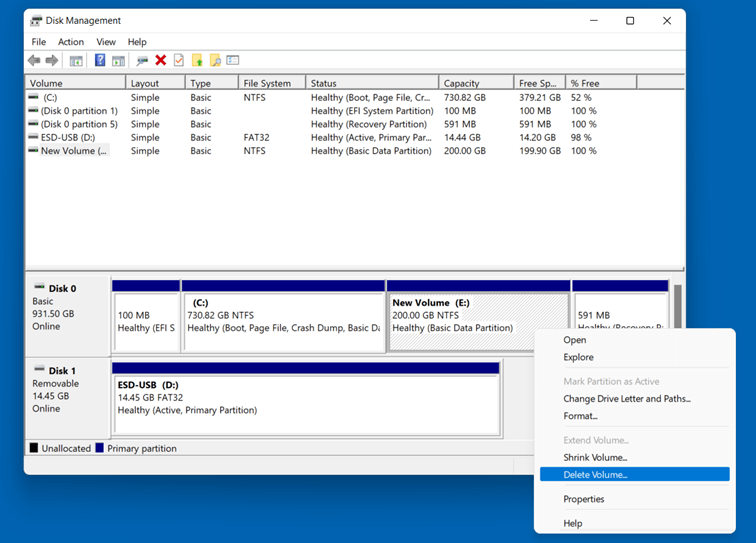
Q4: What happens if I delete a partition?
A: Deleting a partition removes all data stored within it. Ensure you have a backup of any critical data before deleting a partition.
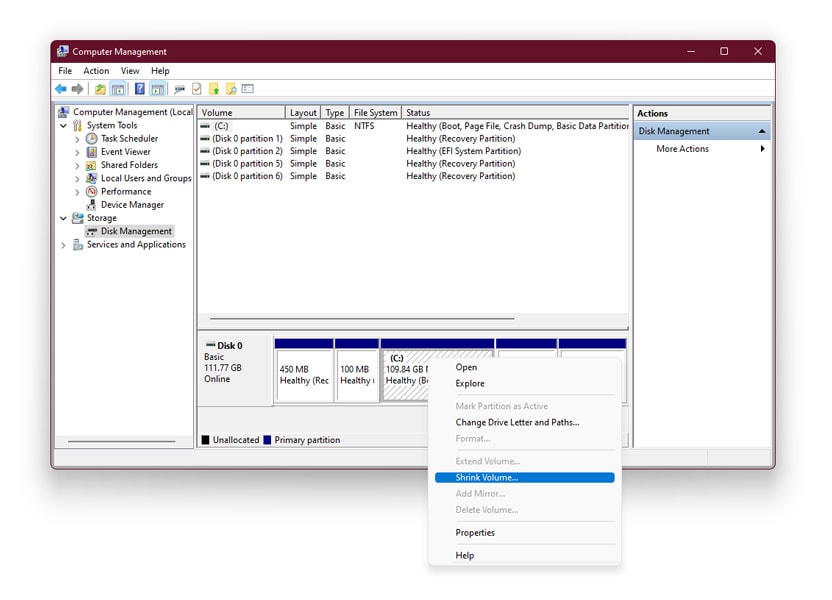
Q5: Can I resize a partition without losing data?
A: Yes, Windows 11 allows you to resize partitions without losing data using the built-in Disk Management tool. However, it’s always recommended to back up your data before making any changes to your partitions.
Conclusion
Disk partitioning in Windows 11 is a fundamental aspect of storage management that offers numerous benefits. By dividing your storage space into logical units, you can enhance data organization, improve security, optimize performance, and even create dual boot configurations. Understanding the concepts and techniques of disk partitioning empowers you to manage your storage space effectively and optimize your Windows 11 experience. Remember to approach partitioning with caution, back up your data before making any changes, and utilize the appropriate tools for a seamless and successful process.

:max_bytes(150000):strip_icc()/002_how-to-partition-a-hard-drive-2626081-5c82c62d46e0fb00010f10b6.jpg)
![Windows 11 - How to Partition Hard Drives [Tutorial] - YouTube](https://i.ytimg.com/vi/C65AA9V2lpU/maxresdefault.jpg)

Closure
Thus, we hope this article has provided valuable insights into Understanding Disk Partitions in Windows 11: A Comprehensive Guide. We thank you for taking the time to read this article. See you in our next article!
Leave a Reply