Understanding And Managing Windows 10’s Start Menu: A Comprehensive Guide
Understanding and Managing Windows 10’s Start Menu: A Comprehensive Guide
Related Articles: Understanding and Managing Windows 10’s Start Menu: A Comprehensive Guide
Introduction
With great pleasure, we will explore the intriguing topic related to Understanding and Managing Windows 10’s Start Menu: A Comprehensive Guide. Let’s weave interesting information and offer fresh perspectives to the readers.
Table of Content
Understanding and Managing Windows 10’s Start Menu: A Comprehensive Guide
The Windows 10 Start menu serves as a central hub for accessing applications, settings, and system information. While its functionality is extensive, users may encounter scenarios where specific elements, such as pinned items, need to be adjusted. This article delves into the intricacies of managing the Windows 10 Start menu, focusing on the process of removing pinned items.
The Importance of Start Menu Management
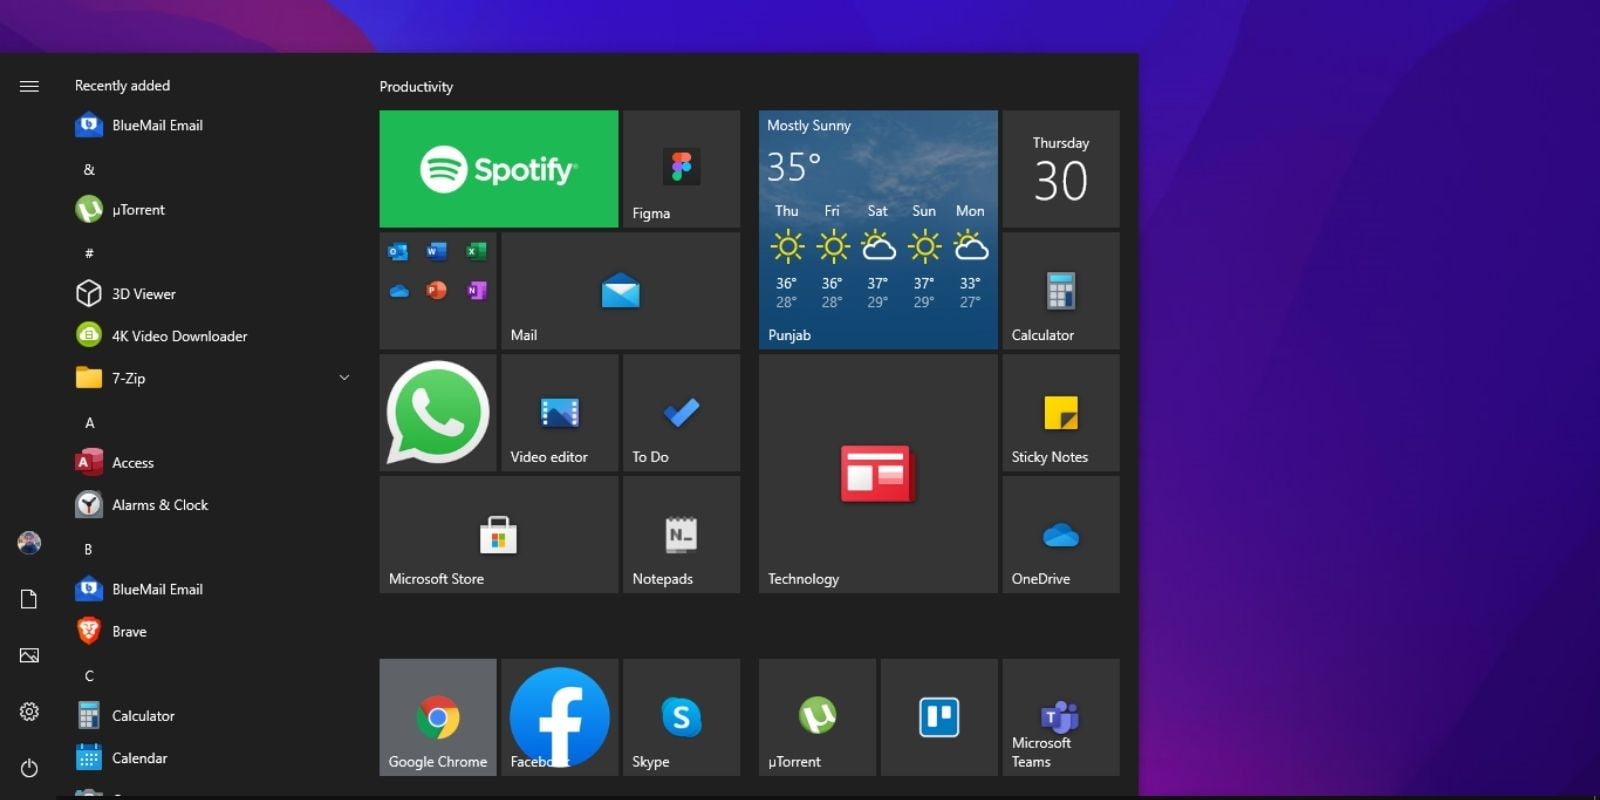
The Windows 10 Start menu, despite its user-friendly design, can become cluttered over time. Pinned items, while initially convenient, can accumulate, obscuring frequently used applications and hindering efficient navigation. This clutter can lead to frustration, reduced productivity, and a less intuitive user experience.
Understanding Pinned Items
Pinned items in the Start menu are shortcuts to applications, files, or folders. These shortcuts provide quick access to frequently used resources. While this functionality is valuable, it’s crucial to maintain a balance between accessibility and organization.
Removing Pinned Items: A Step-by-Step Guide
To remove pinned items from the Windows 10 Start menu, follow these steps:
-
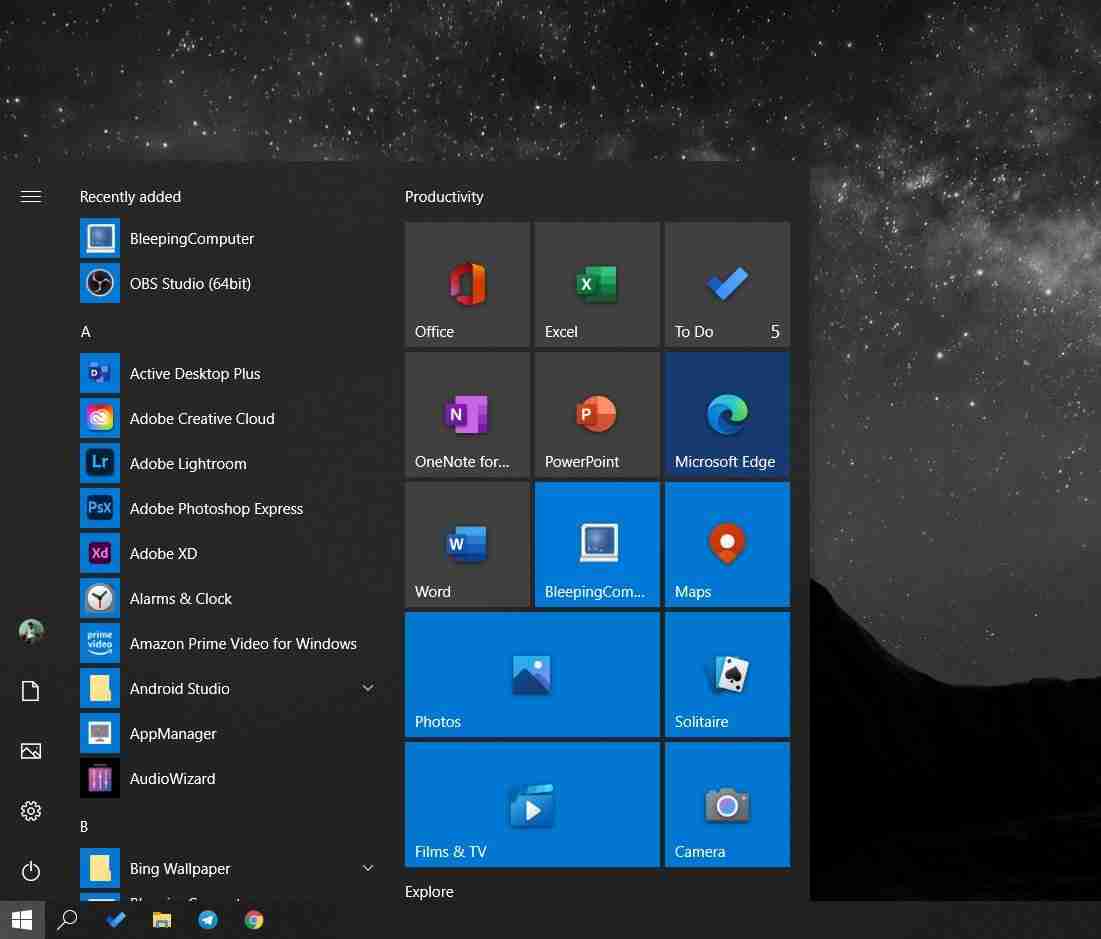
Locate the Pinned Item: Open the Start menu and navigate to the pinned item you wish to remove. It could be an application, a file, or a folder.
-
Right-Click the Item: Right-click the pinned item. A context menu will appear.
-
Select "Unpin from Start": In the context menu, choose the option "Unpin from Start."
-
Confirm Removal: The pinned item will be immediately removed from the Start menu.
Alternative Methods for Removing Pinned Items
While the right-click method is straightforward, alternative methods can be employed to manage pinned items:
-
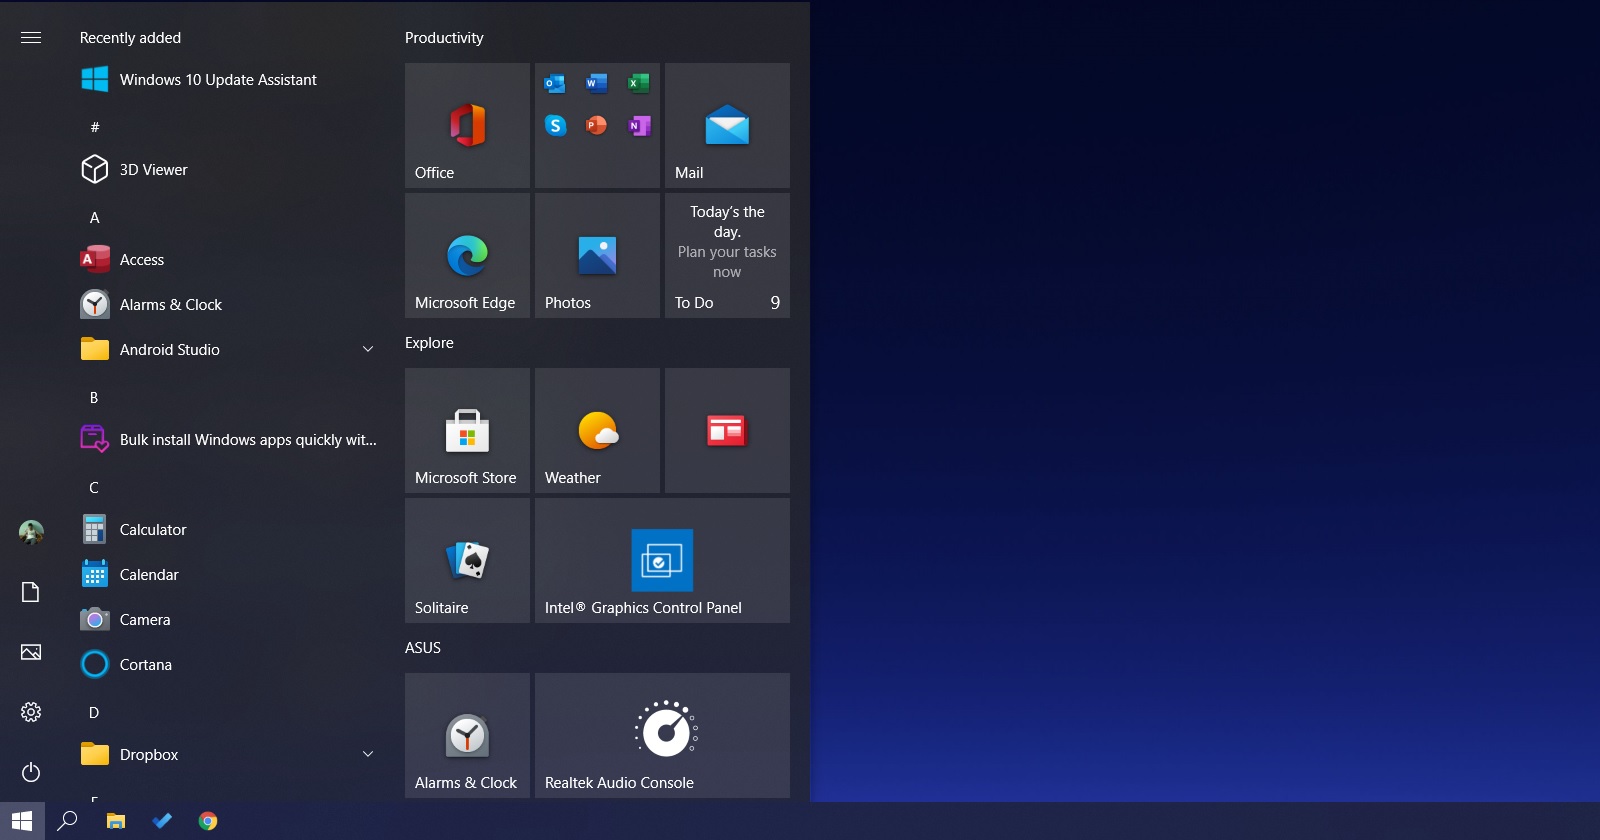
Using the "All Apps" List: Access the "All Apps" list by clicking the arrow icon in the bottom left corner of the Start menu. Locate the pinned item within the list and right-click it. Select "Unpin from Start."
-
Using the Settings App: Navigate to the "Start" settings within the Settings app. In the "Start" settings, locate the "Pinned to Start" section. Click the "Unpin" button next to the desired item.
Benefits of Removing Pinned Items
Removing unnecessary pinned items from the Windows 10 Start menu offers several benefits:
-
Enhanced Organization: A decluttered Start menu promotes a more organized and efficient user experience.
-
Improved Navigation: With fewer items cluttering the Start menu, navigation becomes smoother and faster.
-
Increased Productivity: A streamlined Start menu reduces distractions and improves focus, leading to increased productivity.
-
Personalized User Experience: Users can personalize their Start menu by removing items that are no longer relevant or frequently used.
Frequently Asked Questions
Q: Can I remove all pinned items at once?
A: Currently, there is no built-in option to remove all pinned items simultaneously. However, you can use third-party software or manually unpin each item individually.
Q: Will removing pinned items delete the original files or applications?
A: No, removing pinned items from the Start menu only removes the shortcut, not the original file or application.
Q: Can I pin items back to the Start menu after removing them?
A: Yes, you can easily pin items back to the Start menu by right-clicking the desired item and selecting "Pin to Start."
Tips for Managing the Start Menu
-
Regularly Review Pinned Items: Make a habit of reviewing pinned items periodically and removing those that are no longer relevant or frequently used.
-
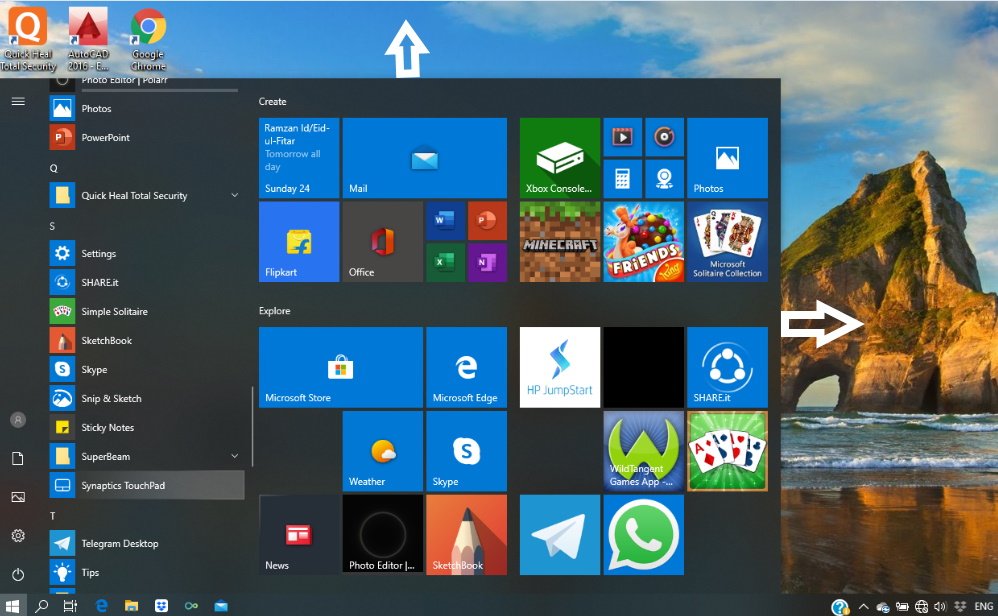
Utilize the "All Apps" List: The "All Apps" list offers a comprehensive view of all installed applications, making it easier to find and pin specific items.
-
Consider Third-Party Tools: Several third-party tools are available that offer advanced Start menu management features, such as batch pinning and unpinning.
Conclusion
Managing the Windows 10 Start menu, specifically removing pinned items, is essential for maintaining a streamlined and efficient user experience. By decluttering the Start menu and removing unnecessary shortcuts, users can enhance organization, improve navigation, and boost productivity. By following the steps outlined in this guide and implementing the provided tips, users can effectively manage their Start menu and create a personalized and user-friendly environment.


Closure
Thus, we hope this article has provided valuable insights into Understanding and Managing Windows 10’s Start Menu: A Comprehensive Guide. We appreciate your attention to our article. See you in our next article!
Leave a Reply