Understanding And Adjusting Overscan In Windows 10
Understanding and Adjusting Overscan in Windows 10
Related Articles: Understanding and Adjusting Overscan in Windows 10
Introduction
With enthusiasm, let’s navigate through the intriguing topic related to Understanding and Adjusting Overscan in Windows 10. Let’s weave interesting information and offer fresh perspectives to the readers.
Table of Content
- 1 Related Articles: Understanding and Adjusting Overscan in Windows 10
- 2 Introduction
- 3 Understanding and Adjusting Overscan in Windows 10
- 3.1 Overscan: A Historical Context and Modern Implications
- 3.2 Identifying and Addressing Overscan in Windows 10
- 3.3 The Importance of Overscan Adjustment: Benefits and Applications
- 3.4 Frequently Asked Questions (FAQs)
- 3.5 Tips for Adjusting Overscan in Windows 10
- 3.6 Conclusion
- 4 Closure
Understanding and Adjusting Overscan in Windows 10
![Overscaling Or Overscan in Windows 10 and Windows 11 [Fixed]](https://www.techcommuters.com/wp-content/uploads/2021/05/4.-Display-adapter-properties-1024x576.jpg)
Overscan, a common phenomenon in television and monitor displays, refers to the display of content beyond the intended viewing area. This occurs when the signal received by the display extends beyond the actual screen boundaries, resulting in a portion of the image being cut off or hidden. While overscan was historically used to mask imperfections in the display technology, it can cause issues in modern digital environments, particularly when using high-resolution displays or working with sensitive graphical applications. This article will delve into the nuances of overscan in Windows 10, exploring its impact, methods of adjustment, and the benefits of achieving a precise display experience.
Overscan: A Historical Context and Modern Implications
Before the advent of digital displays, analog television signals were prone to imperfections and distortions. Overscan was implemented as a solution to mask these imperfections, effectively cropping the signal to ensure a visually appealing experience. The displayed image was intentionally extended beyond the physical screen boundaries, hiding any potential artifacts or inconsistencies at the edges.
However, in today’s digital landscape, the prevalence of high-resolution displays and precise graphics necessitates a more accurate display experience. Overscan can cause several issues in this context:
- Content Cut-Off: Overscan can result in the loss of critical information at the edges of the screen, including text, buttons, or important visual elements. This can be particularly problematic in applications that rely on precise positioning and display, such as video editing software, gaming, and web design.
- Incorrect Aspect Ratio: Overscan can distort the intended aspect ratio of the displayed content, leading to an elongated or compressed image. This can affect the visual fidelity of movies, games, and other media.
- User Interface Issues: Overscan can obscure elements of the user interface, including menus, toolbars, and scroll bars, making it difficult to navigate and interact with applications.
Identifying and Addressing Overscan in Windows 10
Identifying overscan in Windows 10 is crucial for achieving a seamless and accurate display experience. The first step involves recognizing the visual cues of overscan:
- Missing Content: If you notice that parts of the image are missing at the edges of the screen, particularly text or important visual elements, it could be an indication of overscan.
- Distorted Aspect Ratio: If the image appears elongated or compressed, it might be due to overscan altering the intended aspect ratio.
- Obscured UI Elements: If you find that menus, toolbars, or scroll bars are partially or completely hidden, overscan could be the culprit.
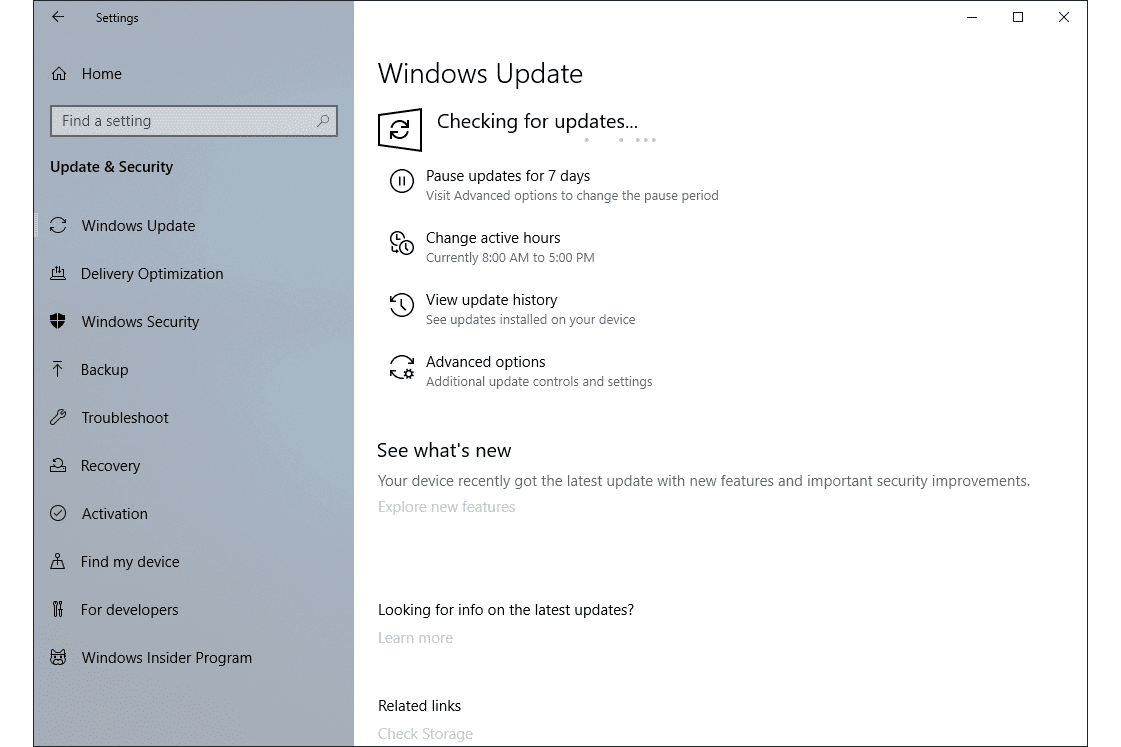
Once overscan is identified, the next step is to adjust the display settings to correct it. Windows 10 offers several methods to address overscan:
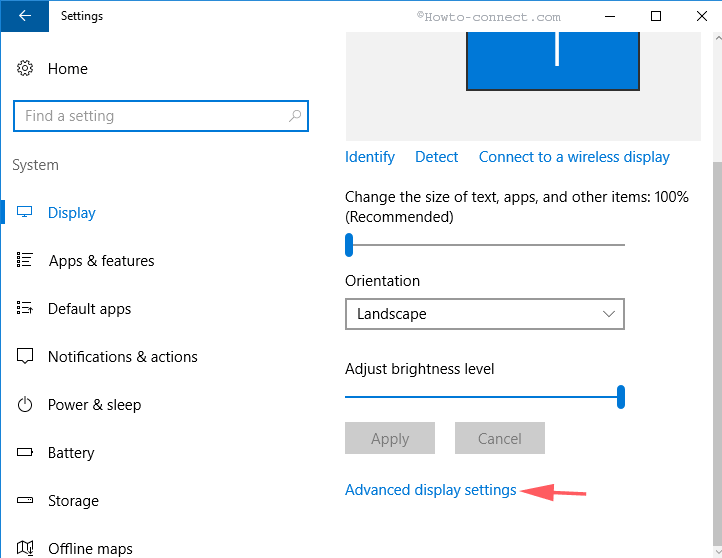
1. Using the Display Settings:
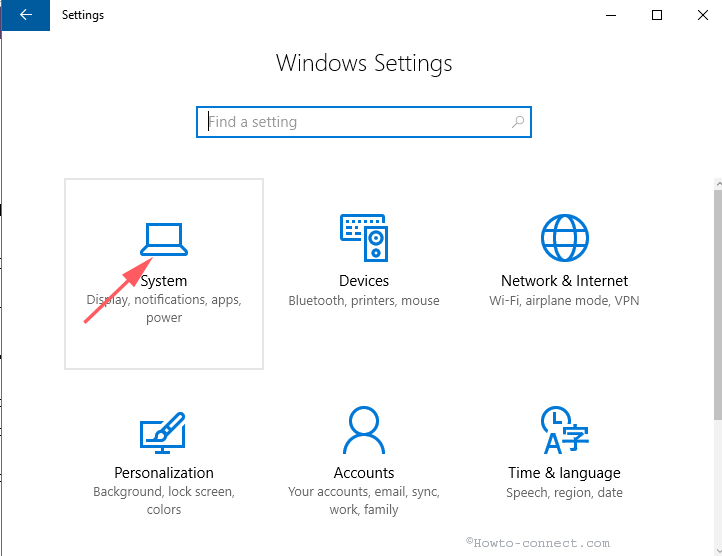
- Navigate to Display Settings: Access the Display settings by right-clicking on the desktop and selecting "Display settings" or by searching for "Display settings" in the Windows search bar.
- Adjust Display Scale: The "Scale and layout" section within the Display settings allows you to adjust the display scaling. Increasing the scaling percentage can compensate for overscan by shrinking the displayed content, making more of it visible.
- Adjust Display Resolution: The "Resolution" section allows you to choose a different display resolution. In some cases, selecting a lower resolution might reduce overscan by effectively cropping the image.
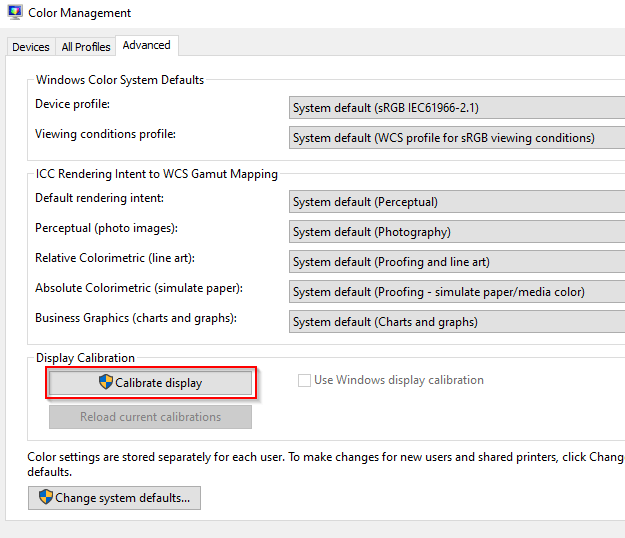
2. Using the Monitor’s On-Screen Display (OSD):
- Access the OSD: Most monitors have an OSD menu accessible through buttons on the monitor itself. This menu typically provides options to adjust various display settings, including overscan.
- Adjust Overscan Settings: Look for options related to "overscan," "aspect ratio," or "picture size" within the OSD menu. Adjusting these settings can help correct overscan and restore the intended display area.
3. Using Third-Party Software:
- Dedicated Display Tools: Several third-party software applications specialize in display management and can help adjust overscan. These tools often offer more granular control over display settings than the built-in Windows options.
- Custom Resolutions: Some display tools allow you to create custom display resolutions, which can be useful for fine-tuning the display area and addressing overscan issues.
The Importance of Overscan Adjustment: Benefits and Applications
Correcting overscan in Windows 10 offers several benefits, improving the overall user experience and enhancing the functionality of various applications:
- Accurate Content Display: Eliminating overscan ensures that all the intended content is visible, preventing the loss of important information, buttons, or text. This is crucial for tasks requiring precise display, such as video editing, web design, and gaming.
- Preserving Aspect Ratio: Adjusting overscan restores the intended aspect ratio of the displayed content, maintaining the visual fidelity of movies, games, and other media. This enhances the overall viewing experience and avoids distortion.
- Enhanced User Interface: Removing overscan reveals all the elements of the user interface, including menus, toolbars, and scroll bars. This improves usability and navigability, making it easier to interact with applications.
- Improved Aesthetics: Correcting overscan creates a cleaner and more aesthetically pleasing display experience, as the content is displayed within its intended boundaries.
Frequently Asked Questions (FAQs)
Q: How can I tell if my monitor has overscan?
A: Look for missing content at the edges of the screen, distorted aspect ratio, or obscured user interface elements.
Q: What if adjusting the display settings doesn’t fix overscan?
A: Check the monitor’s OSD menu for overscan adjustment options. If these are unavailable, consider using third-party software or consulting the monitor’s manual for specific instructions.
Q: Can I adjust overscan for each individual application?
A: While Windows 10 does not offer application-specific overscan adjustments, some third-party software might provide this functionality.
Q: Will adjusting overscan affect the performance of my computer?
A: Adjusting overscan settings typically does not impact computer performance significantly. However, if you experience any performance issues, revert to the previous settings.
Tips for Adjusting Overscan in Windows 10
- Start with the Display Settings: Explore the "Scale and layout" and "Resolution" options within the Display settings before moving to other methods.
- Experiment with Different Settings: Try adjusting the display scaling, resolution, and monitor’s OSD settings to find the optimal configuration for your specific setup.
- Consider Using Third-Party Software: If the built-in Windows options are insufficient, explore dedicated display tools for more granular control.
- Consult the Monitor’s Manual: The monitor’s manual might provide specific instructions for adjusting overscan settings.
- Test the Results: After making any adjustments, carefully check the display area to ensure that the overscan is corrected and the content is displayed as intended.
Conclusion
Overscan, while historically useful for masking display imperfections, can pose challenges in modern digital environments. By understanding the nature of overscan and its impact on the display experience, users can effectively identify and address it in Windows 10. Adjusting display settings, utilizing the monitor’s OSD menu, or employing third-party software can help correct overscan, resulting in a precise and visually accurate display experience. Achieving a correct display area ensures that all content is visible, aspect ratios are preserved, user interfaces are accessible, and overall aesthetics are enhanced, ultimately leading to a more enjoyable and efficient computing experience.

![Overscaling Or Overscan in Windows 10 and Windows 11 [Fixed]](https://www.techcommuters.com/wp-content/uploads/2021/05/1.-Change-Display-Setting-1024x718.png)
![Overscaling Or Overscan in Windows 10 and Windows 11 [Fixed]](https://www.techcommuters.com/wp-content/uploads/2021/05/5.-Calibrate-Display-1024x576.jpg)
Closure
Thus, we hope this article has provided valuable insights into Understanding and Adjusting Overscan in Windows 10. We hope you find this article informative and beneficial. See you in our next article!
Leave a Reply