Understanding Account Management In Windows 11
Understanding Account Management in Windows 11
Related Articles: Understanding Account Management in Windows 11
Introduction
With great pleasure, we will explore the intriguing topic related to Understanding Account Management in Windows 11. Let’s weave interesting information and offer fresh perspectives to the readers.
Table of Content
Understanding Account Management in Windows 11
Windows 11, like its predecessors, offers a user-friendly interface for managing accounts. This is essential for several reasons, including:
- Privacy and Security: Controlling which accounts have access to your system and data safeguards your privacy and ensures data security.
- Customization: Different accounts can have different settings, preferences, and access levels, allowing for personalized experiences.
- Account Management: Removing or modifying accounts allows for efficient system administration, especially in shared environments.
This article delves into the intricacies of account management within Windows 11, focusing on the process of removing accounts, the potential reasons for doing so, and the associated considerations.
Removing Accounts: A Step-by-Step Guide
Removing an account from Windows 11 involves a straightforward process:
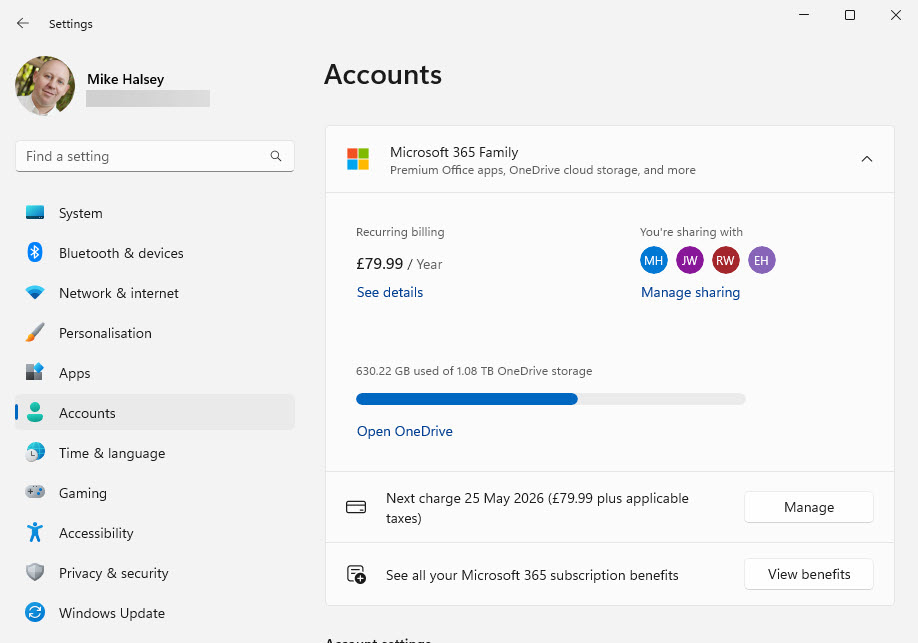
- Access Settings: Open the Windows Settings app by pressing the Windows key + I.
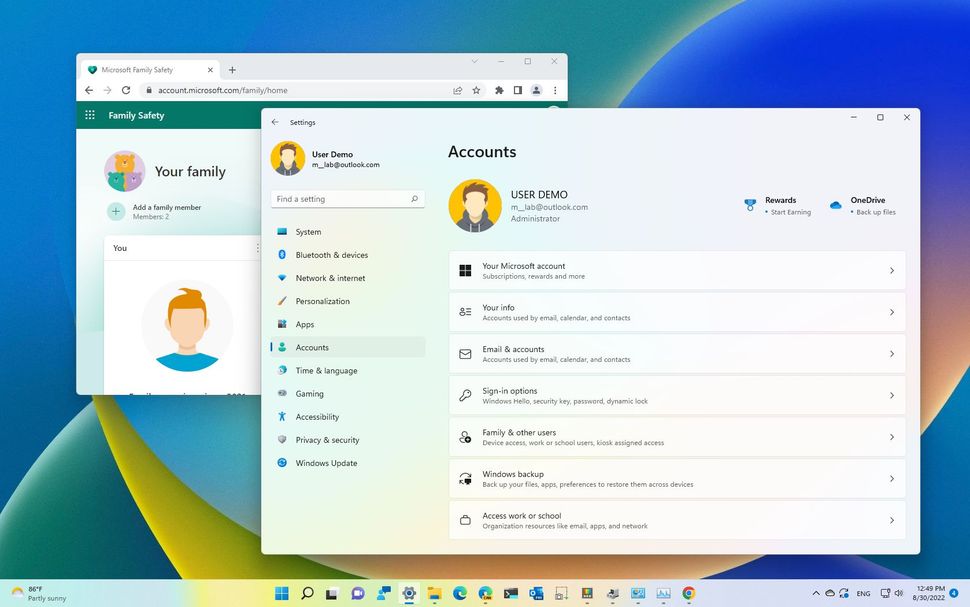
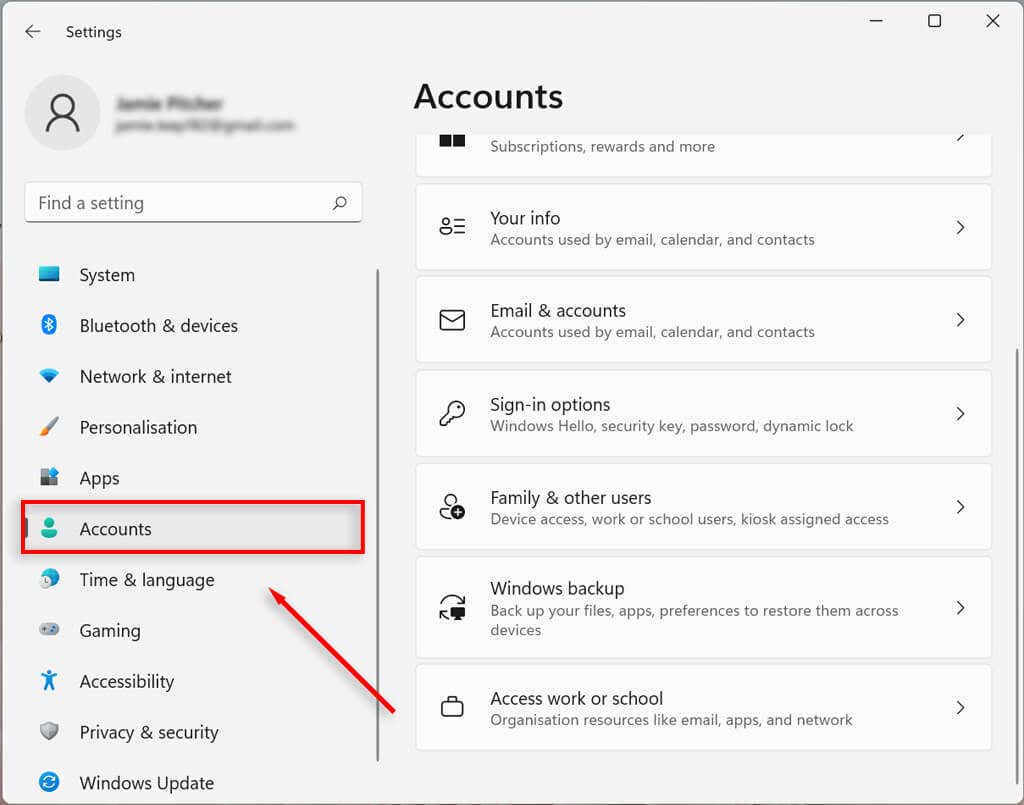
- Navigate to Accounts: Select "Accounts" from the left-hand menu.
- Choose "Family & Other Users": Click on "Family & other users" to access the account management options.
- Select the Account: Locate the account you wish to remove.
- Click "Remove": Depending on the account type, you may see options like "Remove" or "Remove account."
- Confirm Removal: Follow the on-screen instructions to confirm the removal of the account.
Reasons for Removing Accounts
Several compelling reasons may prompt users to remove accounts from Windows 11:
- Account Inactivity: Inactive accounts can clutter the system and pose a potential security risk. Removing them helps maintain system efficiency and security.
- Account Sharing: If a shared computer is no longer being used by a particular individual, removing their account ensures privacy and data protection.
- Troubleshooting: Removing and re-adding an account can sometimes resolve issues related to user profiles or permissions.
- System Upgrade: During system upgrades or clean installations, removing existing accounts may be necessary to ensure a smooth transition.
- Account Security: In cases of suspected account compromise or unauthorized access, removing the account helps mitigate potential risks.
Considerations Before Removing an Account
Before removing an account, it is essential to consider the following:
- Data Associated with the Account: Ensure that all important data associated with the account is backed up or transferred to another location. Removing the account will delete all associated files and settings.
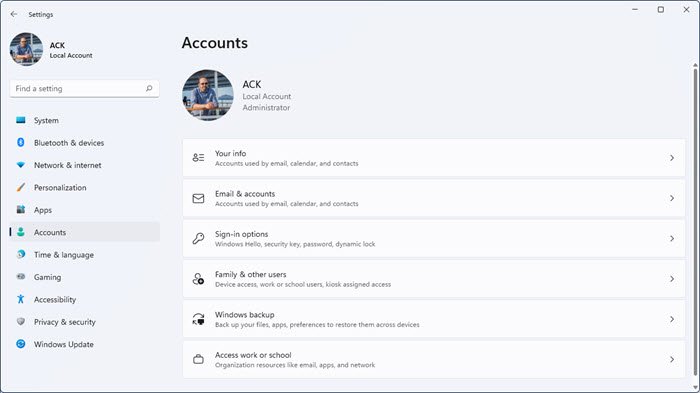
- Account Type: Removing a local account is relatively straightforward. However, removing a Microsoft account may require additional steps and could affect access to online services and apps.
- Account Ownership: Only the account administrator has the authority to remove other accounts from the system.
Frequently Asked Questions (FAQs)
Q: What happens to the data when I remove an account?
A: The data associated with the account will be deleted. Ensure you back up any critical files before removing the account.
Q: Can I recover a deleted account?
A: It is generally not possible to recover a deleted account. However, you might be able to restore a backup of the account data if you have one.
Q: Can I remove my own account from Windows 11?
A: No, you cannot remove your own account directly. You can, however, create a new administrator account and then remove your existing account.
Q: What if I forget the password for the account I want to remove?
A: If you forget the password, you may need to reset it using the Windows password recovery tools or contact Microsoft support for assistance.
Tips for Account Management
- Regularly Review Accounts: Periodically review the accounts on your system and remove any inactive or unnecessary ones.
- Use Strong Passwords: Set strong passwords for all accounts to enhance security.
- Enable Two-Factor Authentication: Implement two-factor authentication for added security, especially for Microsoft accounts.
- Keep Software Updated: Regularly update Windows and other software to patch security vulnerabilities.
- Back Up Data: Regularly back up important data to prevent data loss in case of account removal or system issues.
Conclusion
Managing accounts in Windows 11 is crucial for maintaining system security, privacy, and efficiency. Understanding the process of removing accounts, the reasons for doing so, and the associated considerations is essential for responsible account management. By following the guidelines outlined in this article, users can ensure a secure and personalized computing experience within Windows 11.


Closure
Thus, we hope this article has provided valuable insights into Understanding Account Management in Windows 11. We appreciate your attention to our article. See you in our next article!
Leave a Reply