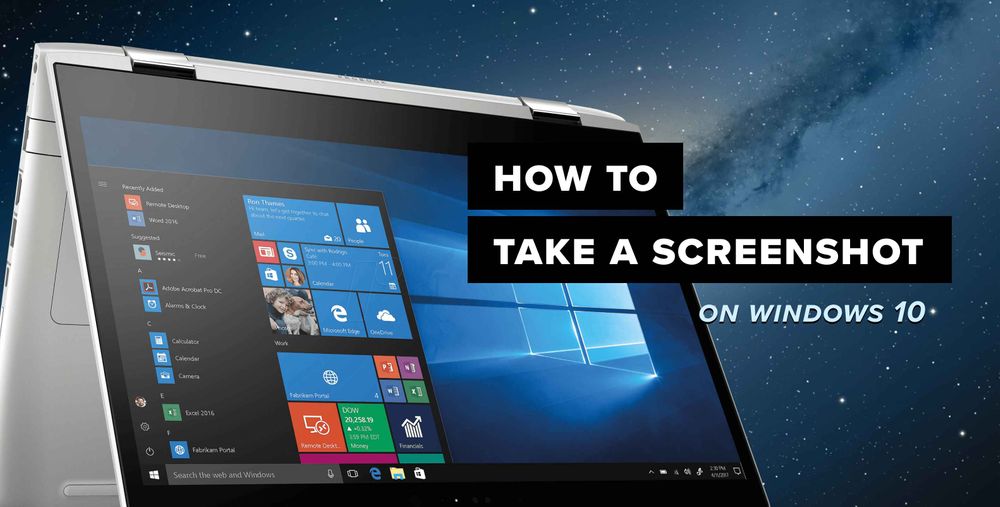
The Power Of Capture: Understanding Screenshot Tools In Windows 10
The Power of Capture: Understanding Screenshot Tools in Windows 10
Related Articles: The Power of Capture: Understanding Screenshot Tools in Windows 10
Introduction
With enthusiasm, let’s navigate through the intriguing topic related to The Power of Capture: Understanding Screenshot Tools in Windows 10. Let’s weave interesting information and offer fresh perspectives to the readers.
Table of Content
The Power of Capture: Understanding Screenshot Tools in Windows 10
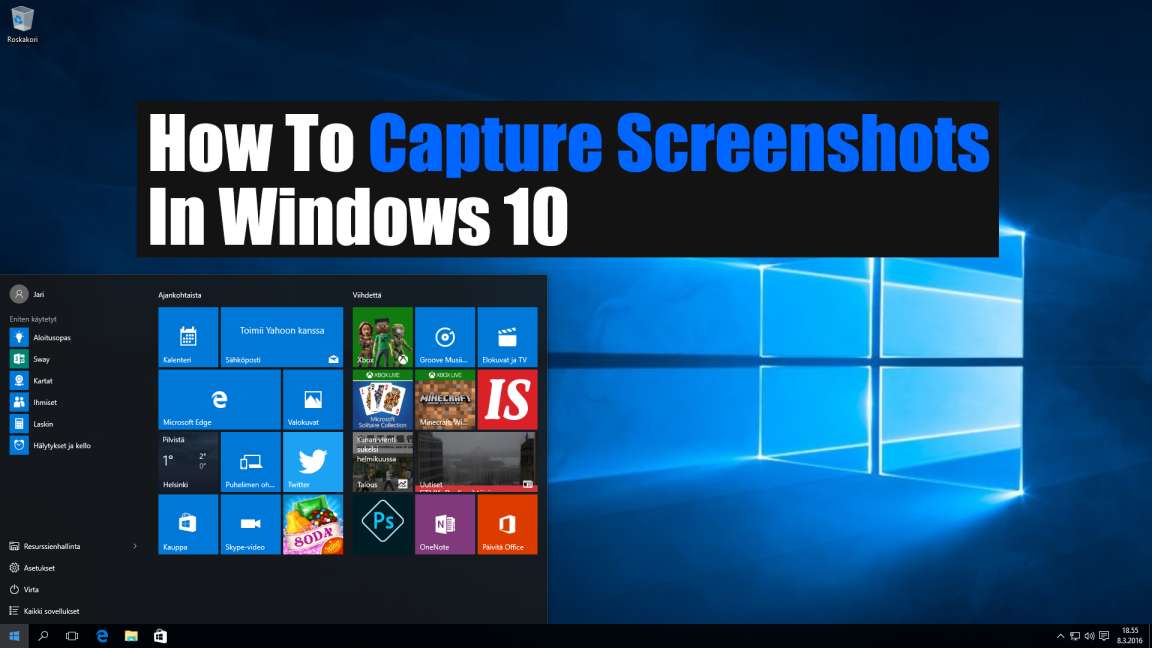
In the digital age, the ability to capture and share visual information is paramount. Windows 10 offers a range of tools for taking screenshots, enabling users to document, share, and explain information with ease. While the term "prt sc" might be familiar to some, it’s a shorthand for the "Print Screen" key, a fundamental component of these tools. This article delves into the multifaceted world of screenshot capture in Windows 10, exploring its importance, various methods, and applications.
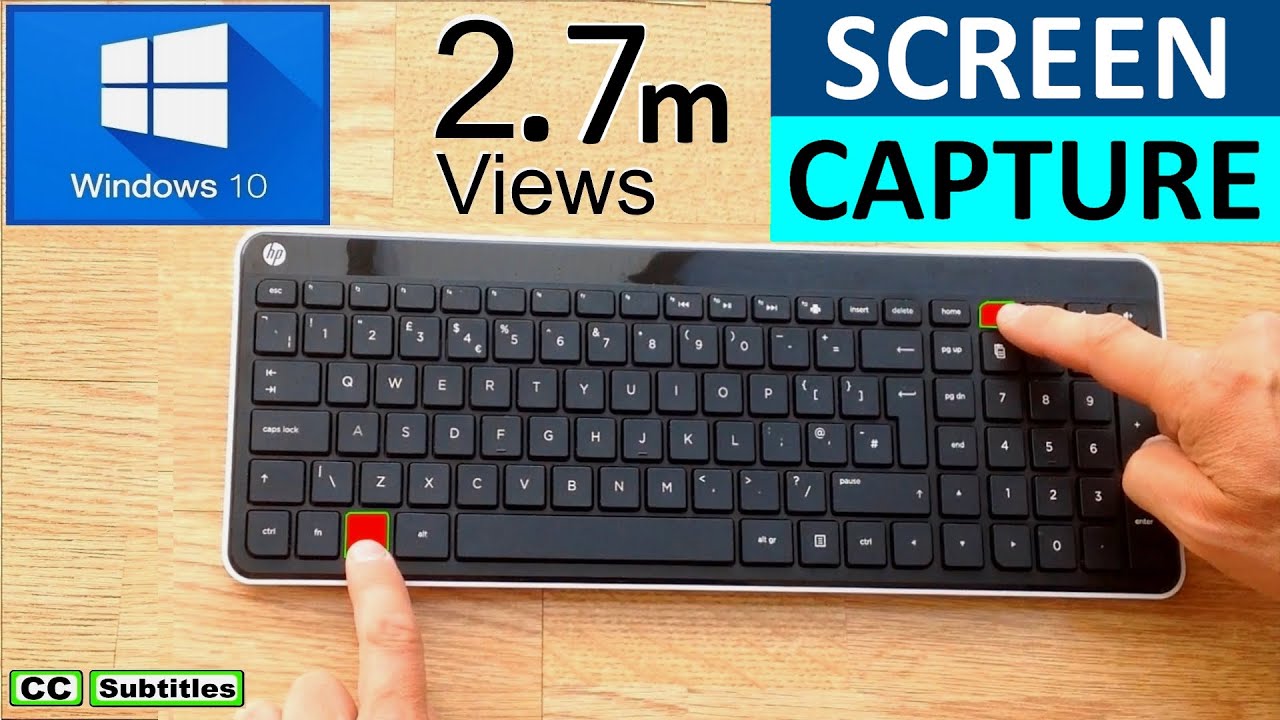
The Print Screen Key: A Gateway to Capture
The Print Screen key, often labeled "PrtSc" or "PrtScr" on keyboards, acts as the primary trigger for capturing the entire screen content. When pressed, the system copies the current display to the clipboard, a temporary storage area for data. This copied image can then be pasted into various applications, such as image editors or word processors, for further manipulation or inclusion in documents.
Beyond the Basics: Exploring Diverse Capture Techniques
While the Print Screen key provides a fundamental method for capturing the entire screen, Windows 10 offers a variety of specialized tools to cater to different capture needs. These tools, often integrated with the operating system or available as third-party applications, enhance the screenshot experience by offering greater control and flexibility.
1. The Windows Key + Print Screen Shortcut: A Quick Capture
Combining the Windows key with the Print Screen key (Win + PrtSc) provides a streamlined method for capturing the entire screen. This shortcut automatically saves the screenshot as a PNG file in the "Pictures" folder, within a subfolder named "Screenshots." This method eliminates the need for pasting the image into an application, streamlining the capture process.
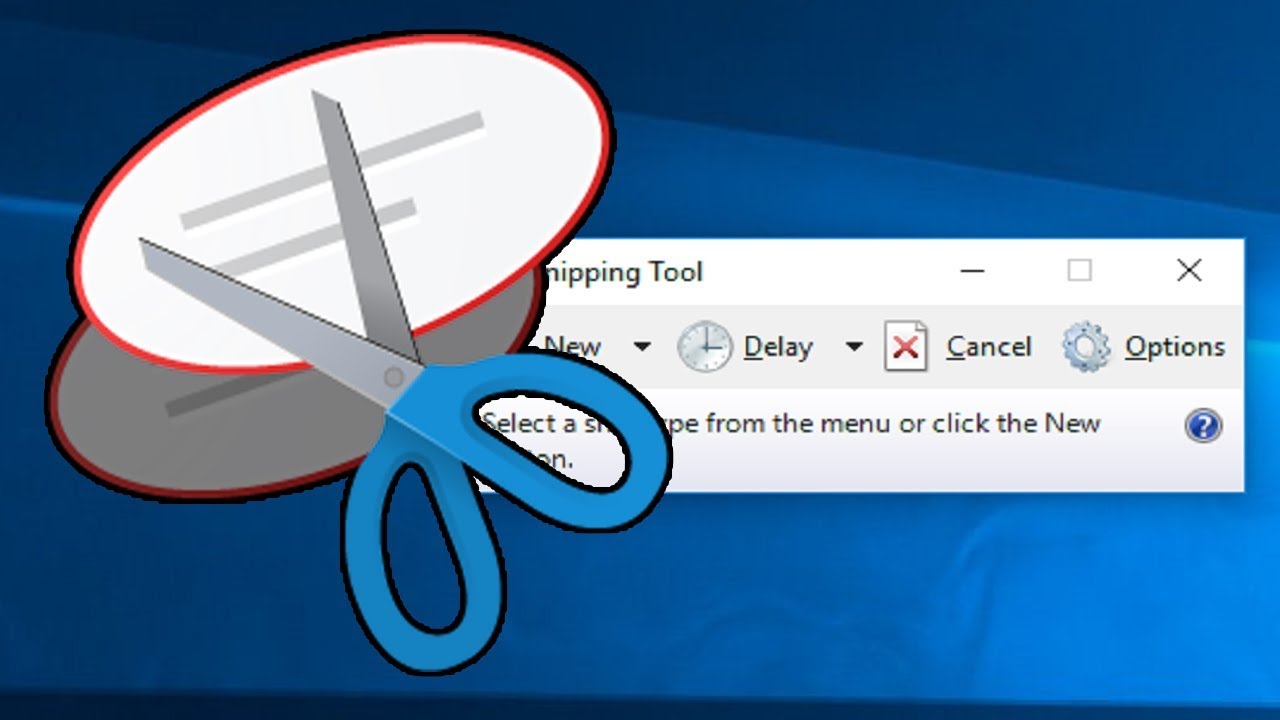
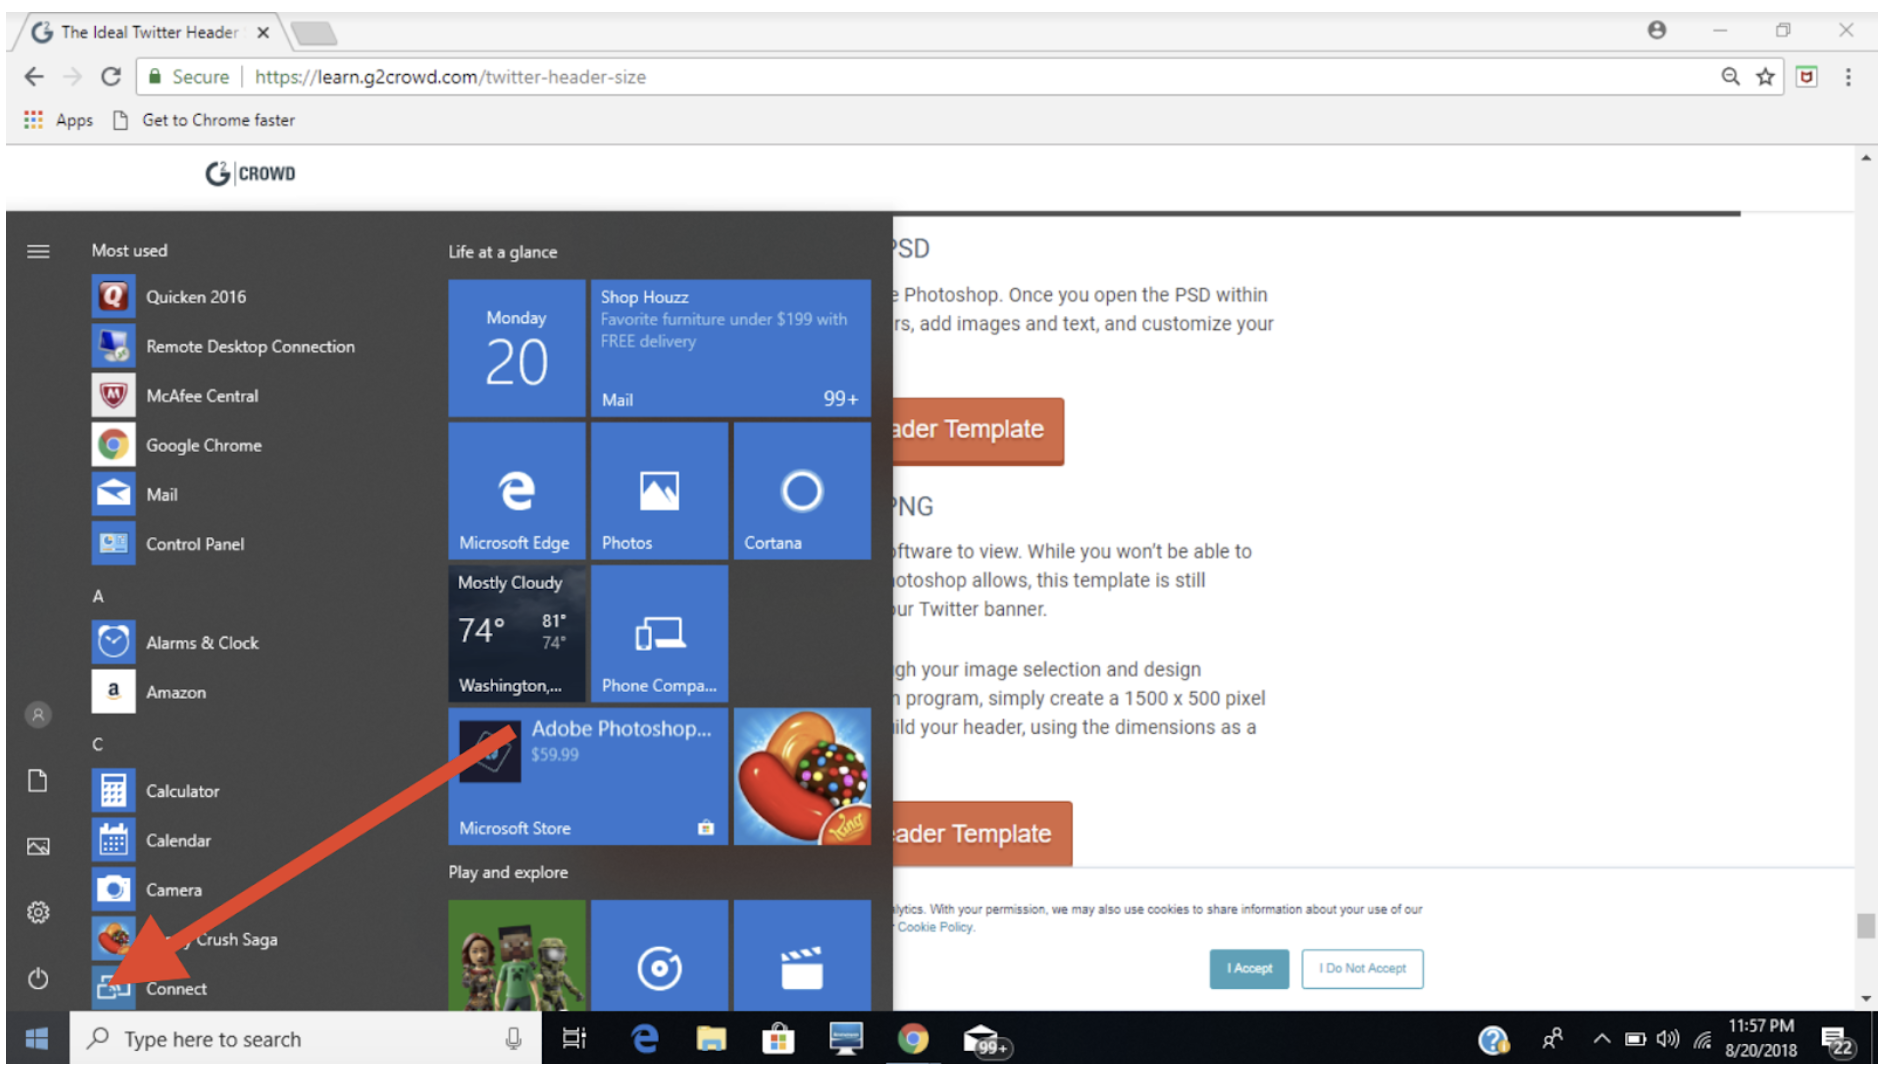
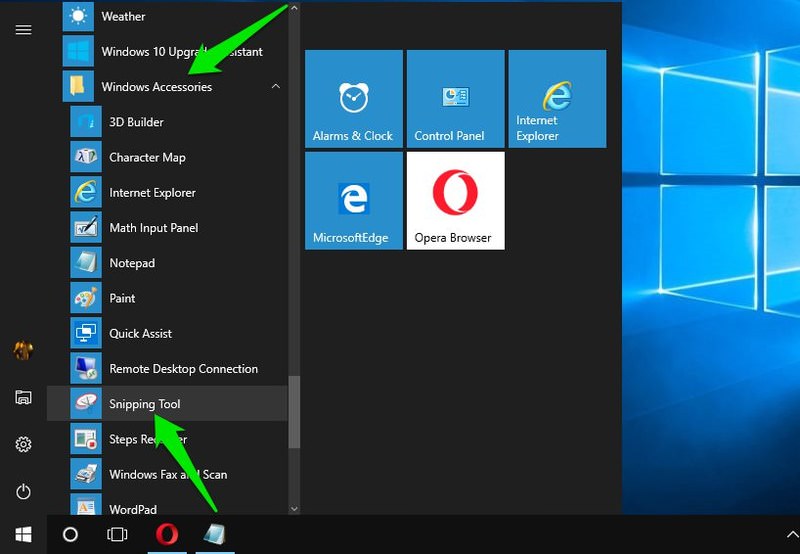
2. The Snipping Tool: Precision and Flexibility
The Snipping Tool, a built-in Windows application, offers a more controlled approach to screenshot capture. It allows users to select specific areas of the screen, known as "snips," providing the flexibility to capture only the desired content. The Snipping Tool also offers options for capturing rectangular areas, freeform shapes, windows, or full-screen captures. The captured snips can be saved in various formats, including PNG, JPEG, and GIF, offering users the flexibility to choose the most suitable option for their needs.
3. The Xbox Game Bar: Capturing Gaming Moments
For gamers, the Xbox Game Bar, accessible through the Windows key + G shortcut, provides a dedicated platform for capturing gameplay moments. It allows users to record videos, take screenshots, and even broadcast gameplay live. This tool empowers gamers to share their experiences, showcase skills, or document their progress in a comprehensive and user-friendly manner.
4. Third-Party Applications: Expanding the Capture Horizon
Beyond the built-in tools, a wide array of third-party applications offer advanced features and customization options for screenshot capture. These applications often provide features such as:
- Annotation and Editing: Adding text, arrows, and other annotations directly to the captured image, enhancing clarity and communication.
- Scheduled Capture: Automatically capturing screenshots at specific intervals, ideal for monitoring system activity or documenting changes.
- Scrolling Capture: Capturing entire web pages or long documents, ensuring all content is captured in a single image.
- Advanced Settings: Fine-tuning settings like capture format, resolution, and quality, allowing users to tailor the capture process to their specific needs.
The Importance of Screenshots: Applications and Benefits
Screenshots hold significant value in various domains, offering a powerful tool for communication, documentation, and problem-solving. Some key applications of screenshot capture include:
- Technical Support: Providing visual context to technical issues, enabling efficient troubleshooting and resolution.
- Education and Training: Demonstrating processes, showcasing examples, and enhancing learning experiences.
- Product Reviews and Feedback: Sharing visual feedback, highlighting features, and providing comprehensive product evaluations.
- Social Media and Communication: Sharing experiences, capturing funny moments, and facilitating visual communication.
- Project Management and Collaboration: Documenting progress, showcasing milestones, and facilitating team communication.
FAQs: Addressing Common Queries
1. Where are screenshots saved by default?
Screenshots taken using the Win + PrtSc shortcut are saved in the "Pictures" folder, within a subfolder named "Screenshots."
2. Can I capture a specific window or area of the screen?
Yes, the Snipping Tool allows you to capture specific windows, rectangular areas, freeform shapes, or the entire screen.
3. How do I annotate or edit a screenshot?
The Snipping Tool offers basic annotation features, while third-party applications provide more advanced editing capabilities.
4. Can I capture a scrolling webpage or document?
Some third-party applications offer scrolling capture functionality, enabling you to capture entire web pages or long documents.
5. What are the differences between PNG, JPEG, and GIF formats?
- PNG: Offers high-quality image compression without loss, suitable for screenshots with text and sharp details.
- JPEG: Uses lossy compression, ideal for images with gradients and smooth transitions, but can result in some detail loss.
- GIF: Supports animation, making it suitable for capturing dynamic elements or creating short animations.
Tips for Effective Screenshot Capture
- Choose the right tool: Select the appropriate capture method based on your needs, whether it’s a quick full-screen capture or a precise snipping of a specific area.
- Maximize clarity: Ensure your screen is clean and free of distractions before taking a screenshot.
- Use annotations strategically: Highlight important areas, add explanatory text, or use arrows to guide the viewer’s attention.
- Optimize image size: Choose an appropriate file format and resolution based on your intended use, balancing image quality with file size.
- Explore third-party options: Consider using advanced features offered by third-party applications to enhance your screenshot capture capabilities.
Conclusion: Embracing the Power of Visual Capture
In the digital landscape, screenshots have become an indispensable tool for communication, documentation, and problem-solving. From quick captures of the entire screen to precise snips of specific areas, Windows 10 offers a range of tools to meet diverse capture needs. By understanding the different capture methods and their applications, users can leverage the power of visual capture to enhance their workflow, communicate effectively, and share information with clarity and precision. The ability to capture and share visual information empowers users to document experiences, explain concepts, and connect with others in a meaningful and engaging way.


Closure
Thus, we hope this article has provided valuable insights into The Power of Capture: Understanding Screenshot Tools in Windows 10. We appreciate your attention to our article. See you in our next article!
Leave a Reply