Stripping Down Windows 11: A Comprehensive Guide To Removing Unwanted Software
Stripping Down Windows 11: A Comprehensive Guide to Removing Unwanted Software
Related Articles: Stripping Down Windows 11: A Comprehensive Guide to Removing Unwanted Software
Introduction
In this auspicious occasion, we are delighted to delve into the intriguing topic related to Stripping Down Windows 11: A Comprehensive Guide to Removing Unwanted Software. Let’s weave interesting information and offer fresh perspectives to the readers.
Table of Content
- 1 Related Articles: Stripping Down Windows 11: A Comprehensive Guide to Removing Unwanted Software
- 2 Introduction
- 3 Stripping Down Windows 11: A Comprehensive Guide to Removing Unwanted Software
- 3.1 Understanding Bloatware and its Impact
- 3.2 Methods for Removing Bloatware from Windows 11
- 3.3 Modifying the Windows 11 ISO Image: A Detailed Walkthrough
- 3.4 Frequently Asked Questions (FAQs)
- 3.5 Tips for Removing Bloatware
- 3.6 Conclusion
- 4 Closure
Stripping Down Windows 11: A Comprehensive Guide to Removing Unwanted Software

Windows 11, like its predecessors, comes pre-loaded with a suite of applications, some of which might be considered unnecessary or even unwanted by users. These applications, often referred to as "bloatware," can consume valuable storage space, slow down system performance, and even pose potential security risks. This article provides a comprehensive guide to removing unwanted software from your Windows 11 installation, focusing on methods to create a clean and optimized system experience.
Understanding Bloatware and its Impact
Bloatware refers to pre-installed software applications that are not considered essential for the basic functioning of the operating system. These applications can range from trial versions of software, advertising tools, and third-party utilities to games and productivity apps. While some might be useful, others are often considered intrusive, resource-intensive, or simply unnecessary for the average user.
The presence of bloatware can have several detrimental effects on a Windows 11 installation:
- Storage Consumption: Bloatware applications occupy valuable disk space, potentially reducing the available storage for essential files, applications, and system updates.
- Performance Degradation: Bloatware can run in the background, consuming system resources like RAM and CPU, leading to slower performance and increased boot times.
- Security Risks: Some bloatware applications might contain vulnerabilities or be bundled with malicious software, posing security risks to the user’s system.
- User Frustration: The presence of unwanted applications can be frustrating for users, especially those who prefer a clean and streamlined system experience.
Methods for Removing Bloatware from Windows 11
There are several methods to remove bloatware from Windows 11, each with its own advantages and limitations. These methods can be broadly categorized as:
1. Using the "Apps & Features" Settings:
- Direct Uninstall: The "Apps & Features" settings in Windows 11 allow users to directly uninstall unwanted applications. This is the simplest and most straightforward method for removing individual applications.
- Limitations: This method might not be effective for removing system-level applications or those deeply integrated into the operating system.
2. Utilizing Third-Party Software:
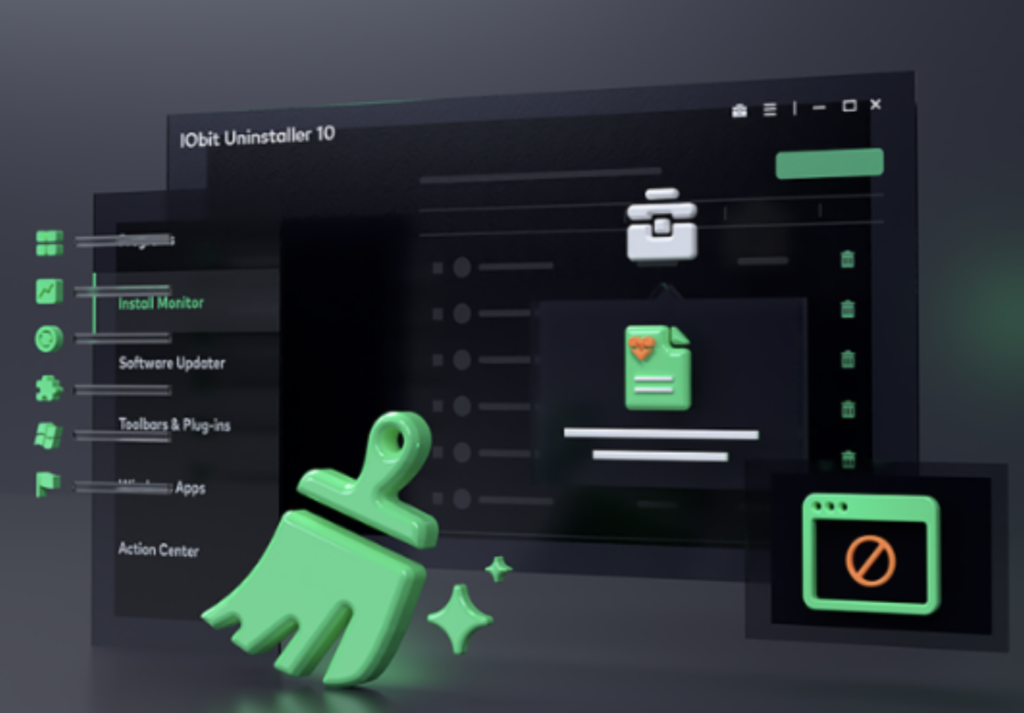
- Dedicated Bloatware Removal Tools: Several third-party software applications are specifically designed to identify and remove bloatware. These tools often offer advanced features like automatic detection, batch uninstallation, and system optimization.
- Advantages: These tools can provide a more comprehensive and efficient solution for removing bloatware, especially for users unfamiliar with manual methods.
- Limitations: Third-party tools might require user permissions and could potentially introduce vulnerabilities or conflicts with the operating system.
3. Modifying the Windows 11 ISO Image:
- Pre-Installation Removal: This method involves modifying the Windows 11 ISO image before installation, removing bloatware applications and other unwanted components. This ensures a clean installation without the need for manual removal after installation.
- Advantages: Offers a clean and optimized installation from the outset, eliminating the need for post-installation removal processes.
- Limitations: Requires technical expertise and knowledge of ISO image manipulation techniques.
Modifying the Windows 11 ISO Image: A Detailed Walkthrough
Modifying the Windows 11 ISO image before installation is a powerful method for removing bloatware and creating a clean, optimized system. This process involves several steps:
1. Downloading and Extracting the Windows 11 ISO:
- Download the official Windows 11 ISO image from Microsoft’s website.
- Use a suitable tool like 7-Zip or WinRAR to extract the contents of the ISO image to a temporary folder.
2. Identifying Bloatware Applications:
- Examine the extracted files and folders to identify bloatware applications. This might require some research to determine which applications are considered unwanted.
- Common bloatware applications include:
- Candy Crush Saga
- Microsoft Solitaire Collection
- Skype
- Microsoft Edge
- Office 365 Trial
- Windows Defender Antivirus (if you prefer an alternative)
- OneDrive (if you don’t use cloud storage)
- Use online resources and forums to find lists of common bloatware applications in Windows 11.
3. Removing Bloatware Files and Folders:
- Delete the folders and files associated with the identified bloatware applications. Be cautious and ensure you are removing the correct files to avoid accidentally deleting essential system components.
- Use a file explorer to navigate to the relevant folders and delete the unwanted files and folders.
4. Creating a New ISO Image:
- Use a tool like Rufus or ISO Workshop to create a new ISO image from the modified files and folders.
- Configure the tool to create a bootable ISO image that can be used to install Windows 11.
5. Installing Windows 11 from the Modified ISO:
- Use the newly created ISO image to install Windows 11 on your system.
- The installation process will proceed as usual, but the system will be free from the removed bloatware applications.
Frequently Asked Questions (FAQs)
1. Is removing bloatware safe?
Removing bloatware is generally safe as long as you are careful and avoid deleting essential system files. It is recommended to research the applications you are removing and ensure they are not critical for system functionality.
2. Can I remove bloatware after installing Windows 11?
Yes, you can remove bloatware after installing Windows 11 using the "Apps & Features" settings or dedicated third-party software. However, modifying the ISO image before installation provides a cleaner and more efficient solution.
3. What if I accidentally delete a necessary system file?
Deleting essential system files can lead to system instability or even prevent Windows 11 from booting. It is crucial to be cautious and double-check the files you are removing. If you suspect you have deleted a necessary file, you might need to reinstall Windows 11.
4. Will removing bloatware affect my warranty?
Removing bloatware generally does not affect your warranty. However, it is always advisable to consult your manufacturer’s warranty policy for specific details.
5. Are there any risks associated with modifying the ISO image?
Modifying the ISO image can be risky if not done correctly. It is essential to use reliable tools and follow the steps carefully to avoid corrupting the ISO image or introducing vulnerabilities.
Tips for Removing Bloatware
- Research before removing: Before removing any application, ensure you understand its purpose and whether it is essential for system functionality.
- Backup your data: It is always advisable to back up your important data before making any significant changes to your system.
- Use reputable tools: When using third-party software, choose reputable and well-reviewed tools to minimize the risk of introducing malware or vulnerabilities.
- Start with a clean installation: If you are unsure about removing bloatware, consider performing a clean installation of Windows 11 to start with a fresh and clean system.
Conclusion
Removing bloatware from your Windows 11 installation can significantly improve your system performance, storage space, and overall user experience. While there are several methods to achieve this, modifying the Windows 11 ISO image before installation offers a comprehensive and efficient solution. By following the steps outlined in this article and exercising caution, you can create a clean and optimized Windows 11 environment free from unwanted software. Remember to research, back up your data, and use reliable tools to ensure a safe and successful removal process.


Closure
Thus, we hope this article has provided valuable insights into Stripping Down Windows 11: A Comprehensive Guide to Removing Unwanted Software. We hope you find this article informative and beneficial. See you in our next article!
Leave a Reply