Restoring Windows 11 Health: A Comprehensive Guide To Data-Preserving Repair
Restoring Windows 11 Health: A Comprehensive Guide to Data-Preserving Repair
Related Articles: Restoring Windows 11 Health: A Comprehensive Guide to Data-Preserving Repair
Introduction
With great pleasure, we will explore the intriguing topic related to Restoring Windows 11 Health: A Comprehensive Guide to Data-Preserving Repair. Let’s weave interesting information and offer fresh perspectives to the readers.
Table of Content
Restoring Windows 11 Health: A Comprehensive Guide to Data-Preserving Repair
Windows 11, like any operating system, is susceptible to glitches, errors, and performance issues. These can stem from various sources, including corrupted system files, incompatible software, hardware malfunctions, or even malware infections. While a fresh installation might seem like the immediate solution, it often necessitates a complete data wipe, potentially leading to significant data loss. However, there are multiple methods to repair Windows 11 without compromising your valuable data, ensuring a smooth and efficient restoration process.
Understanding the Importance of Data Preservation
The significance of preserving data during a Windows repair cannot be overstated. Data encompasses everything from personal files and documents to crucial work projects, irreplaceable photos and videos, and irreplaceable software installations. Losing this data can be detrimental, causing significant inconvenience, financial loss, or even emotional distress.
Repairing Windows 11: A Multifaceted Approach
Repairing Windows 11 without data loss is achievable through various methods, each catering to different scenarios and levels of system corruption. These methods offer a graduated approach, starting with less intrusive solutions and escalating to more comprehensive repairs when necessary.
1. System File Checker (SFC) and Deployment Image Servicing and Management (DISM): The First Line of Defense
These built-in tools are often the first port of call for addressing system file corruption.
- System File Checker (SFC): This utility scans and repairs corrupted system files. To initiate an SFC scan, open Command Prompt as administrator and type "sfc /scannow." The process might take some time to complete.
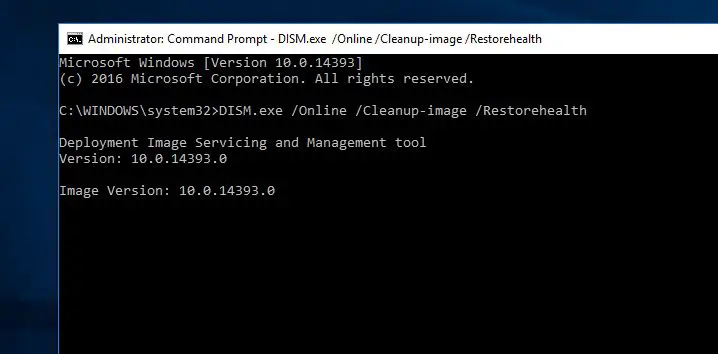
- Deployment Image Servicing and Management (DISM): DISM is a more comprehensive tool that can repair corrupted system images. To use DISM, open Command Prompt as administrator and execute the command "DISM /Online /Cleanup-Image /RestoreHealth."
2. Startup Repair: Addressing Boot Issues
Startup Repair is a built-in Windows tool designed to automatically diagnose and fix boot problems. It can be accessed during the startup process:
- Accessing Startup Repair: If Windows fails to boot properly, you’ll typically be presented with an option to access Startup Repair. Alternatively, you can force a restart and continuously press F8 until the Advanced Boot Options menu appears. Select "Repair your computer" and then choose "Startup Repair."
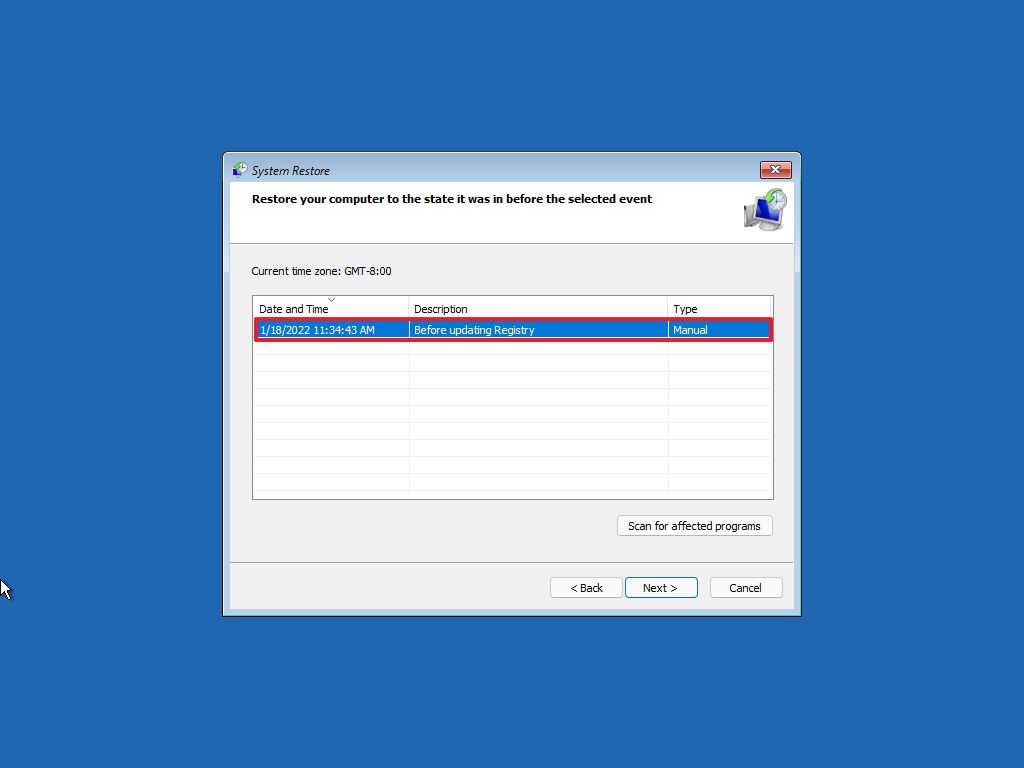
3. System Restore: Reversing System Changes
System Restore is a powerful tool that allows you to revert your system to a previous point in time, effectively undoing any changes made to your system since that point.
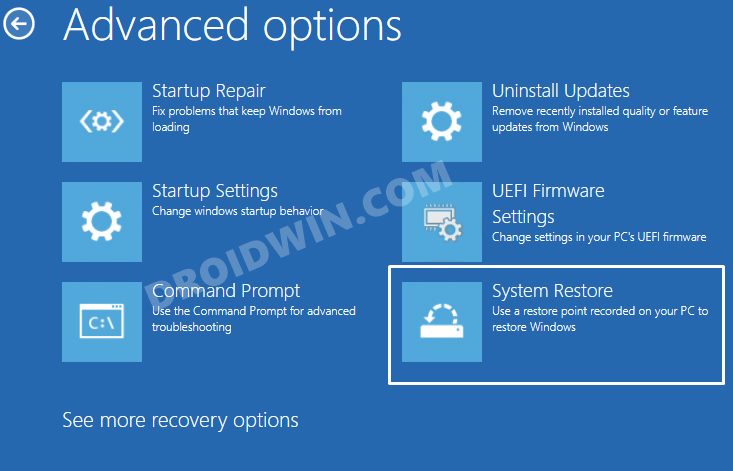
- Using System Restore: To access System Restore, search for "Create a restore point" in the Windows search bar. Select "System Restore" from the results and follow the on-screen instructions to choose a restore point and initiate the process.
4. Refresh Windows: A Clean Slate without Data Loss
Windows Refresh is a more comprehensive repair method that reinstalls Windows without affecting your personal files, settings, and apps.
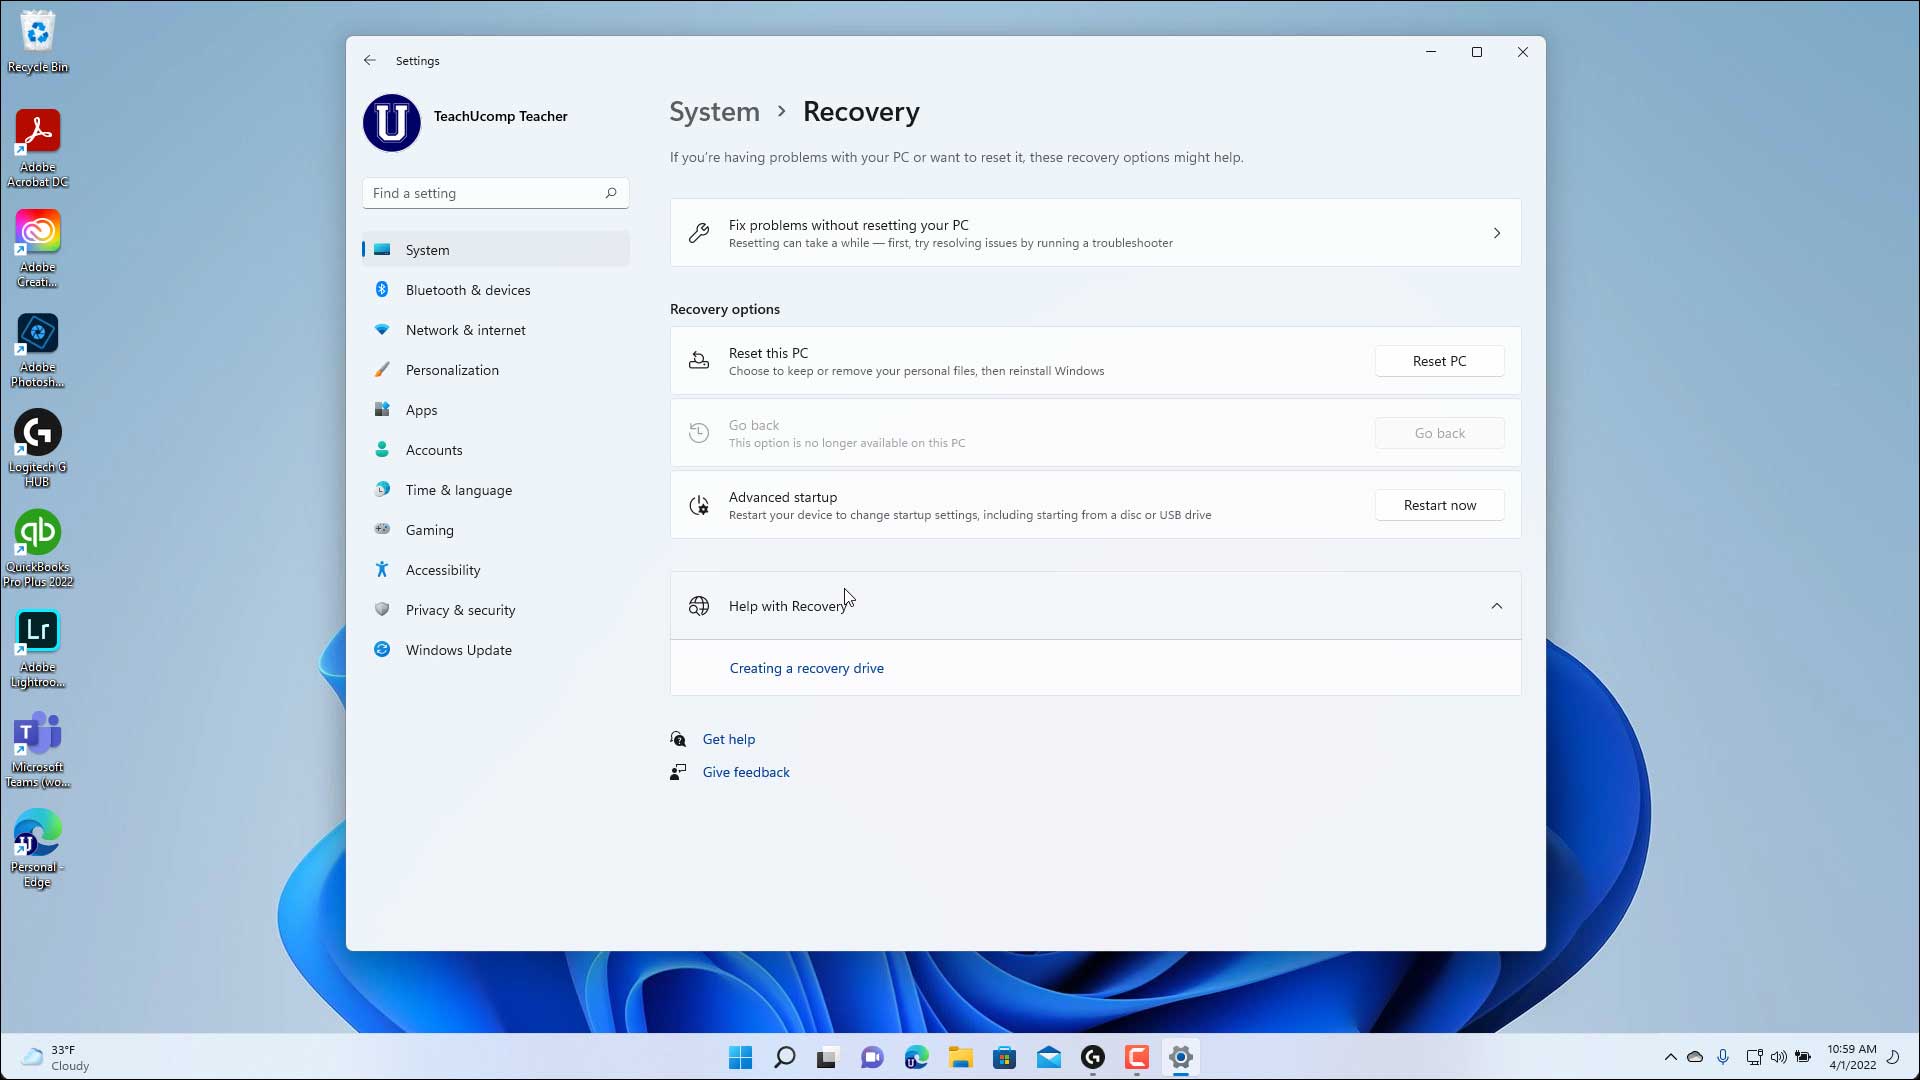
- Initiating Windows Refresh: To refresh Windows, go to "Settings" > "System" > "Recovery" and select "Reset this PC" > "Keep my files."
5. Resetting Windows: A Thorough Clean Installation
A Windows reset is the most drastic repair method, reinstalling Windows from scratch. This option removes all your personal files, settings, and apps, effectively restoring your system to its factory state.
- Choosing a Reset Option: When resetting Windows, you have two options: "Keep my files" and "Remove everything." The former preserves your personal files, while the latter performs a complete wipe.
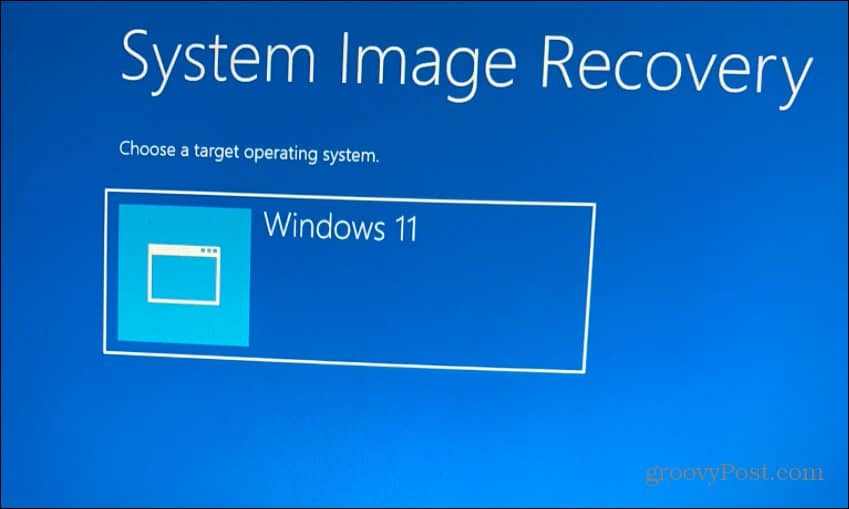
6. Advanced Recovery Options: For Complex Issues
If the aforementioned methods fail to resolve the issues, you may need to explore advanced recovery options. These options are more complex and require a deeper understanding of Windows recovery processes.
- Using a Recovery Drive: A recovery drive can be used to boot your computer into a recovery environment, allowing you to perform various repair tasks.
- Boot from a Windows Installation Media: A bootable USB drive or DVD containing a Windows installation can be used to access advanced repair options.
Frequently Asked Questions (FAQs)
Q: What are the signs that my Windows 11 needs repair?
A: Common signs include:
- Slow performance and frequent freezes.
- Unexpected crashes and error messages.
- Problems with booting or starting applications.
- Issues with network connectivity.
- Unusual behavior or appearance of the operating system.
Q: Will repairing Windows 11 delete my personal files?
A: Most repair methods, such as SFC, DISM, Startup Repair, and System Restore, will not delete your personal files. However, a Windows reset with the "Remove everything" option will erase all data.
Q: Can I use a third-party tool to repair Windows 11?
A: While third-party tools exist, it is generally recommended to rely on the built-in Windows repair tools for data safety. Using third-party tools can be risky, as they might not be compatible with your system or could potentially lead to data loss.
Tips for Repairing Windows 11 without Data Loss
- Back up your data: Always back up your important data before attempting any repair method. This ensures data recovery in case of unforeseen issues.
- Create a system restore point: Before making any significant changes to your system, create a system restore point. This allows you to revert to a previous state if necessary.
- Use the appropriate repair method: Choose the repair method that best suits your situation and the severity of the problem.
- Follow the instructions carefully: Adhere to the instructions provided during the repair process to avoid errors or data loss.
- Seek professional help if needed: If you are unsure about the repair process or experience difficulties, consider seeking professional assistance from a qualified technician.
Conclusion
Repairing Windows 11 without losing data is achievable through various methods, each offering a different level of repair and complexity. By understanding the importance of data preservation and utilizing the appropriate tools and techniques, you can effectively restore your Windows 11 system to optimal health without compromising your valuable files. Remember to exercise caution, follow instructions meticulously, and consider professional assistance when necessary. With the right approach, you can ensure a smooth and data-safe repair process for your Windows 11 operating system.


Closure
Thus, we hope this article has provided valuable insights into Restoring Windows 11 Health: A Comprehensive Guide to Data-Preserving Repair. We thank you for taking the time to read this article. See you in our next article!
Leave a Reply