Rejuvenating Your Windows 10 System: A Guide To Refreshing Without Data Loss
Rejuvenating Your Windows 10 System: A Guide to Refreshing Without Data Loss
Related Articles: Rejuvenating Your Windows 10 System: A Guide to Refreshing Without Data Loss
Introduction
In this auspicious occasion, we are delighted to delve into the intriguing topic related to Rejuvenating Your Windows 10 System: A Guide to Refreshing Without Data Loss. Let’s weave interesting information and offer fresh perspectives to the readers.
Table of Content
Rejuvenating Your Windows 10 System: A Guide to Refreshing Without Data Loss

Windows 10, like any operating system, can experience performance degradation over time due to accumulating temporary files, outdated drivers, or even malware infections. These issues can lead to sluggish performance, program crashes, and even system instability. While a complete wipe and reinstall of Windows 10 is often the most effective solution, it can be daunting to contemplate losing valuable data. Fortunately, there are ways to refresh your Windows 10 system without sacrificing your precious files.
Understanding the Need for a System Refresh
A system refresh, also known as a clean install, offers a multitude of benefits. It effectively eliminates accumulated clutter, resolves software conflicts, and ensures a fresh start with the latest updates. This process can revitalize your system, enhancing its speed, stability, and overall responsiveness.
Exploring Your Options: Methods for Refreshing Windows 10
There are two primary approaches to refreshing Windows 10 without losing data:
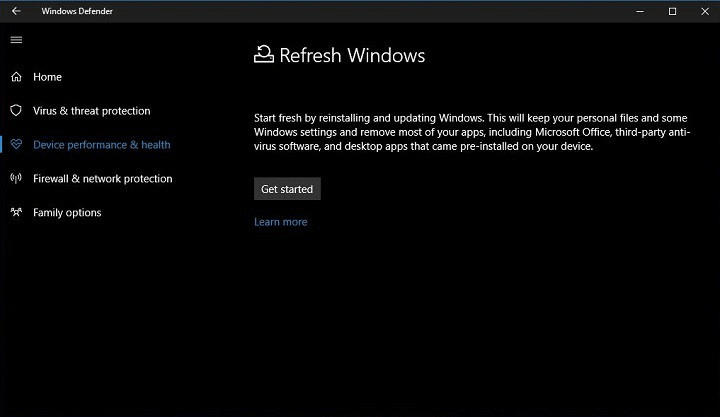
1. Resetting Your PC:
This option provides a streamlined method to restore your system to its factory settings. It removes all applications and settings, effectively returning your computer to its initial state. However, it preserves your personal files, such as documents, pictures, and music. This method is ideal for resolving software conflicts, removing malware, or addressing performance issues without the hassle of manually reinstalling everything.
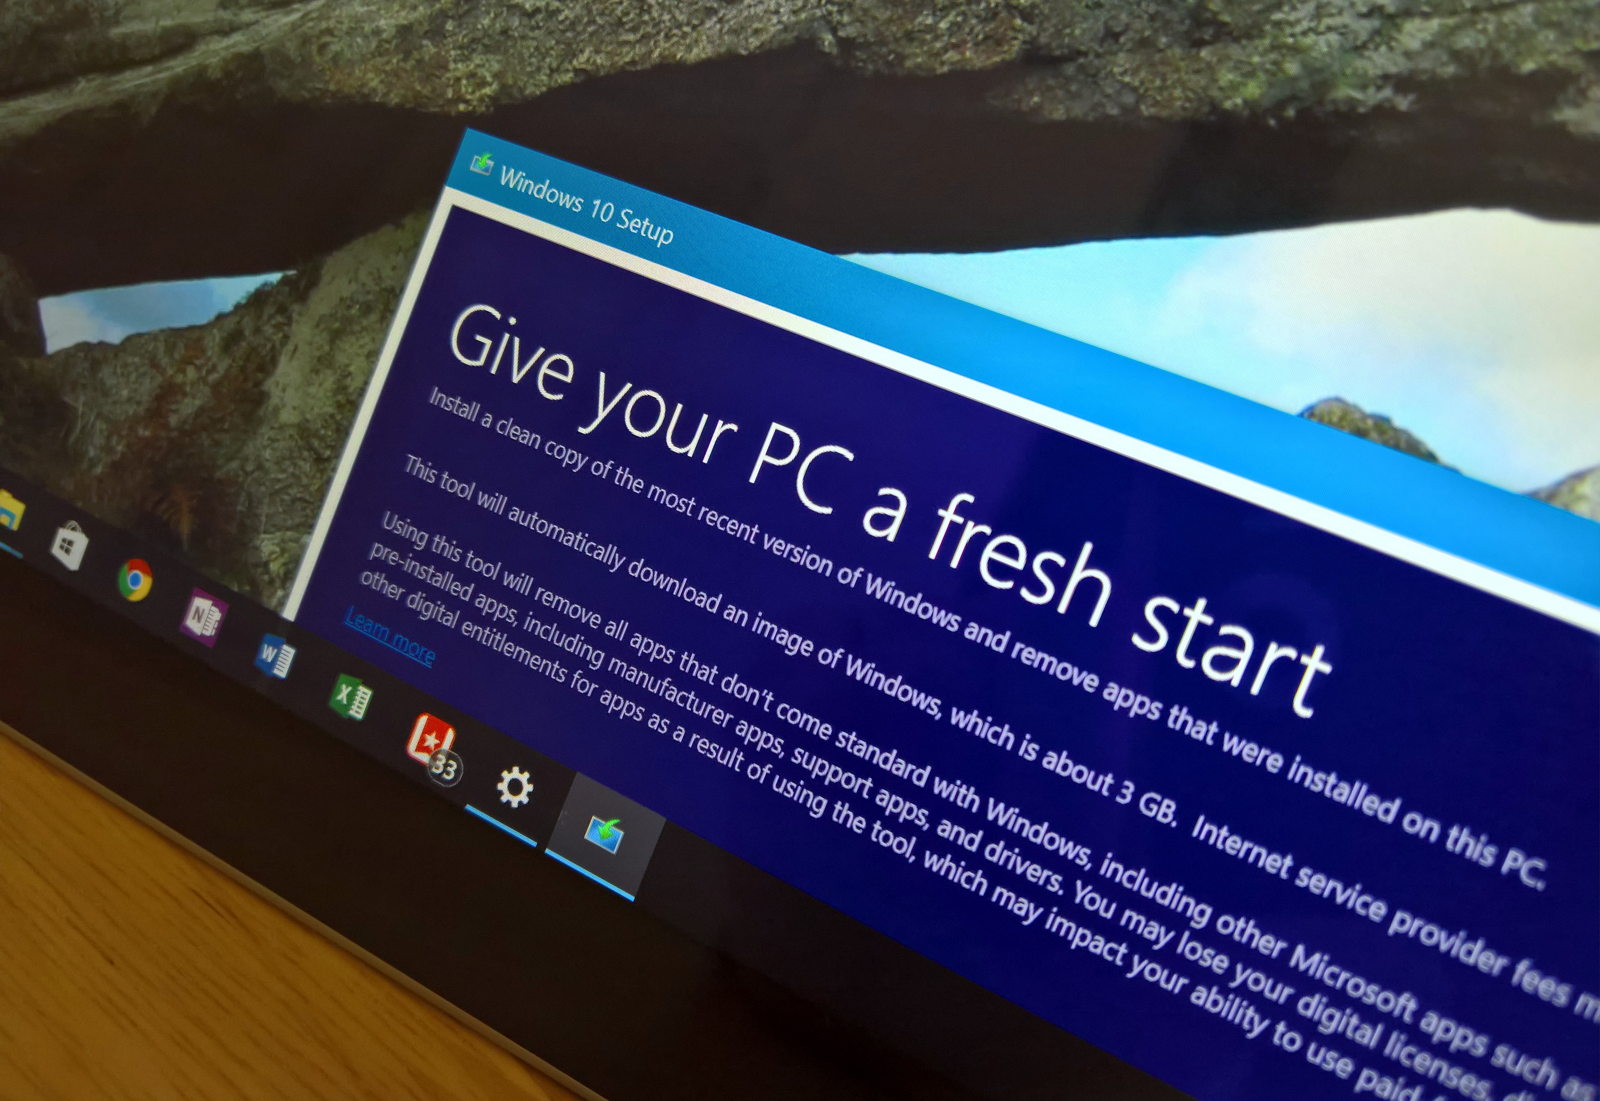
2. Performing a Clean Install:
A clean install involves completely erasing your hard drive and installing a fresh copy of Windows 10. This approach offers the most thorough system refresh, eliminating any lingering issues and ensuring a clean slate. To preserve your data, it’s crucial to back it up beforehand. This method is recommended when dealing with persistent problems or when you desire a completely fresh start.
Step-by-Step Guide: Resetting Your PC
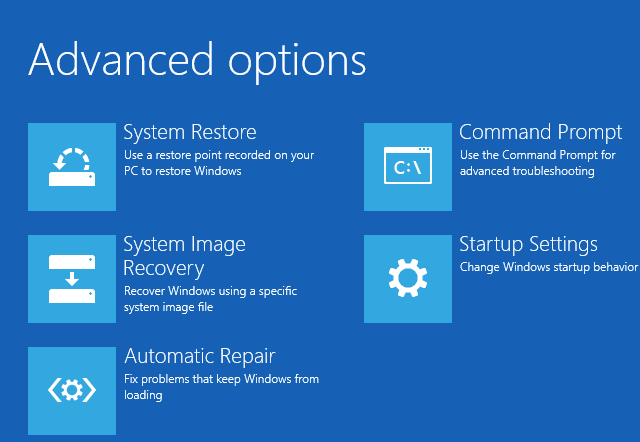
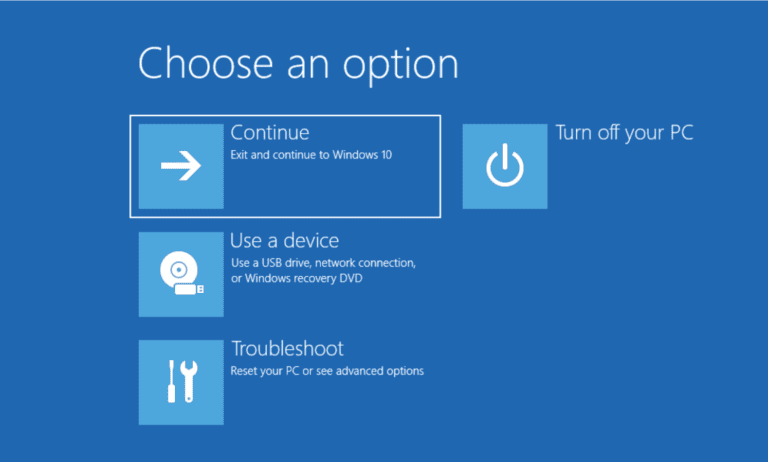
1. Accessing the Recovery Options:
- Open the Settings app by pressing Windows Key + I.
- Navigate to Update & Security and select Recovery.
- Under "Reset this PC," click Get Started.
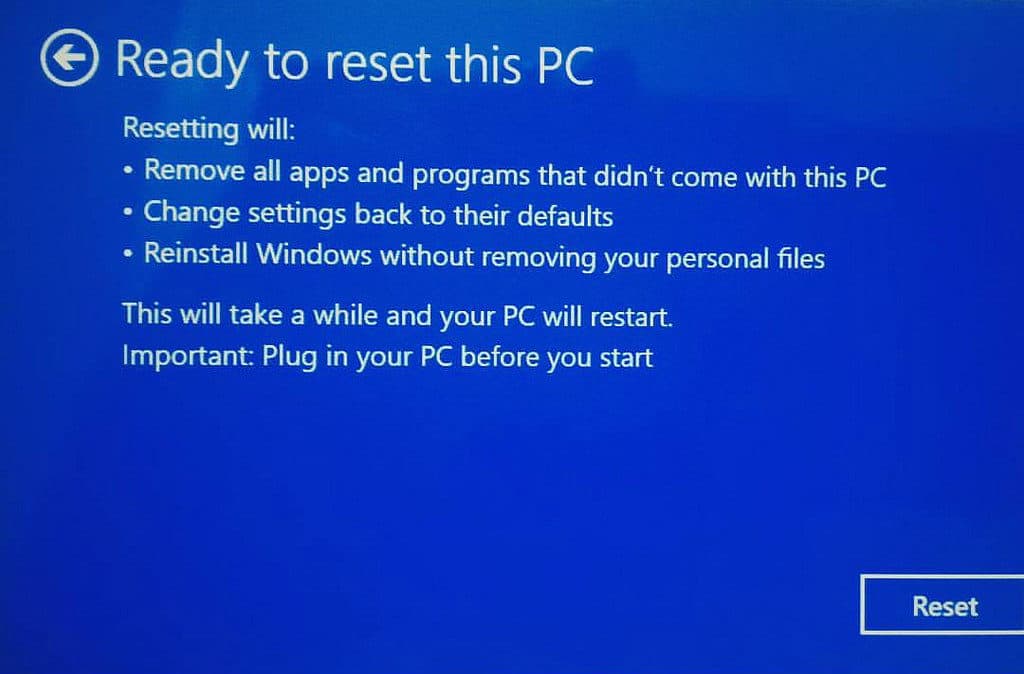
2. Choosing Your Reset Options:
- You will be presented with two options: "Keep my files" and "Remove everything." Select Keep my files to preserve your personal data.
- The system will prompt you to confirm your choice. Click Next to proceed.
3. Resetting Your PC:
- The system will now initiate the reset process, which might take some time.
- During the reset, your PC will restart multiple times.
- Once the process is complete, your system will boot into a fresh and clean state.
Step-by-Step Guide: Performing a Clean Install
1. Backing Up Your Data:
- Before proceeding with a clean install, it is crucial to back up your data to an external drive or cloud storage service. This step ensures that your files are safe and accessible even if something goes wrong during the installation process.
2. Creating a Bootable USB Drive:
- Download the latest Windows 10 ISO file from the official Microsoft website.
- Use a tool like Rufus or the Windows USB/DVD Download Tool to create a bootable USB drive containing the Windows 10 installation files.
3. Booting from the USB Drive:
- Restart your PC and enter the BIOS menu by pressing the appropriate key (usually F2, F10, or Del).
- Configure the boot order to prioritize the USB drive.
- Save the changes and exit the BIOS menu.
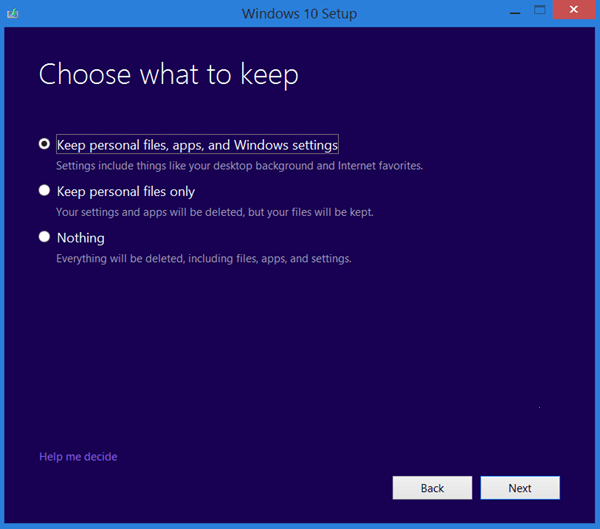
4. Installing Windows 10:
- The Windows 10 setup will launch. Follow the on-screen instructions to complete the installation.
- During the installation process, you will be asked to choose a partition for Windows 10. Select the appropriate partition and format it.
- The installation process will take some time.
5. Restoring Your Data:
- Once the installation is complete, you can restore your backed-up data to your computer.
Navigating Potential Challenges
While refreshing your Windows 10 system can be a beneficial process, it’s important to be aware of potential challenges:
1. Compatibility Issues:
- Some older applications might not be compatible with the latest version of Windows 10. It’s advisable to check for compatibility updates before proceeding with the refresh.
2. Driver Conflicts:
- Driver conflicts can occur after a fresh install. It’s crucial to update all drivers after the refresh to ensure optimal system performance.
3. Data Loss Concerns:
- Although data loss is minimized with the "Keep my files" option during a reset, it’s still essential to back up your data as a precautionary measure.
FAQs: Addressing Common Questions
Q: What happens to my applications after a reset or clean install?
A: All applications installed on your system will be removed during a reset or clean install. You will need to reinstall them after the process is complete.
Q: Will my personal files be deleted during a clean install?
A: Yes, all files on your hard drive will be deleted during a clean install. This is why backing up your data is crucial.
Q: Can I perform a clean install without losing my applications?
A: No, a clean install will erase all data on your hard drive, including applications.
Q: What if I encounter problems during the reset or clean install?
A: It’s always advisable to back up your data before attempting any system refresh. If you encounter problems, you can consult Microsoft support or seek assistance from a qualified technician.
Tips for a Smooth System Refresh:
- Ensure you have a reliable backup of your data before proceeding with any system refresh.
- Check for compatibility updates for your applications before reinstalling them.
- Update all drivers after the refresh to ensure optimal system performance.
- Consider using a clean install for a more thorough system refresh, especially if you are experiencing persistent issues.
- Consult Microsoft support or a qualified technician if you encounter any difficulties.
Conclusion: A Fresh Start for Your Windows 10 System
Refreshing your Windows 10 system can be a valuable endeavor to enhance performance, resolve software conflicts, and eliminate potential malware threats. By choosing the appropriate method, whether it’s a reset or a clean install, you can revitalize your system without sacrificing your valuable data. Remember to prioritize data backup, address potential challenges, and seek assistance if needed. With a well-executed refresh, you can enjoy a smoother, more efficient, and secure Windows 10 experience.


Closure
Thus, we hope this article has provided valuable insights into Rejuvenating Your Windows 10 System: A Guide to Refreshing Without Data Loss. We hope you find this article informative and beneficial. See you in our next article!
Leave a Reply