Panorama Kvm 10.1 3 Qcow2 Download Windows 10
panorama kvm 10.1 3 qcow2 download windows 10
Related Articles: panorama kvm 10.1 3 qcow2 download windows 10
Introduction
With enthusiasm, let’s navigate through the intriguing topic related to panorama kvm 10.1 3 qcow2 download windows 10. Let’s weave interesting information and offer fresh perspectives to the readers.
Table of Content
- 1 Related Articles: panorama kvm 10.1 3 qcow2 download windows 10
- 2 Introduction
- 3 Setting Up a Secure and Efficient Network with Panorama KVM 10.1.3: A Comprehensive Guide
- 3.1 Understanding Panorama KVM 10.1.3 qcow2
- 3.2 Downloading and Preparing the Panorama KVM 10.1.3 qcow2 Image
- 3.3 Setting Up the Panorama VM on KVM
- 3.4 Accessing and Configuring Panorama
- 3.5 FAQs
- 3.6 Tips for Successful Deployment
- 3.7 Conclusion
- 4 Closure
Setting Up a Secure and Efficient Network with Panorama KVM 10.1.3: A Comprehensive Guide
In the realm of network security and management, the Panorama platform from Palo Alto Networks has become a cornerstone for organizations of all sizes. Its centralized management capabilities, robust security features, and user-friendly interface have made it a popular choice for securing and optimizing network infrastructure. This article delves into the process of setting up a Panorama virtual machine (VM) using the Panorama KVM 10.1.3 qcow2 image for Windows 10, exploring its benefits and providing a detailed walkthrough.
Understanding Panorama KVM 10.1.3 qcow2
Panorama KVM 10.1.3 qcow2 is a pre-configured virtual machine image designed specifically for KVM hypervisors. It offers a streamlined approach to deploying Panorama, eliminating the need for manual configuration and installation. The qcow2 format is a popular choice for virtual machine disk images due to its efficient storage and performance capabilities.
Benefits of Using Panorama KVM 10.1.3 qcow2:
- Simplified Deployment: The pre-configured image eliminates the need for manual installation and configuration, significantly reducing deployment time.
- Streamlined Management: Panorama’s centralized management console allows for easy control and configuration of multiple firewalls and other network security devices.
- Enhanced Security: Panorama provides advanced security features such as intrusion prevention, malware protection, and application control, safeguarding the network from threats.
- Improved Efficiency: The platform offers granular reporting and analytics, enabling network administrators to optimize performance and identify potential issues.
- Scalability: Panorama can manage a large number of firewalls, making it suitable for organizations with complex network environments.
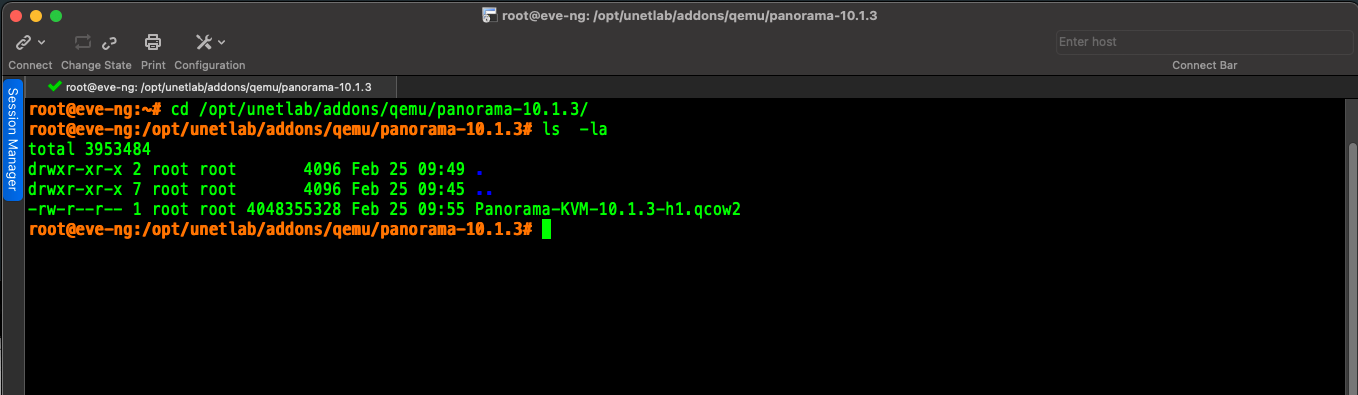
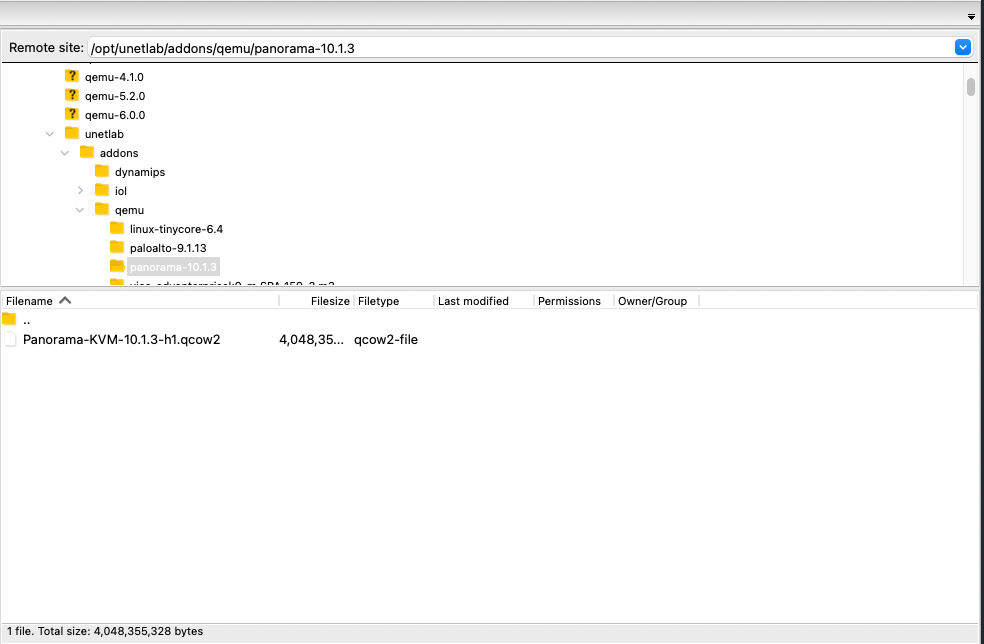
Downloading and Preparing the Panorama KVM 10.1.3 qcow2 Image
The first step in deploying Panorama is to download the qcow2 image from the Palo Alto Networks website. Ensure you have a valid license and access to the download portal. Once downloaded, verify the integrity of the image file using a checksum utility.
System Requirements:
- Hypervisor: KVM (Kernel-based Virtual Machine)
- Operating System: Windows 10 (64-bit)
- Processor: Intel or AMD processor with virtualization support
- Memory: Minimum of 4 GB RAM (8 GB recommended)
- Storage: Minimum of 50 GB disk space (100 GB recommended)
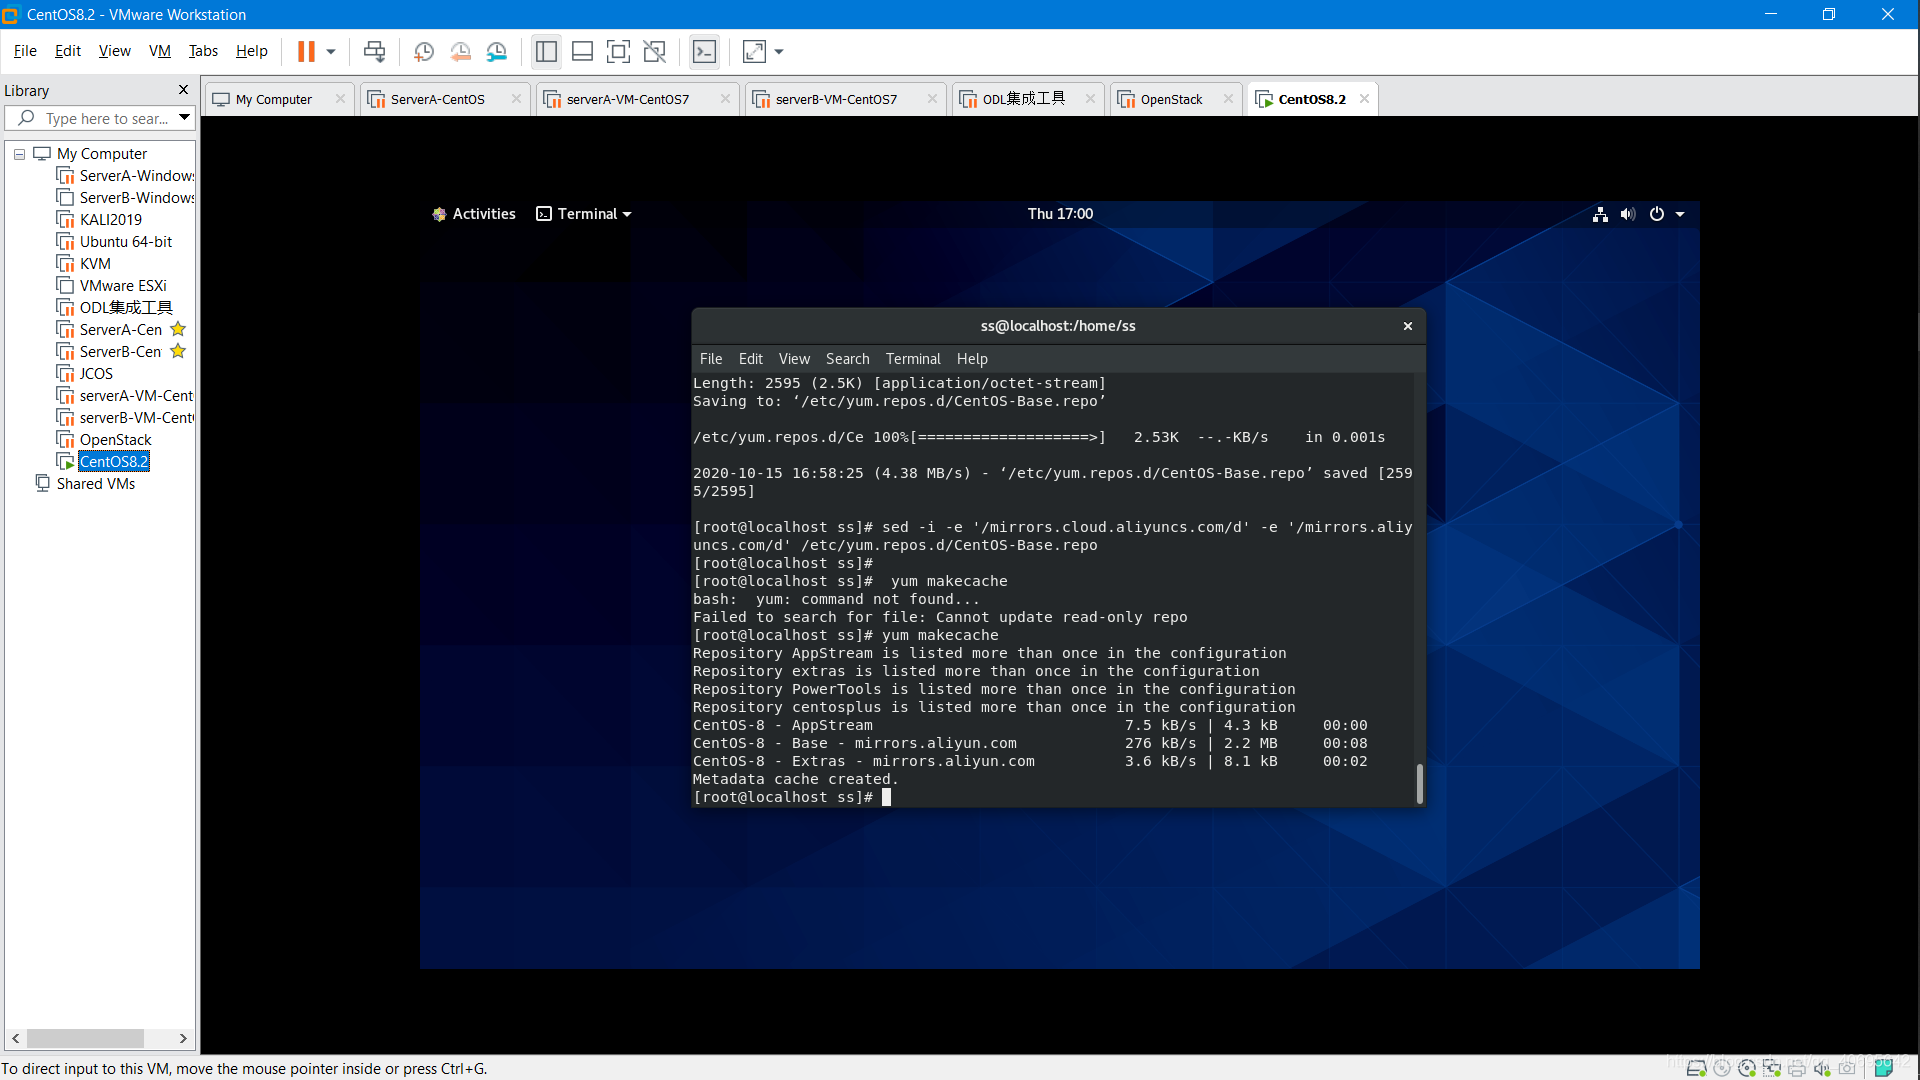
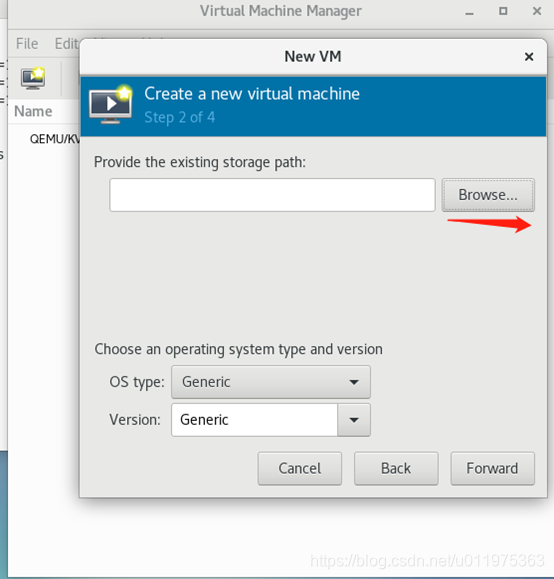
Setting Up the Panorama VM on KVM
With the Panorama qcow2 image downloaded and the system requirements met, you can proceed with creating the virtual machine. This process involves configuring the KVM hypervisor and importing the qcow2 image.
Steps:
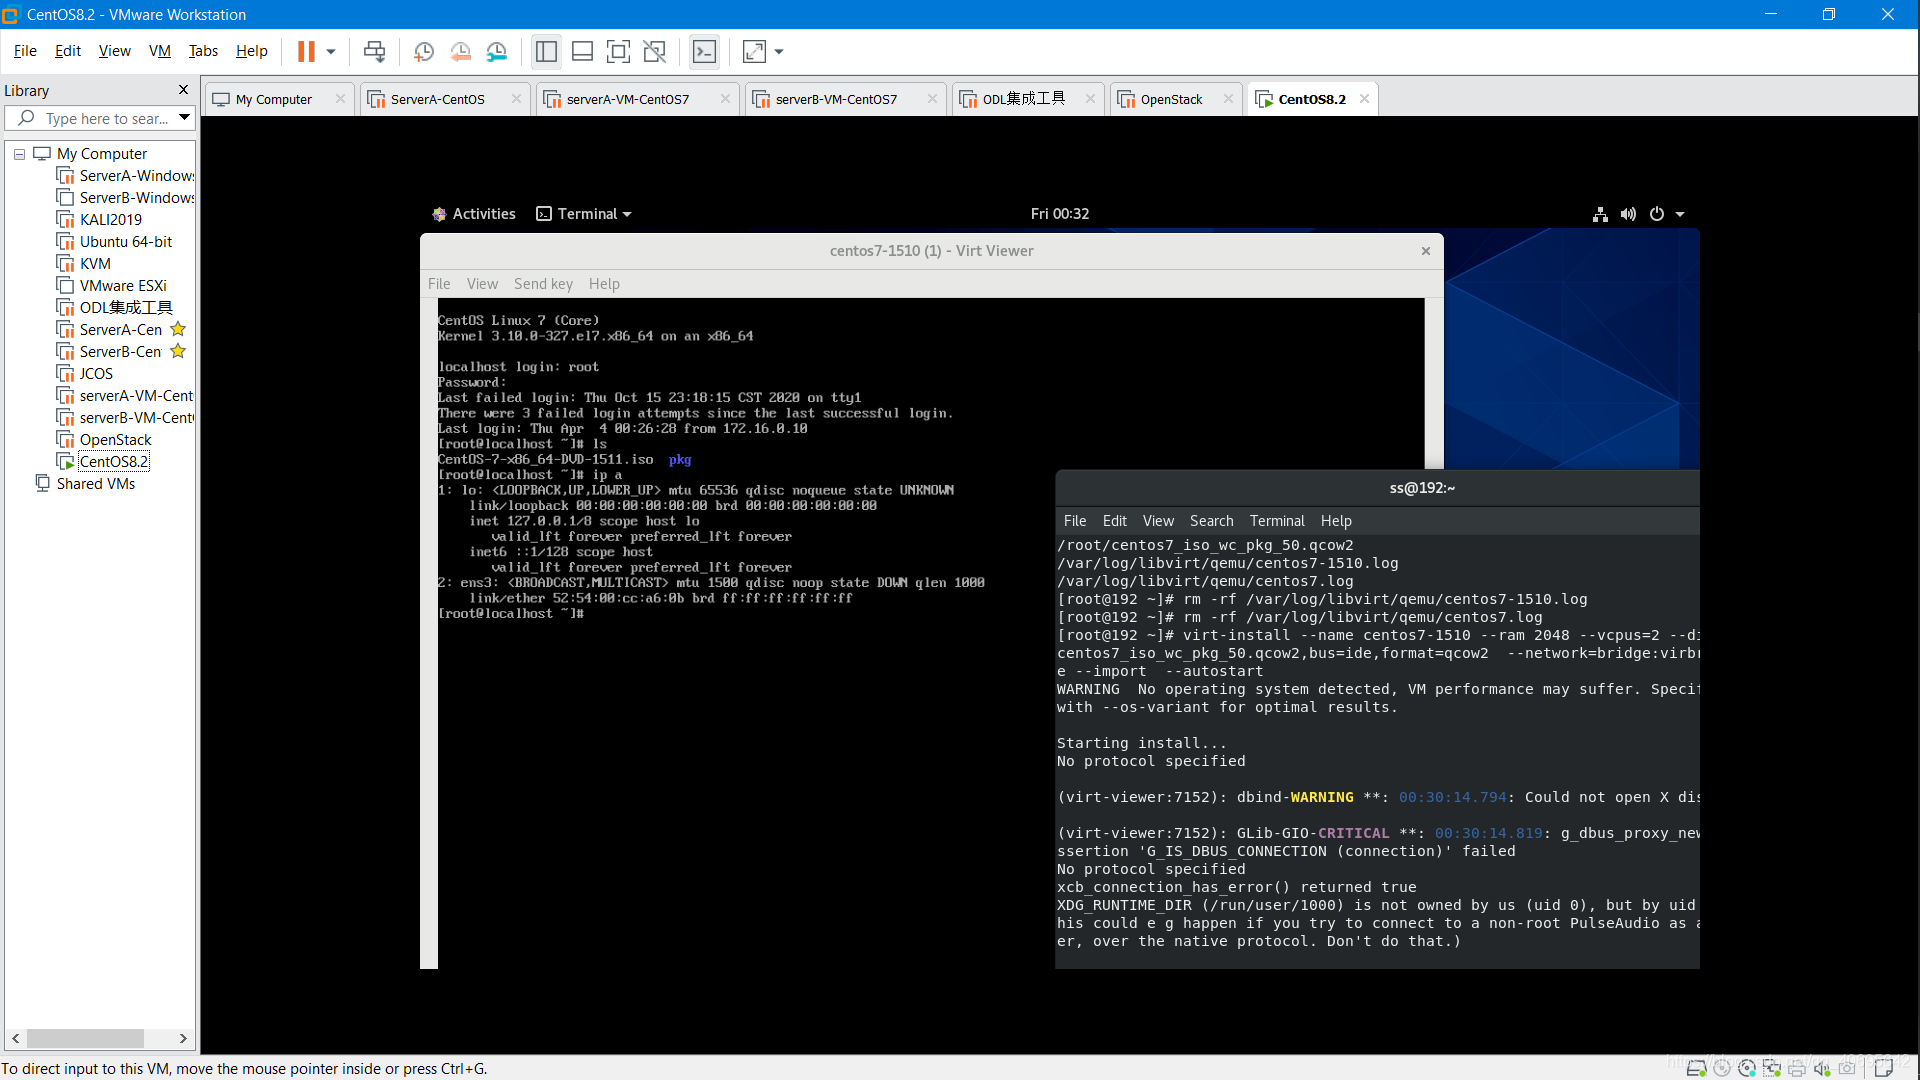
- Install and Configure KVM: Install and configure the KVM hypervisor on your host machine. This involves enabling virtualization in the BIOS and installing the necessary KVM packages.
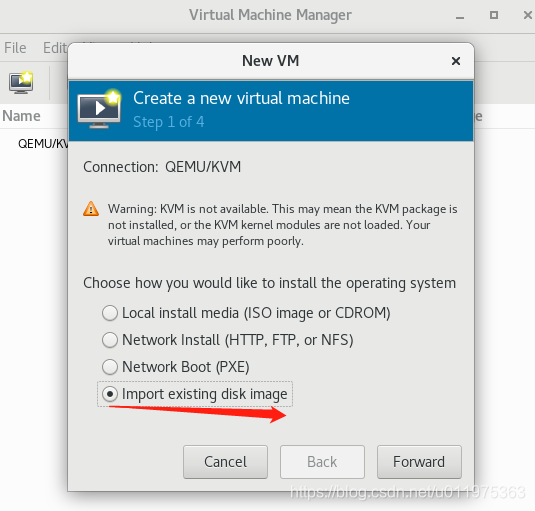
- Create a Virtual Machine: Use the KVM management tools (such as virt-manager) to create a new virtual machine. Specify the required resources (CPU, RAM, storage) and select the downloaded qcow2 image as the disk source.
- Network Configuration: Configure the virtual machine’s network settings. This typically involves creating a virtual network interface and assigning a static IP address.
- Start the VM: Power on the virtual machine. The Panorama installation process will begin automatically.
Accessing and Configuring Panorama
Once the virtual machine boots up, you can access the Panorama management console through a web browser. The default URL is https://<Panorama_IP_address>. The initial login credentials are provided in the Panorama documentation.
Initial Configuration:
- Configure Network Settings: Set up the Panorama device’s network interfaces and IP addresses.
- Create Security Policies: Define security policies to control network traffic and enforce access rules.
- Manage Firewalls: Add and configure firewalls under Panorama’s management.
- Deploy Security Profiles: Implement security profiles for specific applications and protocols.
- Monitor and Analyze: Utilize Panorama’s reporting and analytics features to gain insights into network activity and security posture.
FAQs
Q: What are the minimum system requirements for running Panorama KVM 10.1.3?
A: The minimum system requirements include a KVM hypervisor, Windows 10 (64-bit), 4 GB RAM, and 50 GB disk space. It is recommended to allocate more resources for optimal performance.
Q: Can I use the Panorama KVM 10.1.3 qcow2 image with other hypervisors?
A: The qcow2 image is specifically designed for KVM hypervisors. Using it with other hypervisors may result in compatibility issues.
Q: How do I obtain a valid Panorama license?
A: Contact Palo Alto Networks for licensing information and purchase options.
Q: What are the security implications of using a pre-configured Panorama image?
A: The pre-configured image is developed and tested by Palo Alto Networks, ensuring security and reliability. However, it is still essential to maintain good security practices and regularly update the system.
Tips for Successful Deployment
- Back Up Your Data: Before making any changes to the Panorama configuration, create a backup of the system.
- Test Thoroughly: Conduct thorough testing of the Panorama configuration and policies before deploying them in production.
- Monitor Performance: Regularly monitor the performance of the Panorama VM and adjust resources as needed.
- Stay Updated: Keep the Panorama platform and its components up to date with the latest security patches and updates.
Conclusion
Deploying Panorama KVM 10.1.3 qcow2 on Windows 10 provides a robust and efficient solution for managing and securing network infrastructure. Its pre-configured image simplifies the deployment process, while its centralized management capabilities, advanced security features, and comprehensive reporting tools empower organizations to achieve optimal network performance and security posture. By following the steps outlined in this guide, organizations can effectively leverage Panorama to protect their network assets and ensure business continuity.


Closure
Thus, we hope this article has provided valuable insights into panorama kvm 10.1 3 qcow2 download windows 10. We thank you for taking the time to read this article. See you in our next article!
Leave a Reply