Navigating The Upgrade: Understanding The Removal Of Windows 10 After Installing Windows 11
Navigating the Upgrade: Understanding the Removal of Windows 10 After Installing Windows 11
Related Articles: Navigating the Upgrade: Understanding the Removal of Windows 10 After Installing Windows 11
Introduction
With great pleasure, we will explore the intriguing topic related to Navigating the Upgrade: Understanding the Removal of Windows 10 After Installing Windows 11. Let’s weave interesting information and offer fresh perspectives to the readers.
Table of Content
Navigating the Upgrade: Understanding the Removal of Windows 10 After Installing Windows 11

The transition to Windows 11 often involves a decision regarding the fate of the previous Windows 10 installation. While the upgrade process itself might seem straightforward, the question of whether to retain or remove the older operating system requires careful consideration. This article delves into the intricacies of this choice, outlining the advantages and disadvantages of each path, and providing a comprehensive guide to managing the removal process effectively.
Understanding the Decision: Retain or Remove?
The choice between retaining or removing Windows 10 after upgrading to Windows 11 hinges on a variety of factors, including individual needs, system resources, and future upgrade plans.
Retaining Windows 10: A Dual Boot Environment
Opting to retain Windows 10 creates a dual boot environment, allowing users to seamlessly switch between both operating systems. This approach offers several advantages:
- Reverting to Windows 10: Retaining the previous installation serves as a safety net, enabling users to revert back to Windows 10 if they encounter issues with Windows 11 or simply prefer the older operating system.
- Dual Operating System Functionality: A dual boot setup allows users to leverage the strengths of both operating systems. For instance, users can utilize Windows 11 for its newer features while relying on Windows 10 for specific applications or tasks that may not be fully compatible with the newer operating system.
- Testing Windows 11: Retaining Windows 10 allows for a gradual transition, enabling users to test Windows 11 alongside their existing system before committing to a complete switch.
However, retaining Windows 10 also comes with potential drawbacks:
- Increased Storage Consumption: Maintaining both operating systems consumes significant disk space, potentially leading to storage constraints, especially on systems with limited storage capacity.
- System Resource Competition: Running two operating systems simultaneously can strain system resources, leading to slower performance and potential instability.
- Potential for Compatibility Issues: While dual booting allows for flexibility, it also introduces the possibility of compatibility issues between the two operating systems, potentially affecting application performance or system stability.
Removing Windows 10: A Clean Slate
Removing Windows 10 after upgrading to Windows 11 provides a clean slate, freeing up valuable disk space and simplifying system management. This approach offers the following benefits:
- Increased Storage Space: Removing Windows 10 frees up significant disk space, allowing for greater storage capacity for applications, files, and other data.
- Optimized Performance: A single operating system environment generally leads to improved system performance due to reduced resource contention and streamlined system processes.
- Streamlined System Management: Managing a single operating system simplifies system maintenance and troubleshooting, as users only need to focus on the installed version of Windows.
However, removing Windows 10 also carries certain risks:
- Irreversible Decision: Once removed, Windows 10 cannot be easily recovered without a backup. Users should ensure they have a complete backup of their data before proceeding with the removal.
- Limited Reverting Options: While Windows 11 offers a rollback feature, it is limited in its scope and may not be suitable for all situations. Removing Windows 10 eliminates this option entirely.
- Potential for Data Loss: Improper removal of Windows 10 can potentially lead to data loss, especially if the removal process is interrupted or not performed correctly.
The Removal Process: A Step-by-Step Guide
The process of removing Windows 10 after upgrading to Windows 11 involves several steps, each requiring careful attention to ensure a smooth and successful removal.
- Backup Data: Before proceeding with the removal, it is crucial to create a complete backup of all important data. This backup should include all personal files, applications, and system settings.
- Disable BitLocker: If BitLocker encryption is enabled on the drive containing Windows 10, it must be disabled before proceeding with the removal process. Failure to do so can result in data loss.
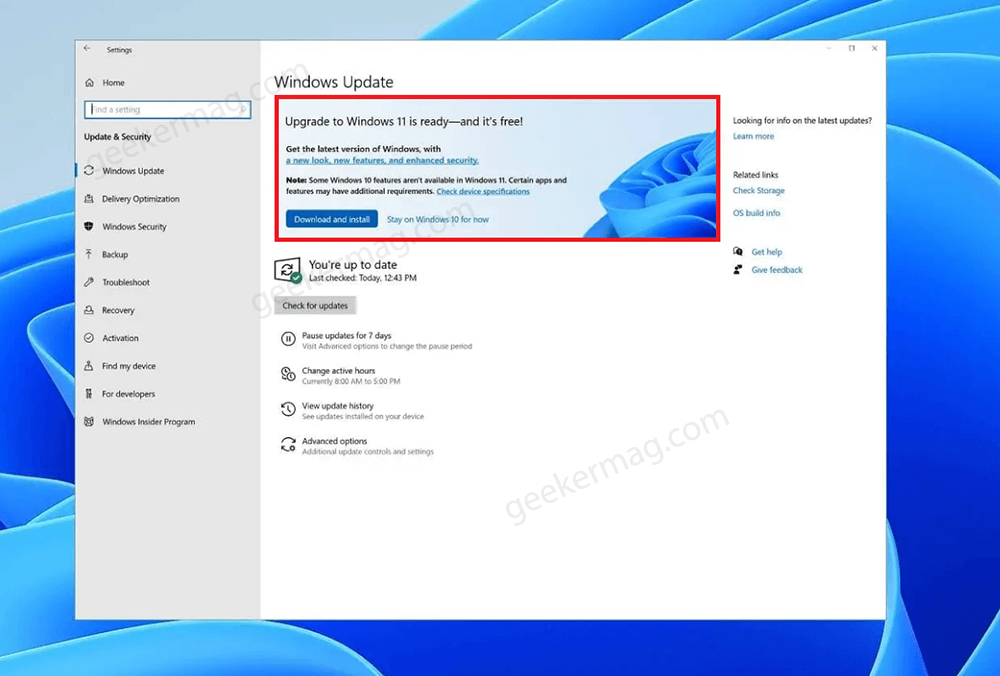
- Prepare the Windows 11 Installation: Ensure that Windows 11 is installed and functioning properly. It is advisable to perform any necessary updates and ensure all critical applications are installed.
- Access Recovery Options: Open the Settings app in Windows 11 and navigate to "System" > "Recovery." Click "Advanced Startup" and then "Restart now."
- Troubleshoot Options: On the recovery screen, select "Troubleshoot" > "Advanced options" > "Command Prompt."
-
Clean Installation: In the command prompt window, type
diskpartand press Enter. Then, typelist diskto list all connected disks. Identify the disk containing Windows 10 and note its number. Typeselect disk <disk number>to select the disk. -
Clean the Partition: Type
cleanto erase all data on the disk. This step is irreversible and will permanently delete all data on the selected disk. -
Create a New Partition: Type
create partition primaryto create a new primary partition on the disk. This partition will be used to install Windows 11. -
Format the Partition: Type
format fs=ntfs quickto format the newly created partition as NTFS. This process will prepare the partition for Windows 11 installation. -
Assign a Drive Letter: Type
assign letter=<drive letter>to assign a drive letter to the newly formatted partition. This letter will be used to access the partition during the Windows 11 installation. -
Exit DiskPart: Type
exitto exit DiskPart. - Exit Command Prompt: Close the command prompt window.
- Install Windows 11: Restart the computer and start the Windows 11 installation process. The installation will proceed normally, using the newly created partition as the target installation location.
FAQs: Addressing Common Questions
Q: Can I remove Windows 10 after upgrading to Windows 11 without reinstalling Windows 11?
A: No, removing Windows 10 after upgrading to Windows 11 requires a clean installation of Windows 11. This is because the upgrade process modifies the existing Windows 10 installation, making it incompatible with a direct removal.
Q: Is it safe to remove Windows 10 after upgrading to Windows 11?
A: Removing Windows 10 after upgrading to Windows 11 is generally safe if performed correctly. However, it is crucial to follow the steps outlined above and ensure a complete backup of all important data before proceeding.
Q: What happens to my data when I remove Windows 10?
A: Removing Windows 10 will delete all data located on the partition containing the Windows 10 installation. This includes all applications, settings, and personal files. It is essential to have a complete backup of all important data before proceeding with the removal process.
Q: Can I revert back to Windows 10 after removing it?
A: Once Windows 10 is removed, it cannot be easily recovered without a backup. However, users can create a system image backup before removing Windows 10, which can be used to restore the system to its previous state.
Tips for Success: Maximizing the Removal Process
- Thorough Backup: Ensure a complete backup of all critical data before proceeding with the removal process.
- Verify Disk Space: Check available disk space before removing Windows 10. Ensure sufficient space is available for the Windows 11 installation and other data.
- System Updates: Keep both Windows 10 and Windows 11 updated with the latest patches and drivers to ensure compatibility and stability.
- Test Windows 11: Thoroughly test Windows 11 before removing Windows 10 to ensure that all necessary applications and drivers are working correctly.
Conclusion: A Strategic Choice for System Optimization
The decision to retain or remove Windows 10 after upgrading to Windows 11 is a strategic one that requires careful consideration. While retaining Windows 10 offers flexibility and a safety net, it comes with potential drawbacks in terms of resource consumption and system complexity. Removing Windows 10, on the other hand, provides a clean slate, optimizing system performance and streamlining management. Ultimately, the best approach depends on individual needs, system resources, and future upgrade plans. By understanding the implications of each option and following the provided guidance, users can navigate the removal process effectively and ensure a smooth transition to Windows 11.


Closure
Thus, we hope this article has provided valuable insights into Navigating the Upgrade: Understanding the Removal of Windows 10 After Installing Windows 11. We hope you find this article informative and beneficial. See you in our next article!
Leave a Reply