Navigating The Installation Process: A Comprehensive Guide To Installing Windows 11
Navigating the Installation Process: A Comprehensive Guide to Installing Windows 11
Related Articles: Navigating the Installation Process: A Comprehensive Guide to Installing Windows 11
Introduction
In this auspicious occasion, we are delighted to delve into the intriguing topic related to Navigating the Installation Process: A Comprehensive Guide to Installing Windows 11. Let’s weave interesting information and offer fresh perspectives to the readers.
Table of Content
Navigating the Installation Process: A Comprehensive Guide to Installing Windows 11

The release of Windows 11 marked a significant milestone in the evolution of Microsoft’s operating system. This latest version boasts a refined user interface, enhanced security features, and a focus on improved performance. However, the installation process, while not overly complex, requires a methodical approach and attention to detail. This comprehensive guide will provide a step-by-step walkthrough, addressing common challenges and offering valuable tips for a smooth installation experience.
Understanding the Prerequisites
Before embarking on the installation process, it is crucial to ensure your system meets the minimum requirements. Windows 11 demands a certain level of hardware capability to function optimally. These requirements include:
- Processor: 1 gigahertz (GHz) or faster with 2 or more cores.
- RAM: 4 gigabytes (GB) of RAM.
- Storage: 64 GB or larger storage device.
- System Firmware: UEFI, Secure Boot capable.
- Graphics Card: Compatible with DirectX 12 or later, with WDDM 2.x driver.
- Display: High Definition (720p) display that is at least 9 inches diagonally.
- Internet connection: Required for some features and to complete the installation.
Methods of Installation
There are two primary methods for installing Windows 11:
- Clean Installation: This method involves erasing the entire hard drive and installing Windows 11 from scratch. This approach is ideal for users seeking a fresh start, eliminating any existing software or system issues.
- Upgrade Installation: This method allows you to upgrade your existing Windows 10 installation to Windows 11. This option preserves your personal files, applications, and settings, simplifying the transition.
Preparing for Installation
Irrespective of the chosen method, several steps must be taken to prepare for the installation:
- Backup: Before proceeding with the installation, create a comprehensive backup of your data. This includes personal files, applications, and important system settings. Backups can be stored on external hard drives, cloud storage services, or other secure locations.
- Check Compatibility: Verify that all your essential hardware components, including peripherals, are compatible with Windows 11. Consult the manufacturer’s website or the Windows Compatibility Checker tool for detailed information.
- Disable Antivirus Software: Temporarily disable your antivirus software to avoid conflicts during the installation process. It is recommended to re-enable the software once the installation is complete.
- Disconnect External Devices: Disconnect any unnecessary external devices, such as printers, scanners, and external hard drives, to minimize potential conflicts.
Installing Windows 11 via Clean Installation
- Create a Bootable USB Drive: Download the Windows 11 ISO file from Microsoft’s official website. Use a tool like Rufus or the Windows USB/DVD Download Tool to create a bootable USB drive containing the installation files.
- Boot from USB Drive: Restart your computer and access the BIOS settings. Configure the boot order to prioritize the USB drive.
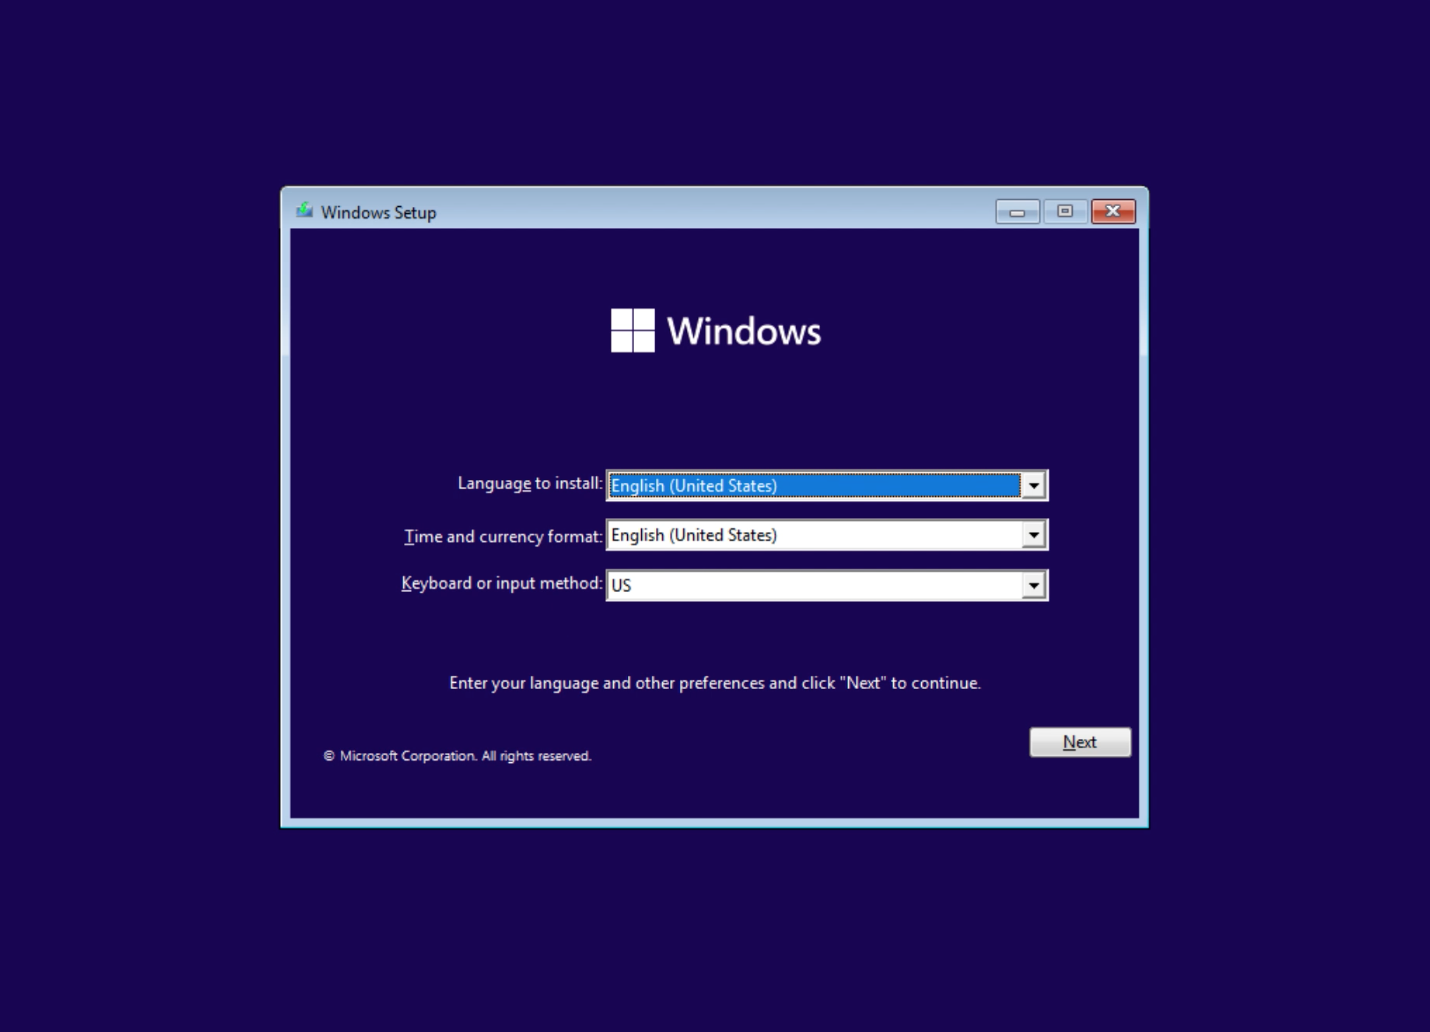
- Install Windows 11: Follow the on-screen instructions to initiate the installation process. Select the desired language, time zone, and keyboard layout.
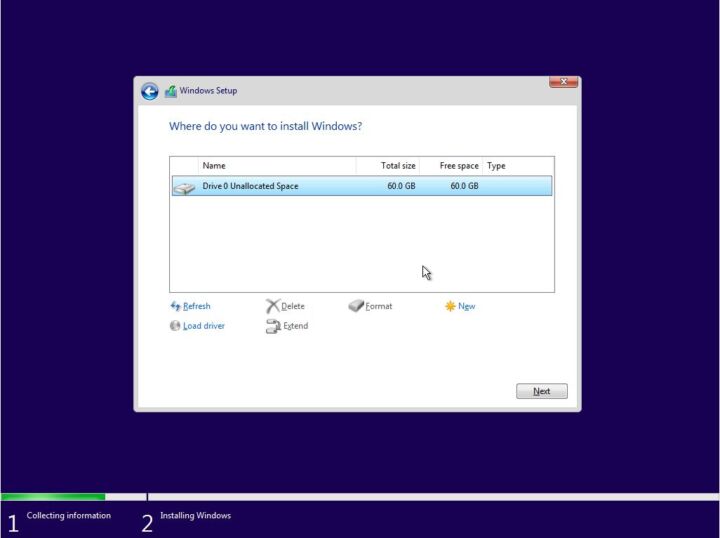
- Format the Hard Drive: Choose the option to format the entire hard drive to ensure a clean installation. This will erase all data, so ensure you have a backup.
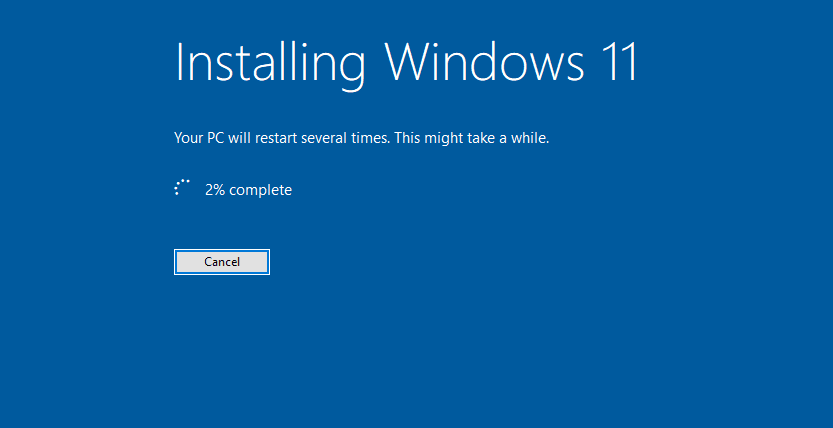
- Install Windows 11: The installation process will commence, requiring several minutes to complete.
- Configure Settings: Once the installation is finished, you will be prompted to set up your user account, configure language settings, and connect to the internet.
Installing Windows 11 via Upgrade Installation
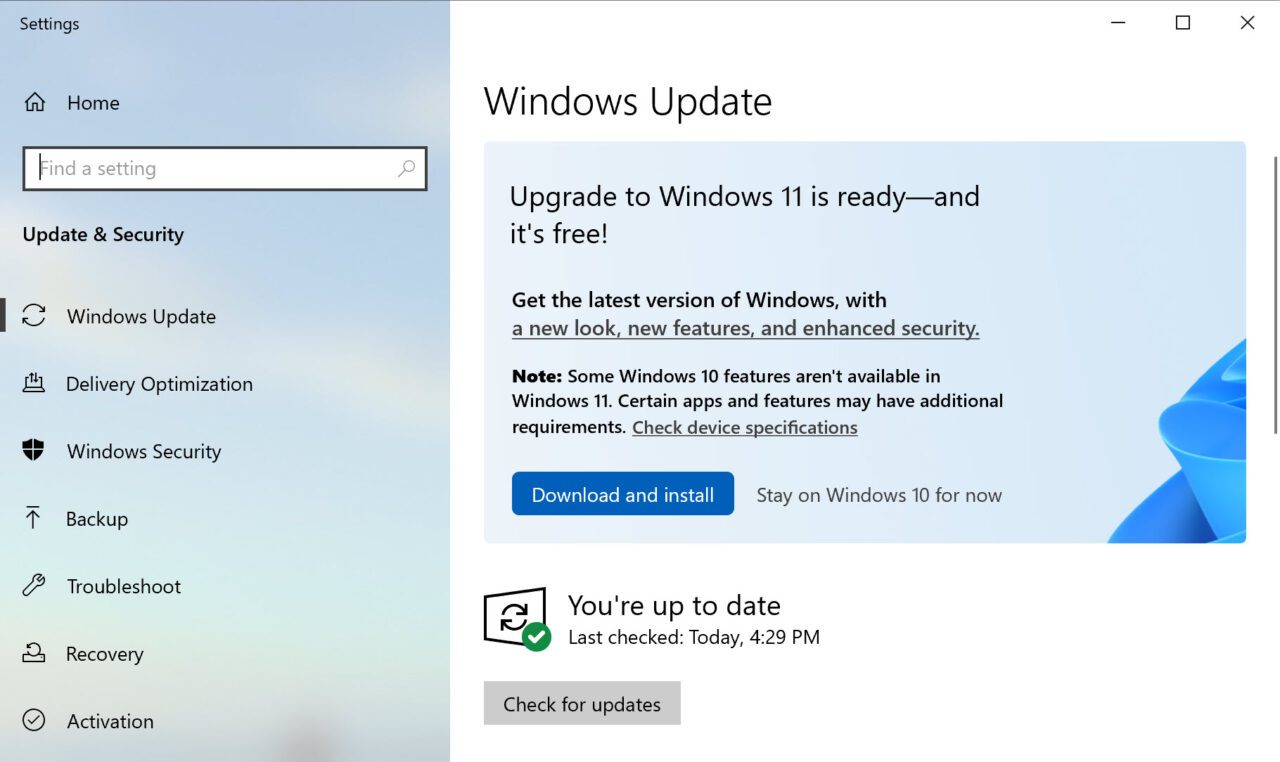
- Check for Updates: Ensure your Windows 10 system is up-to-date by checking for updates through the Windows Update settings.
- Download Windows 11: Access the Windows 11 installation assistant from Microsoft’s official website. The tool will automatically check your system’s compatibility and initiate the download process.
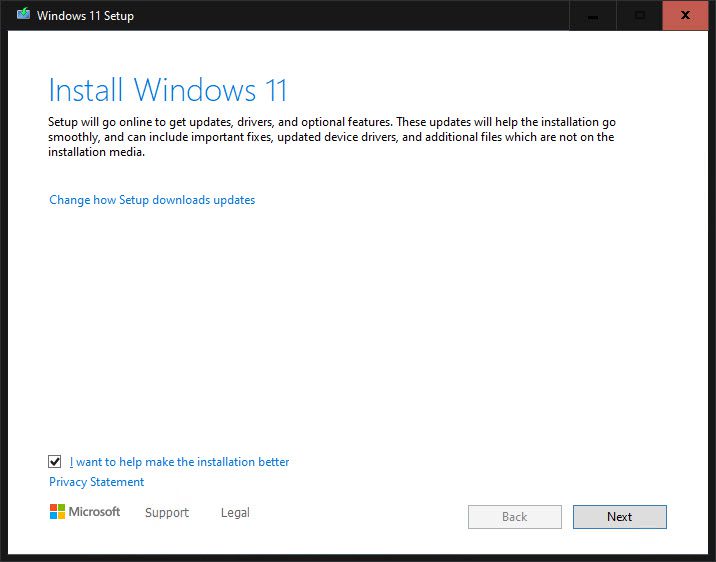
- Install Windows 11: Follow the on-screen instructions to complete the upgrade installation. The process will take some time depending on your system’s configuration and the size of your data.
- Restart: Once the upgrade is complete, your computer will restart, and you will be greeted with the Windows 11 desktop.
Troubleshooting Common Installation Issues
Despite following the instructions meticulously, installation issues can arise. Some common challenges and their potential solutions are listed below:
- Compatibility Errors: If your system does not meet the minimum requirements, you may encounter compatibility errors. Ensure your hardware meets the specified criteria.
- Installation Failure: If the installation process fails unexpectedly, try restarting the computer and retrying the installation. You can also consult Microsoft’s support website for detailed troubleshooting steps.
- Driver Issues: After installing Windows 11, you may encounter driver issues with specific hardware components. Visit the manufacturer’s website to download and install the latest drivers.
- Boot Errors: If your computer fails to boot after the installation, try booting into safe mode and running a system repair tool.
Frequently Asked Questions (FAQs)
Q: Can I install Windows 11 on a virtual machine?
A: Yes, you can install Windows 11 on a virtual machine, such as VMware or VirtualBox. However, ensure the virtual machine’s settings meet the minimum requirements.
Q: What happens to my data during an upgrade installation?
A: An upgrade installation preserves your personal files, applications, and settings. However, it is still recommended to have a backup in case of unforeseen issues.
Q: Can I downgrade from Windows 11 to Windows 10?
A: Yes, you can downgrade to Windows 10 within a certain timeframe after installing Windows 11. However, this may involve data loss and requires specific steps.
Q: Is Windows 11 free?
A: Windows 11 is free for eligible devices that are running Windows 10. However, new devices may require a purchase.
Tips for a Smooth Installation
- Ensure sufficient disk space: Ensure you have enough free space on your hard drive to accommodate the Windows 11 installation files and any additional applications.
- Disable unnecessary startup programs: Close any unnecessary programs and applications before initiating the installation to optimize system performance.
- Use a wired internet connection: If possible, use a wired internet connection for a more stable and reliable connection during the installation process.
- Consider a clean installation: For a fresh start and to avoid potential conflicts, a clean installation is often recommended.
Conclusion
Installing Windows 11, while a seemingly complex process, can be achieved successfully with careful planning and execution. This comprehensive guide provided a step-by-step walkthrough, addressing common challenges and offering valuable tips for a smooth installation experience. Remember to back up your data, check compatibility, and follow the instructions meticulously. By adhering to these steps, you can confidently install Windows 11 and enjoy its enhanced features and performance.


Closure
Thus, we hope this article has provided valuable insights into Navigating the Installation Process: A Comprehensive Guide to Installing Windows 11. We hope you find this article informative and beneficial. See you in our next article!
Leave a Reply