Navigating And Accessing Files On The D Drive In Windows 10: A Comprehensive Guide
Navigating and Accessing Files on the D Drive in Windows 10: A Comprehensive Guide
Related Articles: Navigating and Accessing Files on the D Drive in Windows 10: A Comprehensive Guide
Introduction
With great pleasure, we will explore the intriguing topic related to Navigating and Accessing Files on the D Drive in Windows 10: A Comprehensive Guide. Let’s weave interesting information and offer fresh perspectives to the readers.
Table of Content
Navigating and Accessing Files on the D Drive in Windows 10: A Comprehensive Guide
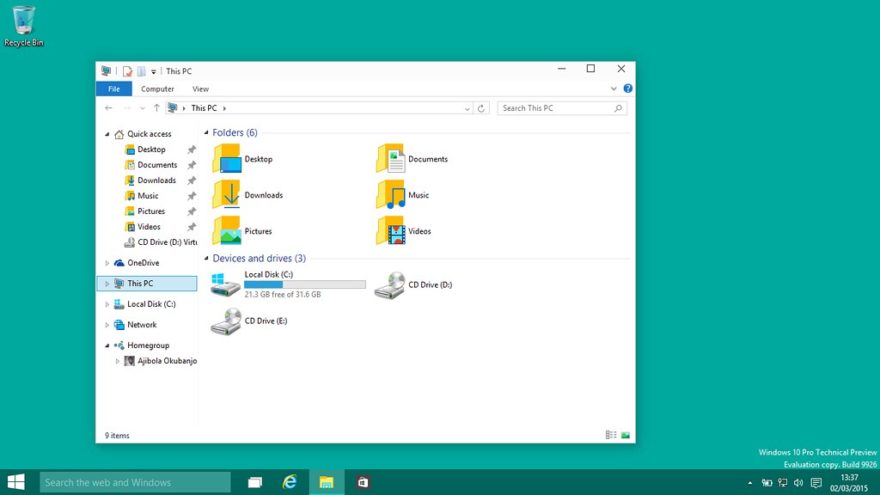
The D drive, along with other lettered drives (such as C, E, F, etc.), represents a storage location within your Windows 10 computer. These drives can be physical hard drives, solid-state drives (SSDs), external storage devices like USB drives, or even network drives. Understanding how to access and manage files on the D drive is crucial for effective file organization and system administration.
Understanding Drive Letters and File Systems
Windows assigns a letter to each storage device connected to your computer. The C drive usually represents the primary hard drive where the operating system is installed. The D drive, and subsequent letters, are allocated to additional storage devices.
Each drive utilizes a file system, which is a hierarchical structure that organizes files and folders. Windows typically uses the NTFS (New Technology File System) for its internal drives, providing advanced features like security permissions, data compression, and journaling. Understanding the file system is crucial for navigating and managing files effectively.
Accessing Files on the D Drive
There are several ways to access files stored on the D drive in Windows 10:
1. Using File Explorer:
- Open File Explorer: Click the File Explorer icon on the taskbar or press the Windows key + E.
- Navigate to the D Drive: In the left pane, you will see a list of drives. Click on "This PC" or "Computer" to view the available drives. Locate the D drive and double-click it to access its contents.
- Browse Folders and Files: Once you’re in the D drive, you can navigate through folders and locate specific files using the navigation pane or the address bar.
2. Using the Search Bar:
- Open the Search Bar: Click the search bar on the taskbar or press the Windows key + S.
- Type the File Name: Enter the name of the file you are looking for.
- Filter by Location: Click the "Show more" button and select "This PC" or "Computer" from the drop-down menu.
- Select the D Drive: Check the box next to the D drive to limit the search to that specific drive.
3. Using the Run Command:
- Open the Run Command: Press the Windows key + R.
- Type the Path: In the "Open" field, type "D:" followed by the path to the file or folder you want to access. For example, to open a folder named "Documents" on the D drive, type "D:Documents" and click "OK."
4. Using Shortcuts:
- Create a Shortcut: Right-click on the desired file or folder on the D drive and select "Create shortcut."
- Move the Shortcut: Drag and drop the shortcut to a convenient location, like the desktop or the Quick Access bar in File Explorer.
5. Using Network Drives:
- Connect to a Network Drive: If the D drive is a network drive, you can access it by clicking "This PC" or "Computer" in File Explorer, selecting "Map network drive," and entering the network path.
Managing Files on the D Drive
Once you have accessed the D drive, you can perform various file management operations, including:
- Creating Folders: Right-click on an empty space in the D drive window and select "New" > "Folder." Give the folder a name and click "OK."
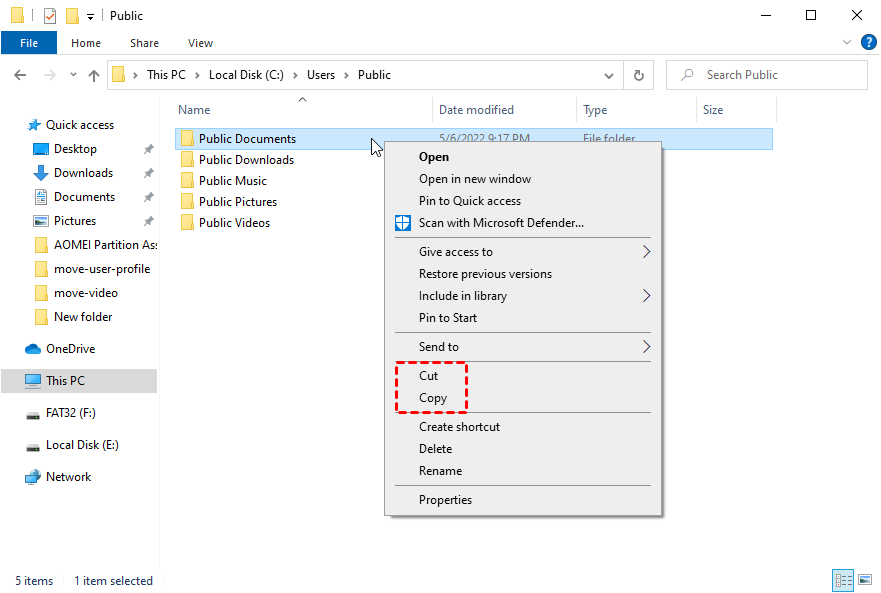
- Copying Files: Select the files you want to copy, right-click, and choose "Copy." Then, navigate to the desired destination folder on the D drive and right-click, selecting "Paste."
- Moving Files: Select the files you want to move, right-click, and choose "Cut." Then, navigate to the desired destination folder on the D drive and right-click, selecting "Paste."
- Deleting Files: Select the files you want to delete, right-click, and choose "Delete."
- Renaming Files: Right-click on the file you want to rename, select "Rename," and type the new name.
Benefits of Using the D Drive
- Increased Storage Capacity: The D drive provides additional storage space beyond the primary hard drive (C drive).
- File Organization: Separating files onto different drives allows for better organization and easier retrieval.
- Data Backup and Recovery: The D drive can be used to store backups of important data, ensuring its safety in case of system failure.
- System Performance Enhancement: By moving large files or programs from the C drive to the D drive, you can potentially improve system performance.
Troubleshooting Common Issues
- Drive Not Showing: If the D drive is not visible in File Explorer, ensure it is properly connected and powered on. Check the device manager for any errors related to the drive.
- Access Denied: If you encounter an "Access denied" error, you may not have sufficient permissions to access the drive or its files. Contact the system administrator or change the permissions accordingly.
- Drive Not Recognized: If the D drive is not recognized by Windows, check the drive’s connection, ensure the driver software is up-to-date, and try troubleshooting using the Device Manager.
FAQs
Q: How do I format the D drive?
A: Formatting a drive erases all data on it. To format the D drive, open Disk Management (right-click "This PC" or "Computer" and select "Manage" > "Disk Management"), right-click the D drive, and select "Format." Choose a file system (typically NTFS) and click "Start."
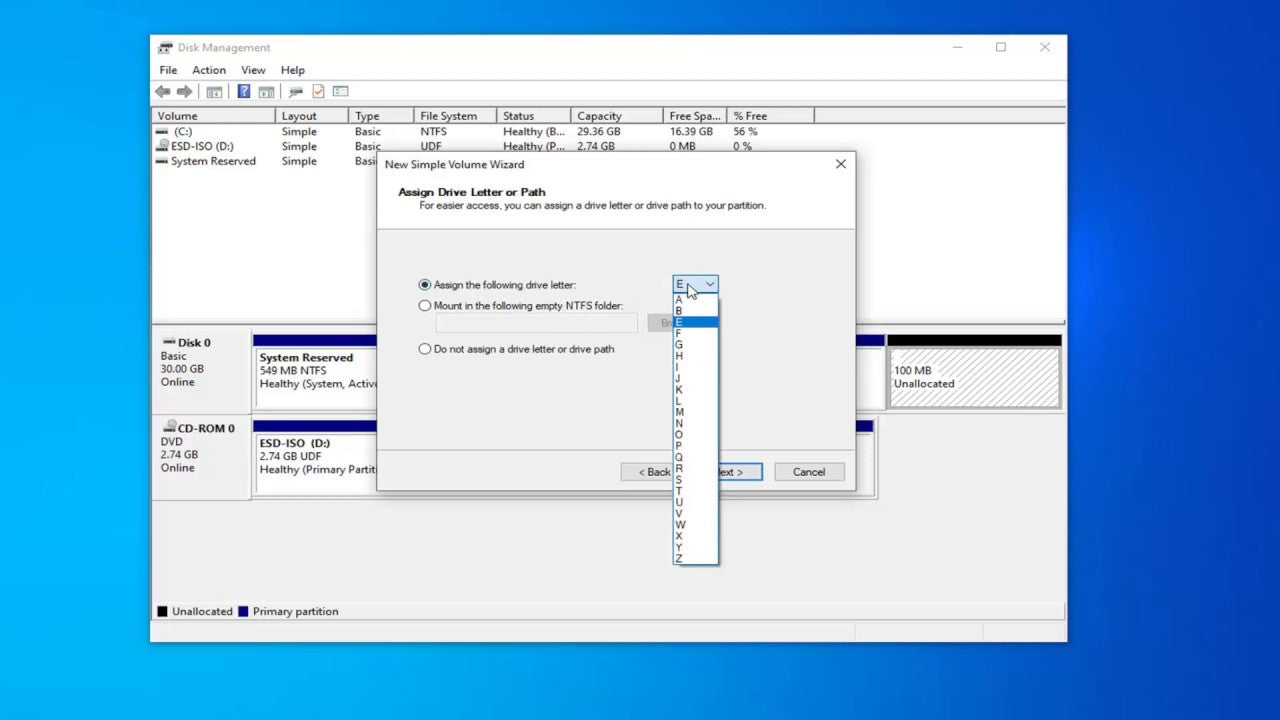
Q: Can I change the drive letter of the D drive?
A: Yes, you can change the drive letter using Disk Management. Right-click the D drive, select "Change Drive Letter and Paths," and click "Change." Choose a new letter and click "OK."
Q: How do I transfer files from the C drive to the D drive?
A: To transfer files, use the copy or move methods described earlier in the "Managing Files on the D Drive" section.
Q: What happens if I delete the D drive?
A: Deleting a drive erases all data on it and makes it unusable. Ensure you have backed up any important data before deleting a drive.
Tips
- Regularly Back Up Data: Back up important files and folders to the D drive or external storage to prevent data loss.
- Use File Explorer’s Search Function: Utilize the search bar to quickly locate files on the D drive.
- Organize Files into Folders: Create folders to categorize files and improve file management.
- Monitor Drive Space: Keep track of available space on the D drive to avoid running out of storage.
- Maintain Drive Health: Regularly check the D drive for errors and perform disk cleanup to optimize its performance.
Conclusion
Understanding how to access and manage files on the D drive is essential for maximizing storage capacity, organizing data, and enhancing overall system performance. By utilizing the methods and tips outlined in this guide, you can effectively navigate the D drive and ensure your files are safely stored and easily accessible. Remember to regularly back up important data, keep your storage devices healthy, and maintain proper file organization to optimize your Windows 10 experience.

:max_bytes(150000):strip_icc()/how-to-access-an-external-hard-drive-on-windows-10-51916435-51d76a861a1a4ac6bd645ac380b4f4f0.jpg)

Closure
Thus, we hope this article has provided valuable insights into Navigating and Accessing Files on the D Drive in Windows 10: A Comprehensive Guide. We hope you find this article informative and beneficial. See you in our next article!
Leave a Reply