Navigating Account Management In Windows 11: A Comprehensive Guide
Navigating Account Management in Windows 11: A Comprehensive Guide
Related Articles: Navigating Account Management in Windows 11: A Comprehensive Guide
Introduction
With enthusiasm, let’s navigate through the intriguing topic related to Navigating Account Management in Windows 11: A Comprehensive Guide. Let’s weave interesting information and offer fresh perspectives to the readers.
Table of Content
Navigating Account Management in Windows 11: A Comprehensive Guide
Windows 11, with its streamlined interface and enhanced features, offers a more user-friendly experience than its predecessors. However, the process of managing user accounts can still present challenges, particularly when it comes to removing accounts from the system. This article aims to provide a detailed guide on removing accounts from Windows 11, addressing common concerns and offering practical tips to ensure a smooth and secure experience.
Understanding User Accounts in Windows 11
Before delving into the intricacies of account removal, it is essential to understand the different types of accounts available in Windows 11.
- Local Accounts: These accounts are specific to the individual computer and do not rely on an external server for authentication. They are typically used for single-user systems or for users who prefer not to connect to an online account.
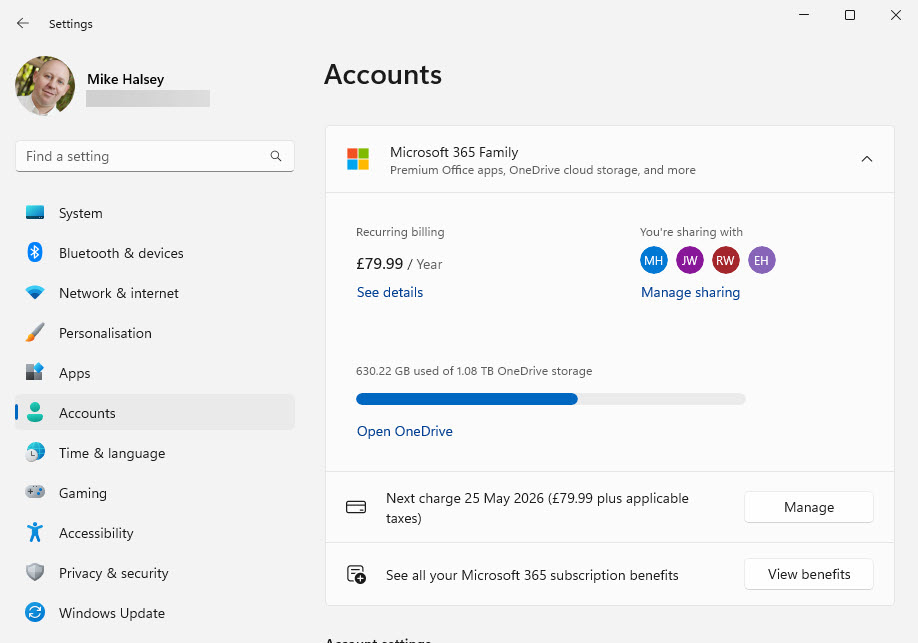
- Microsoft Accounts: These accounts are linked to a user’s Microsoft email address and provide access to various online services like OneDrive, Microsoft Store, and Xbox Live. They are often used for syncing settings and data across multiple devices.
The Importance of Account Removal
Removing accounts from Windows 11 is not just about clearing up space or decluttering the system. It is also a crucial step in maintaining security and privacy. Here are some key reasons why account removal is important:
- Data Protection: Removing an account can prevent unauthorized access to sensitive data stored on the computer, especially if the account belonged to someone who no longer uses the device.
- Security Enhancement: Removing unused accounts eliminates potential vulnerabilities, as these accounts could be exploited by malicious actors.
- Resource Optimization: Deleting unnecessary accounts can free up valuable system resources, leading to improved performance and responsiveness.
- Account Management: Removing accounts allows for a more organized and efficient user experience, especially in multi-user environments.
Methods for Removing Accounts from Windows 11
Windows 11 offers several methods for removing accounts, each tailored to different scenarios and user preferences.
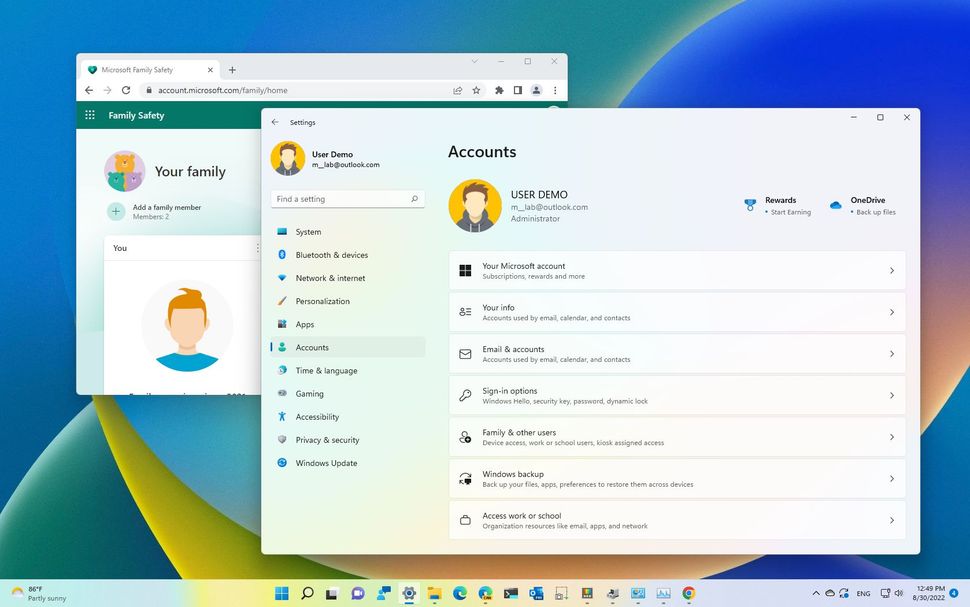
1. Using the Settings App:
- Navigate to Settings: Click the "Start" button, then select the gear icon to access the "Settings" app.
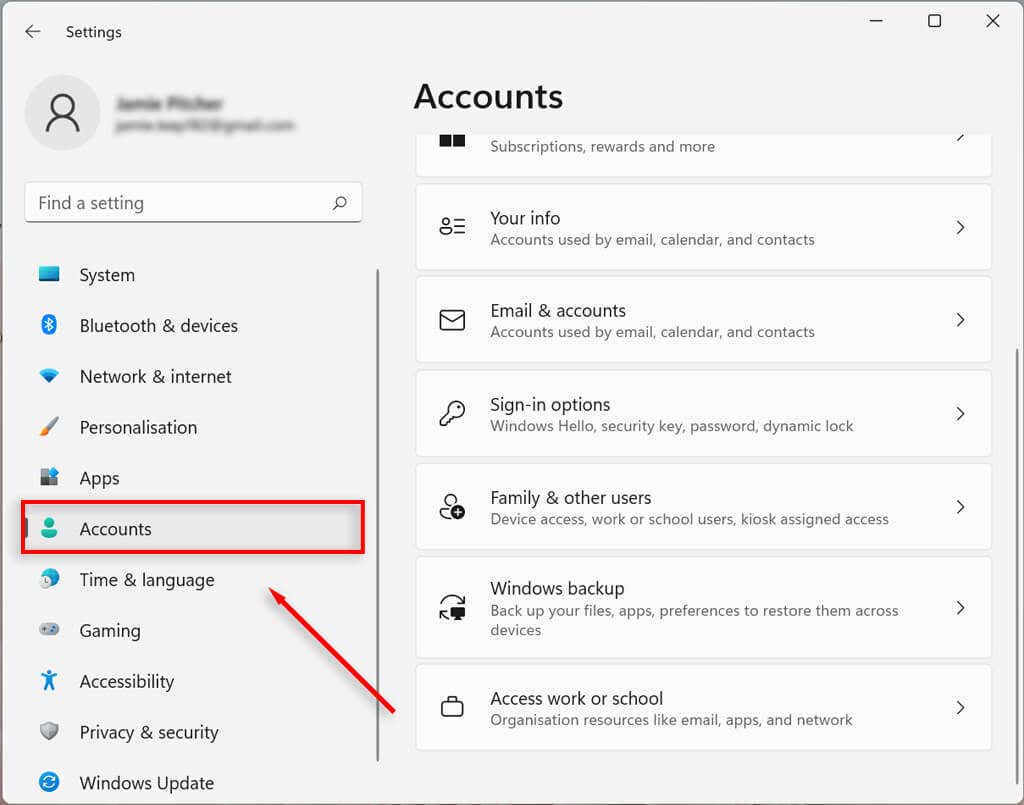
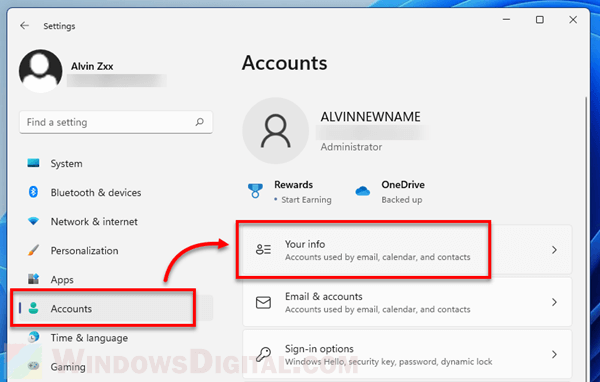
- Choose Accounts: In the Settings app, click on "Accounts."
- Select "Other Users": Click on "Other users" to view a list of accounts on the system.
- Select the Account to Remove: Locate the account you wish to remove and click on it.
- Click "Remove": You will see a "Remove" option. Click on it to initiate the removal process.
- Confirm Removal: Windows 11 will prompt you to confirm the removal. Click "Remove" again to proceed.
2. Using the Control Panel:
- Open the Control Panel: Search for "Control Panel" in the Windows search bar and select it.
- Navigate to User Accounts: Under "User Accounts," click on "User Accounts."
- Select "Manage another account": Click on "Manage another account" to view the list of accounts on the system.
- Choose the Account to Remove: Select the account you wish to remove.
- Click "Delete the account": This option will initiate the removal process.
- Confirm Removal: Windows 11 will prompt you to confirm the removal. Click "Delete the account" again to proceed.
3. Using Command Prompt:
- Open Command Prompt: Search for "cmd" in the Windows search bar and select "Run as administrator."
-
Run the net user command: Type the following command and press Enter:
net user [account name] /delete(replace "[account name]" with the actual name of the account you want to delete). - Confirm Removal: Windows 11 will prompt you to confirm the removal. Type "Y" and press Enter to proceed.
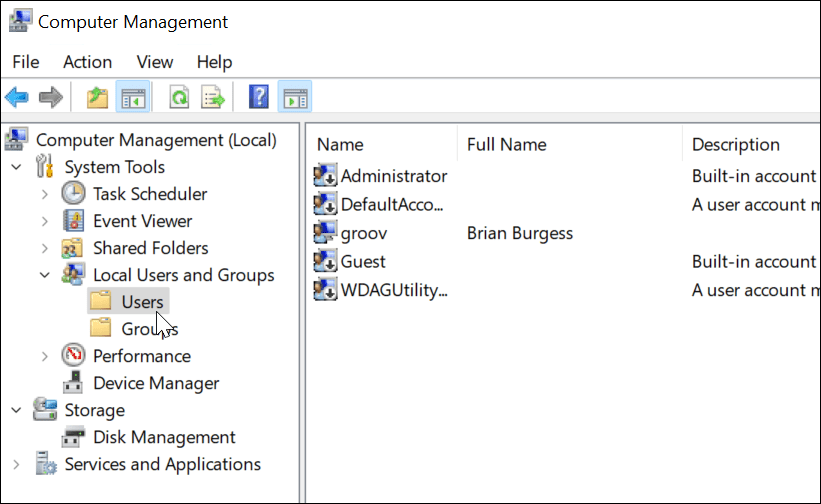
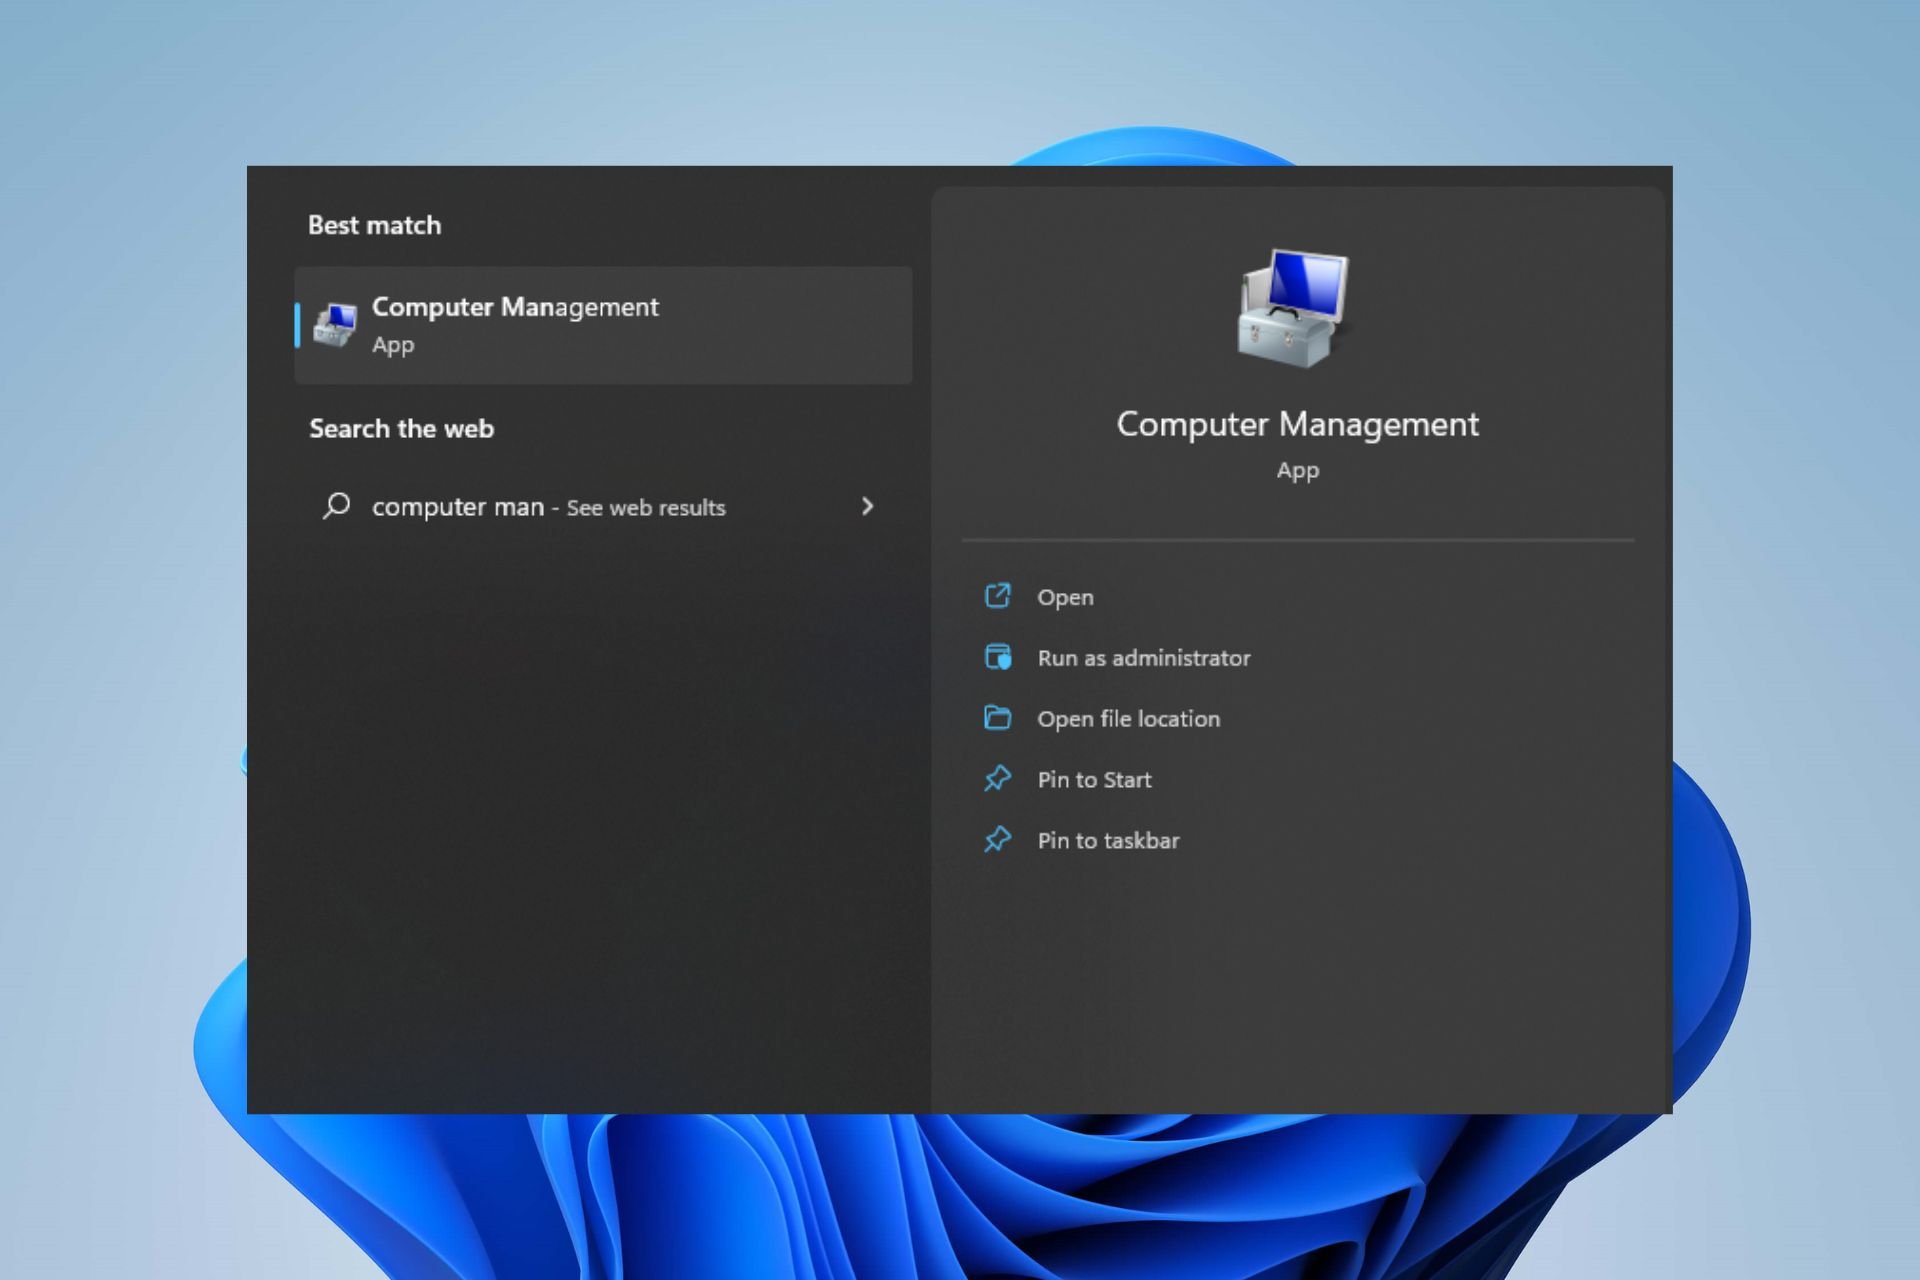
4. Using the Local Users and Groups:
- Open Local Users and Groups: Search for "lusrmgr.msc" in the Windows search bar and select it.
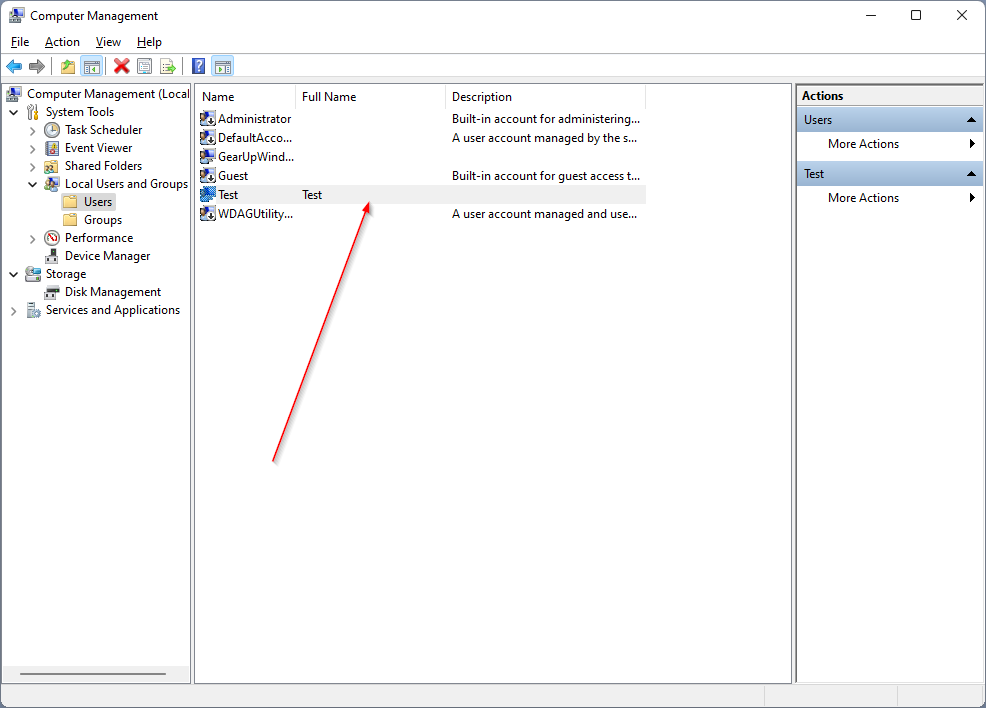
- Navigate to Users: In the Local Users and Groups window, expand "Users."
- Select the Account to Remove: Right-click on the account you wish to remove and select "Delete."
- Confirm Removal: Windows 11 will prompt you to confirm the removal. Click "Yes" to proceed.
Important Considerations for Account Removal
While the above methods provide a clear outline for removing accounts, it is crucial to understand the potential implications and take necessary precautions:
- Data Loss: Removing an account may result in the loss of data associated with that account, including files, settings, and applications. It is highly recommended to back up any critical data before proceeding with account removal.
- System Impact: Removing an account can affect the functionality of certain applications or services that rely on that account. Ensure that the account you are removing is not essential for any critical programs or services.
- Administrator Privileges: Removing an administrator account may require another administrator account to perform the deletion. If you are the only administrator, consider creating a new administrator account before removing the existing one.
- Microsoft Account Removal: Removing a Microsoft account from a Windows 11 device will also sign you out of all Microsoft services associated with that account. This includes OneDrive, Xbox Live, and Microsoft Store.
FAQs Regarding Account Removal in Windows 11
1. Can I remove my own account from Windows 11?
No, you cannot remove your own account while you are logged in. You will need to log in with a different account that has administrator privileges to remove your account.
2. What happens to the data associated with the removed account?
The data associated with the removed account will remain on the device, but you will no longer have access to it. You can manually copy the data to another location before removing the account.
3. Can I recover a deleted account?
Once an account is deleted, it cannot be recovered. However, you can create a new account with the same name if it is available.
4. What if I forget the password to the account I want to remove?
If you forget the password to the account you want to remove, you will need to reset the password using a recovery method, such as a security question or a recovery email.
5. Can I remove an account from a remote computer?
Yes, you can remove an account from a remote computer if you have administrator privileges on that computer. You can use Remote Desktop Connection or other remote access tools to connect to the computer and follow the steps outlined above.
Tips for Account Removal in Windows 11
- Create a backup: Before removing any account, it is crucial to create a backup of all important data associated with that account. This ensures that you have a copy of your data in case of accidental deletion.
- Check for dependencies: Before removing an account, check if any applications or services depend on that account. Removing an account that is used by critical software can disrupt system functionality.
- Log in with a different account: If you are removing your own account, ensure that you are logged in with a different account that has administrator privileges. This allows you to perform the removal process without encountering any issues.
- Verify removal: After removing an account, verify that it is completely removed from the system. Check the list of users in the Settings app or the Control Panel to ensure that the account is no longer present.
Conclusion
Removing accounts from Windows 11 is an essential step in maintaining system security, privacy, and efficiency. Understanding the different methods available, taking necessary precautions, and following the tips outlined in this article can help users navigate the process smoothly and confidently. By effectively managing user accounts, users can create a more secure, organized, and optimized Windows 11 experience.


Closure
Thus, we hope this article has provided valuable insights into Navigating Account Management in Windows 11: A Comprehensive Guide. We thank you for taking the time to read this article. See you in our next article!
Leave a Reply