Capturing Your Screen: A Comprehensive Guide To Print Screen In Windows 10
Capturing Your Screen: A Comprehensive Guide to Print Screen in Windows 10
Related Articles: Capturing Your Screen: A Comprehensive Guide to Print Screen in Windows 10
Introduction
In this auspicious occasion, we are delighted to delve into the intriguing topic related to Capturing Your Screen: A Comprehensive Guide to Print Screen in Windows 10. Let’s weave interesting information and offer fresh perspectives to the readers.
Table of Content
- 1 Related Articles: Capturing Your Screen: A Comprehensive Guide to Print Screen in Windows 10
- 2 Introduction
- 3 Capturing Your Screen: A Comprehensive Guide to Print Screen in Windows 10
- 3.1 Understanding the Print Screen Function: A Gateway to Visual Information
- 3.2 Navigating the Print Screen Shortcut: A Quick and Easy Method
- 3.3 Beyond the Basics: Expanding the Scope of Screen Capture
- 3.4 Utilizing the Power of Print Screen: Applications and Benefits
- 3.5 Exploring Common FAQs: Addressing User Concerns
- 3.6 Refining Your Screen Capture Skills: Tips and Techniques
- 3.7 Conclusion: The Versatility of Print Screen in the Digital Landscape
- 4 Closure
Capturing Your Screen: A Comprehensive Guide to Print Screen in Windows 10
In the digital age, the ability to capture and share visual information is paramount. Whether it’s a troubleshooting guide, a captivating screenshot of a game, or a quick visual note for a colleague, the print screen function in Windows 10 provides a simple and efficient way to achieve this.
This article delves into the intricacies of this fundamental feature, exploring its various functionalities, potential applications, and accompanying tools for enhanced screen capture experiences.
Understanding the Print Screen Function: A Gateway to Visual Information
At its core, the print screen function in Windows 10 acts as a digital camera for your computer screen. It captures the entire desktop, including all open windows, the taskbar, and the notification area, and stores it as an image. This image can then be saved, shared, or used in various applications.
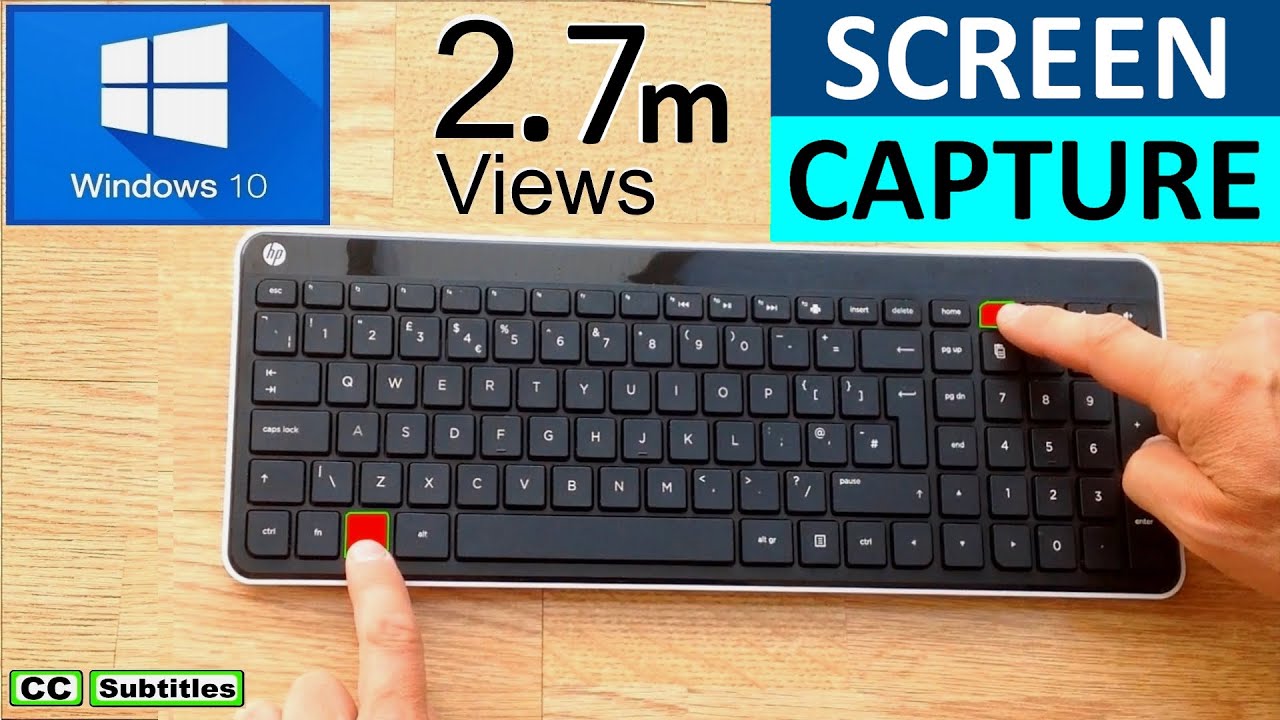
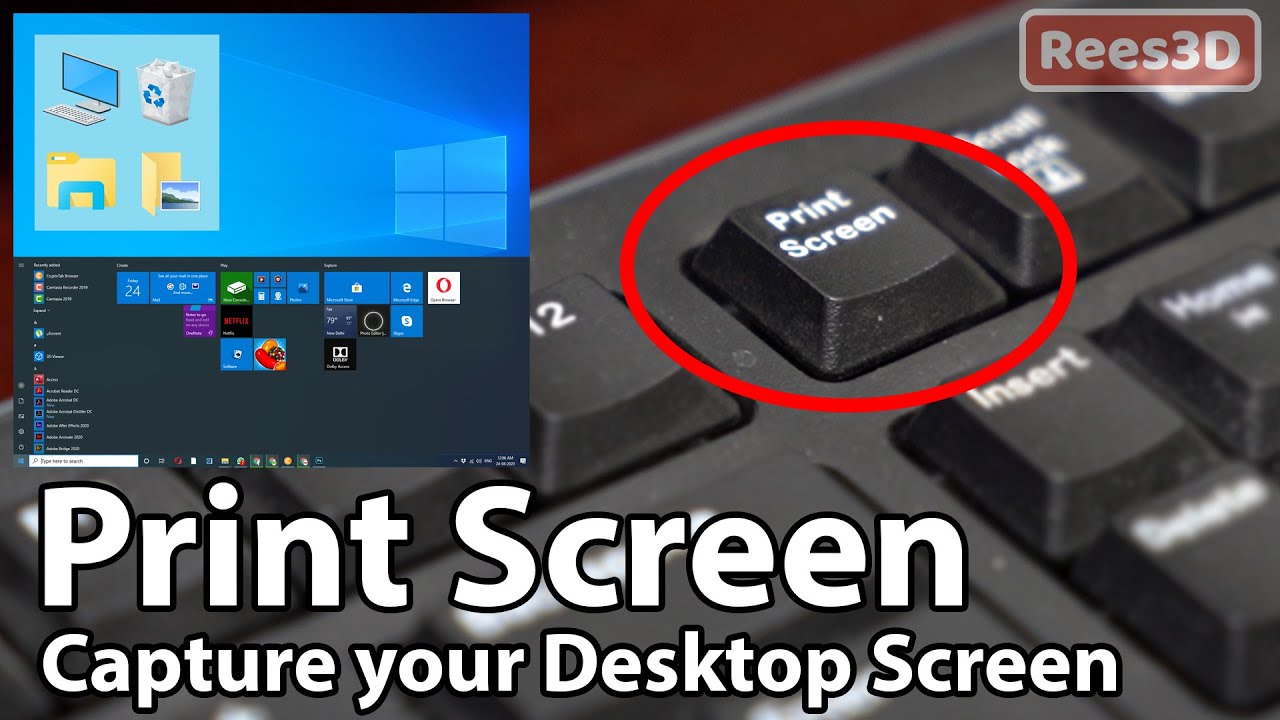
Navigating the Print Screen Shortcut: A Quick and Easy Method
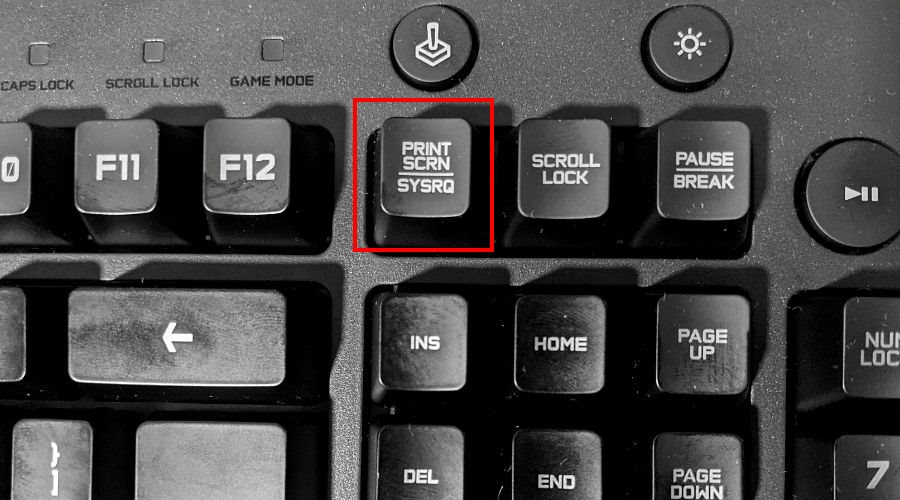
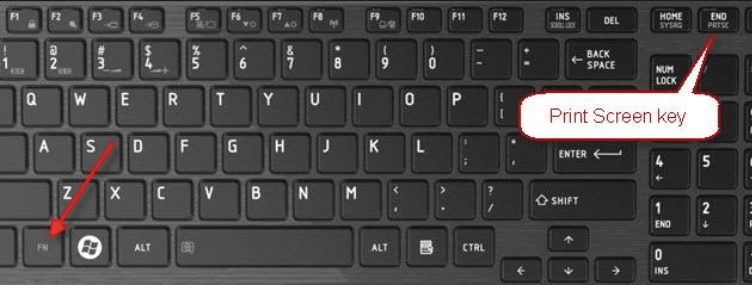
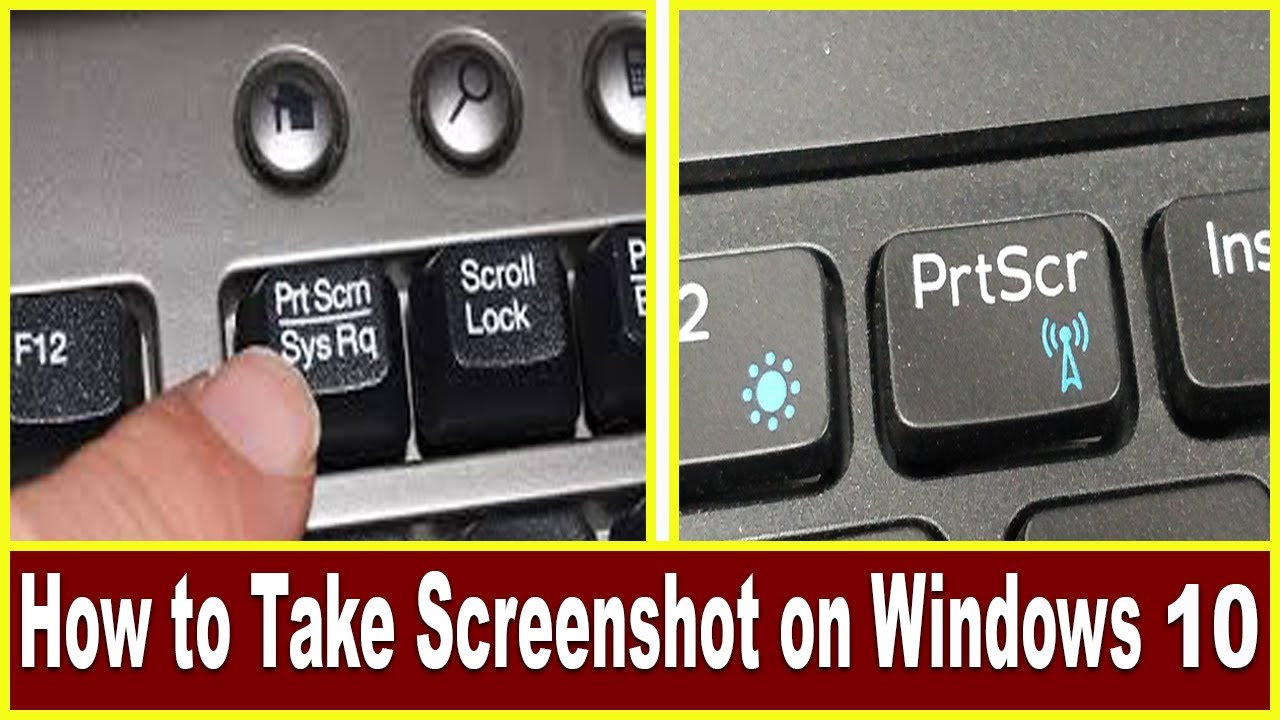
The most common way to utilize the print screen function is through its dedicated shortcut key: Print Screen (PrtScn) or Print Screen SysRq. Pressing this key triggers the capture process, silently storing the image in the clipboard. This image is then ready to be pasted into any application that supports image insertion, such as Microsoft Paint, Word, or even email.
Beyond the Basics: Expanding the Scope of Screen Capture
While the standard print screen function captures the entire screen, Windows 10 offers additional options for capturing specific areas or windows:
1. Alt + Print Screen: This combination captures only the active window, providing a focused image of the current application. This is particularly useful when you want to share a specific window without the clutter of other open programs.
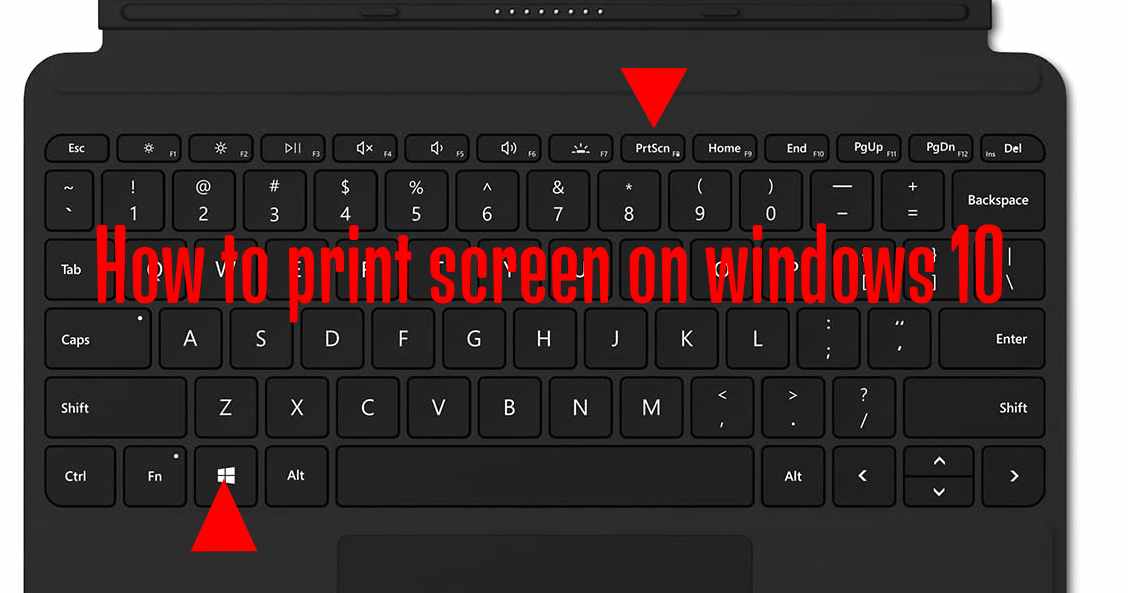
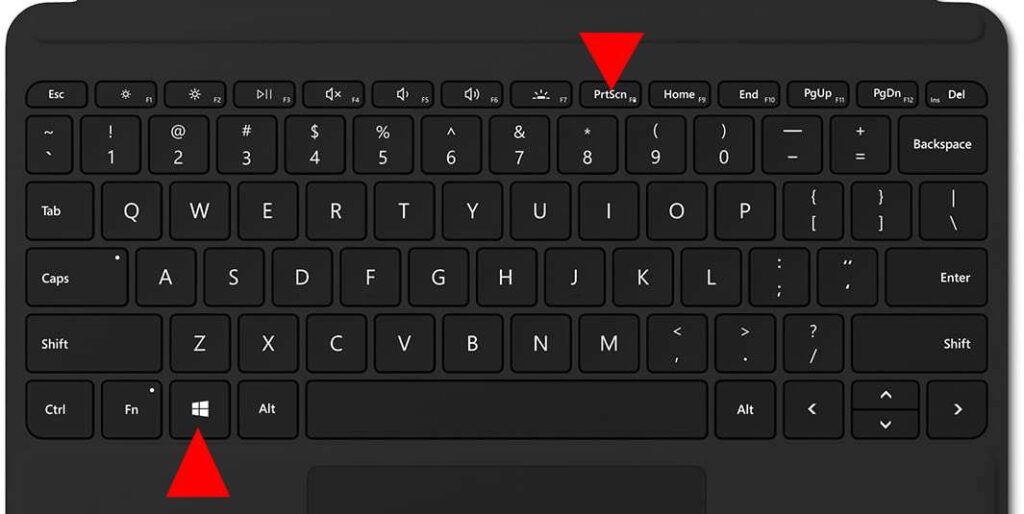
2. Windows Key + Print Screen: This shortcut captures the entire screen and automatically saves it as a PNG file in the Pictures folder under a "Screenshots" subfolder. This eliminates the need to manually paste the image into an application, streamlining the capture process.
3. Snipping Tool: A dedicated tool available in Windows 10, the Snipping Tool offers a more interactive approach to screen capture. It allows users to select specific areas of the screen, choose different capture modes (rectangular, free-form, window, full-screen), and even add annotations to the captured image.
4. Xbox Game Bar: For capturing gameplay moments, the Xbox Game Bar, accessible through the Windows key + G shortcut, provides a dedicated screen capture functionality. This allows users to record videos, take screenshots, and even stream their gameplay live.
Utilizing the Power of Print Screen: Applications and Benefits
The print screen function transcends its basic image capture capabilities, offering a multitude of applications across diverse fields:
1. Documentation and Tutorials: Clear and concise visuals are essential for technical documentation and online tutorials. Print screen enables users to capture specific steps, error messages, or program interfaces, providing visual aids for explaining processes or troubleshooting issues.
2. Communication and Collaboration: Sharing screenshots is a highly effective way to convey information visually. Whether it’s highlighting a specific section of a document, demonstrating a feature in an application, or illustrating a problem, print screen facilitates efficient communication and collaboration.
3. Education and Learning: Visual learning is a powerful tool, and print screen plays a crucial role in enhancing the learning process. Students can capture lecture slides, diagrams, or complex equations, creating their own visual library for future reference.
4. Entertainment and Creativity: From capturing memorable gaming moments to creating memes or digital art, print screen empowers users to express themselves creatively. It allows for the extraction of specific elements from images, facilitating artistic manipulation and personalized content creation.
5. Research and Analysis: Researchers and analysts often rely on visual data to draw insights and support their findings. Print screen allows them to capture data visualizations, graphs, or charts, enabling further analysis and interpretation.
Exploring Common FAQs: Addressing User Concerns
1. What happens to the captured image after pressing Print Screen?
The captured image is stored in the clipboard, a temporary storage area for copied data. This image can then be pasted into any application that supports image insertion.
2. How can I save the captured image?
To save the captured image, you can paste it into an image editing application like Microsoft Paint or a document editor like Microsoft Word. You can then save the image in a desired format (e.g., PNG, JPG). Alternatively, using the Windows key + Print Screen shortcut automatically saves the image as a PNG file in your Pictures folder.
3. Can I edit the captured image?
Yes, you can edit the captured image using various image editing applications. These applications allow you to crop, resize, add annotations, adjust colors, and apply various filters.
4. Is there a limit to the number of screenshots I can take?
No, there is no limit to the number of screenshots you can take. However, each screenshot will replace the previous one in the clipboard.
5. How do I capture a specific area of the screen?
You can use the Snipping Tool to capture specific areas of the screen. This tool allows you to select a rectangular, free-form, or window-based area for capture.
Refining Your Screen Capture Skills: Tips and Techniques
1. Experiment with different capture methods: Explore the various screen capture options available in Windows 10, including Alt + Print Screen, Windows key + Print Screen, and the Snipping Tool, to find the most suitable method for your specific needs.
2. Utilize the Snipping Tool’s features: Take advantage of the Snipping Tool’s ability to delay capture, choose different capture modes, and add annotations to your screenshots.
3. Explore third-party screen capture tools: For advanced features like video recording, scheduling captures, or remote screen capture, consider using third-party screen capture tools.
4. Optimize your screenshots for sharing: Ensure your screenshots are clear, legible, and appropriately sized for easy sharing and viewing.
5. Practice and refine your technique: The more you use the print screen function, the more proficient you will become at capturing information efficiently and effectively.
Conclusion: The Versatility of Print Screen in the Digital Landscape
The print screen function in Windows 10 is a versatile tool that empowers users to capture and share visual information effectively. From documenting technical processes to creating engaging visual content, print screen plays a crucial role in enhancing communication, learning, and creativity in the digital world. By mastering its various functionalities and exploring its diverse applications, users can leverage this simple yet powerful feature to unlock a world of visual possibilities.

Closure
Thus, we hope this article has provided valuable insights into Capturing Your Screen: A Comprehensive Guide to Print Screen in Windows 10. We thank you for taking the time to read this article. See you in our next article!
Leave a Reply