Capturing The Screen: A Comprehensive Guide To Screenshots In Windows 11
Capturing the Screen: A Comprehensive Guide to Screenshots in Windows 11
Related Articles: Capturing the Screen: A Comprehensive Guide to Screenshots in Windows 11
Introduction
With enthusiasm, let’s navigate through the intriguing topic related to Capturing the Screen: A Comprehensive Guide to Screenshots in Windows 11. Let’s weave interesting information and offer fresh perspectives to the readers.
Table of Content
- 1 Related Articles: Capturing the Screen: A Comprehensive Guide to Screenshots in Windows 11
- 2 Introduction
- 3 Capturing the Screen: A Comprehensive Guide to Screenshots in Windows 11
- 3.1 The Fundamentals of Screenshots
- 3.2 Methods for Taking Screenshots in Windows 11
- 3.3 Frequently Asked Questions about Screenshots in Windows 11
- 3.4 Tips for Taking Effective Screenshots in Windows 11
- 3.5 Conclusion
- 4 Closure
Capturing the Screen: A Comprehensive Guide to Screenshots in Windows 11
In the digital age, the ability to capture and share visual information has become increasingly vital. Whether you are documenting a software issue, showcasing a creative project, or simply sharing a humorous meme, screenshots provide a convenient and efficient means of conveying visual information. Windows 11, the latest operating system from Microsoft, offers a variety of methods for taking screenshots, catering to different user needs and preferences. This guide explores the different methods available, providing a clear understanding of how to capture the screen effectively in Windows 11.
The Fundamentals of Screenshots
A screenshot, also known as a screen capture, is a digital image of the content displayed on a computer screen. This image captures everything visible on the screen at the time the screenshot is taken, including windows, icons, menus, and any open applications. Screenshots are a versatile tool for various purposes, including:
- Documentation: Screenshots are invaluable for documenting software issues, technical problems, or specific steps in a process. By capturing the exact state of the screen, users can provide clear visual evidence of the problem or process being described.
- Communication: Screenshots facilitate clear communication by providing visual context. They are commonly used in emails, online forums, and messaging platforms to share information, illustrate ideas, or provide visual instructions.
- Education and Training: Screenshots are essential for creating educational materials, tutorials, and training guides. They allow users to visually demonstrate software features, procedures, or concepts, enhancing the learning experience.
- Creative Expression: Screenshots can be used for creative purposes, such as capturing artistic elements from games, websites, or software. These images can be edited and repurposed for personal projects or shared online.
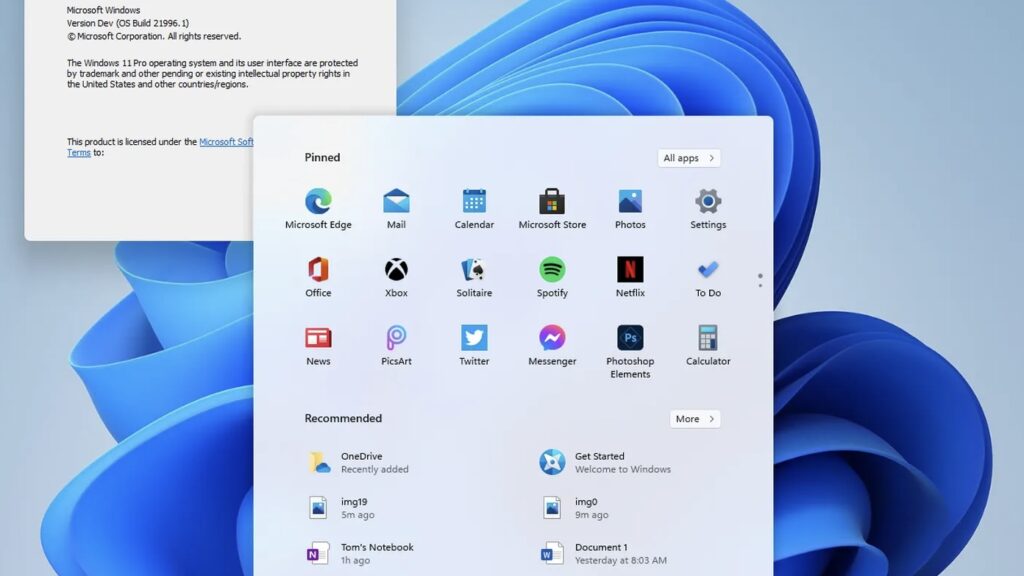
Methods for Taking Screenshots in Windows 11
Windows 11 offers multiple methods for capturing the screen, each with its unique advantages and applications. Understanding the different options allows users to choose the most suitable method for their specific needs.
1. The Print Screen (PrtScn) Key: This classic method captures the entire screen, including the taskbar and any open windows. To use this method:
- Press the "Print Screen" (PrtScn) key on your keyboard. This action copies the entire screen image to the clipboard.
- Open an image editing program (e.g., Paint, Photoshop) and paste the image using Ctrl+V. The screenshot will be pasted into the editing program, allowing you to save or edit it as needed.
2. Alt + Print Screen: This method captures only the active window, ignoring the rest of the screen. This is particularly useful for capturing specific applications or windows without including unnecessary background elements.
- Press and hold the "Alt" key.
- Press the "Print Screen" (PrtScn) key while holding down the "Alt" key. The active window will be captured and copied to the clipboard.
- Open an image editing program and paste the image using Ctrl+V.
3. Windows Key + Print Screen: This method captures the entire screen and saves it as a PNG file directly to the "Pictures" folder under "Screenshots." This method eliminates the need for pasting into an image editor, simplifying the screenshot process.
- Press the "Windows" key and the "Print Screen" (PrtScn) key simultaneously. The screen will briefly dim, indicating that the screenshot has been captured.
- Locate the screenshot file in the "Pictures" folder under "Screenshots."
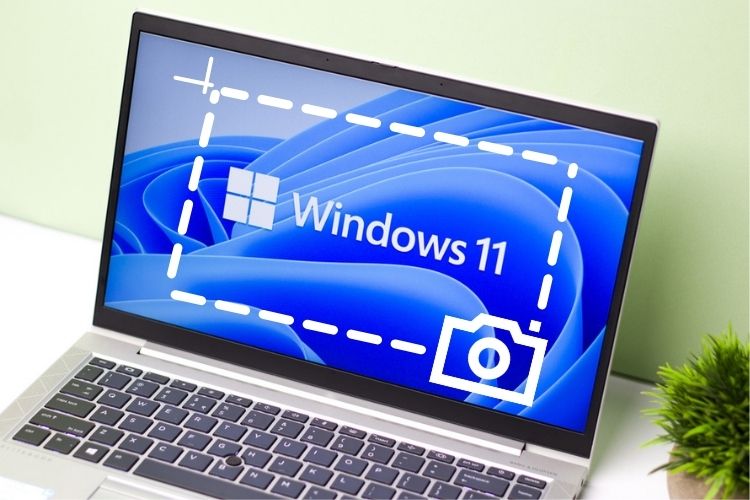
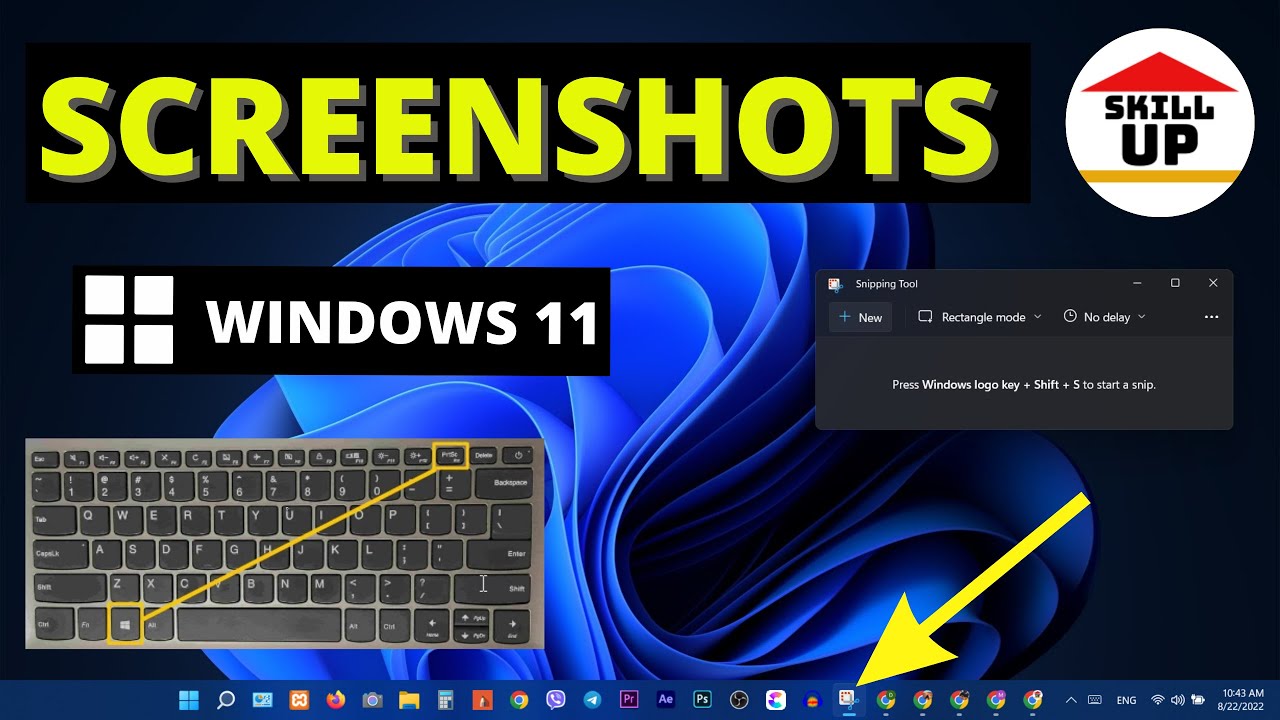
4. Windows Key + Shift + S: This method allows users to select a specific area of the screen to capture. This is useful for capturing only a portion of the screen, such as a specific window or text.
- Press the "Windows" key, "Shift" key, and "S" key simultaneously. This will activate the "Snipping Tool" and highlight the screen.
- Use your mouse to drag a rectangle around the area you want to capture.
- Release the mouse button to capture the selected area.
- The captured screenshot will be displayed in a small window, allowing you to save it or copy it to the clipboard.
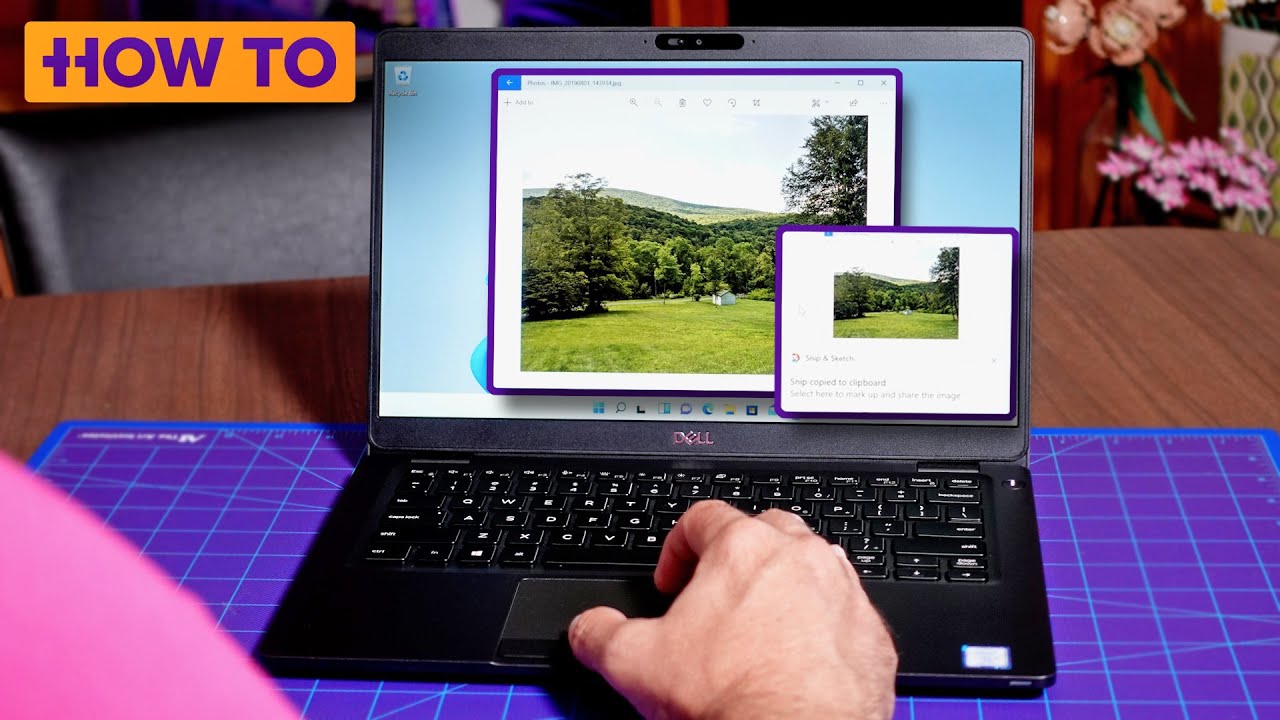
5. The Snipping Tool: Windows 11 includes a built-in Snipping Tool that offers more advanced screenshot capabilities. The Snipping Tool allows users to capture different types of screenshots, including:
- Free-form Snip: Capture any irregular shape on the screen.
- Rectangular Snip: Capture a rectangular area of the screen.
- Window Snip: Capture the contents of a specific window.
- Full-screen Snip: Capture the entire screen.
To use the Snipping Tool:
- Search for "Snipping Tool" in the Windows search bar and open the application.
- Select the desired snip type from the "New" dropdown menu.
- Use your mouse to select the area you want to capture.
- The captured screenshot will be displayed in the Snipping Tool window, allowing you to save, copy, or annotate it.
6. Xbox Game Bar: For capturing screenshots of games, the Xbox Game Bar provides a dedicated tool. The Xbox Game Bar can be accessed by pressing the "Windows" key + "G."
- Press "Windows" key + "G" to open the Xbox Game Bar.
- Click the "Capture" button (represented by a camera icon) in the Xbox Game Bar.
- The screenshot will be saved in the "Captures" folder under the "Videos" folder.
Frequently Asked Questions about Screenshots in Windows 11
Q: How do I edit a screenshot in Windows 11?
A: Once you have captured a screenshot, you can edit it using various image editing programs, including the built-in Paint app or more advanced options like Photoshop. These programs allow you to crop, resize, add text, and apply other enhancements to your screenshots.
Q: Can I annotate screenshots in Windows 11?
A: Yes, you can annotate screenshots using the Snipping Tool. The Snipping Tool allows you to add text, highlight areas, and draw on screenshots, making them more informative or visually appealing.
Q: How do I share a screenshot in Windows 11?
A: Once you have captured a screenshot, you can share it in various ways. You can copy the screenshot to the clipboard and paste it into emails, messaging apps, or online platforms. You can also save the screenshot as a file and share it through file-sharing services or social media.
Q: Where are my screenshots saved in Windows 11?
A: The location where screenshots are saved depends on the method used. Screenshots captured using the "Windows Key + Print Screen" method are saved in the "Pictures" folder under "Screenshots." Screenshots captured using the Xbox Game Bar are saved in the "Captures" folder under the "Videos" folder. Screenshots captured using other methods will be saved in the location you specify when saving the image.
Q: How do I change the default screenshot location in Windows 11?
A: You can change the default screenshot location by adjusting the "Save to" setting in the Snipping Tool or the Xbox Game Bar.
Tips for Taking Effective Screenshots in Windows 11
- Optimize screen visibility: Before taking a screenshot, ensure that the desired content is clearly visible on the screen. Close unnecessary windows, adjust window sizes, and ensure that the screen is not cluttered.
- Use the appropriate method: Choose the most suitable method for your needs. For capturing a specific window, use "Alt + Print Screen." For capturing the entire screen, use "Windows Key + Print Screen." For capturing a specific area, use "Windows Key + Shift + S" or the Snipping Tool.
- Annotate for clarity: Add annotations to your screenshots to highlight specific elements, provide explanations, or emphasize key points.
- Save in a suitable format: Save your screenshots in a widely supported format like PNG or JPEG. PNG files offer lossless compression, preserving image quality, while JPEG files provide higher compression ratios, reducing file size.
- Maintain organization: Create a dedicated folder for your screenshots to keep them organized and easily accessible.
Conclusion
Screenshots are an essential tool for modern users, providing a convenient way to capture and share visual information. Windows 11 offers a comprehensive suite of screenshot tools, catering to various user needs and preferences. By understanding the different methods available and following the tips provided, users can effectively capture and utilize screenshots for documentation, communication, education, and creative expression. Mastering the art of taking screenshots in Windows 11 empowers users to communicate clearly, share information effectively, and enhance their digital experience.


![Top 5 Ways to Take Screenshots On Windows 11 [Guide]](https://itechhacks.com/wp-content/uploads/2021/06/Take-a-Screenshot-On-Windows-11.jpg)
Closure
Thus, we hope this article has provided valuable insights into Capturing the Screen: A Comprehensive Guide to Screenshots in Windows 11. We appreciate your attention to our article. See you in our next article!
Leave a Reply