A Comprehensive Guide To Windows 11’s Nearby Share Feature
A Comprehensive Guide to Windows 11’s Nearby Share Feature
Related Articles: A Comprehensive Guide to Windows 11’s Nearby Share Feature
Introduction
In this auspicious occasion, we are delighted to delve into the intriguing topic related to A Comprehensive Guide to Windows 11’s Nearby Share Feature. Let’s weave interesting information and offer fresh perspectives to the readers.
Table of Content
A Comprehensive Guide to Windows 11’s Nearby Share Feature

Windows 11 introduced a powerful new feature called Nearby Share, enabling users to seamlessly transfer files between compatible devices without relying on cloud services or external drives. This technology, inspired by similar features on Android and macOS, simplifies file sharing within a local network, making it a valuable tool for both individual users and collaborative environments.
Understanding Nearby Share
Nearby Share leverages Bluetooth and Wi-Fi to establish a direct connection between devices, allowing for swift file transfers. The process is remarkably simple: devices discover each other within proximity, facilitating the selection of files for transfer.
Key Benefits of Nearby Share
- Ease of Use: The user experience is intuitive and straightforward, requiring minimal technical expertise.
- Speed and Efficiency: Transfers are generally faster than cloud-based solutions, especially for larger files.
- Privacy and Security: Data remains within the local network, eliminating the need for third-party cloud services and minimizing potential security risks.
- Versatility: Nearby Share supports a wide range of file types, including documents, images, videos, and even applications.
- Cross-Platform Compatibility: The feature is not limited to Windows 11 devices. Users can share files with Android devices equipped with Nearby Share functionality.
Enabling and Configuring Nearby Share
To utilize Nearby Share, users need to ensure their device meets the following requirements:
- Windows 11: The feature is built into Windows 11 and requires no separate download.
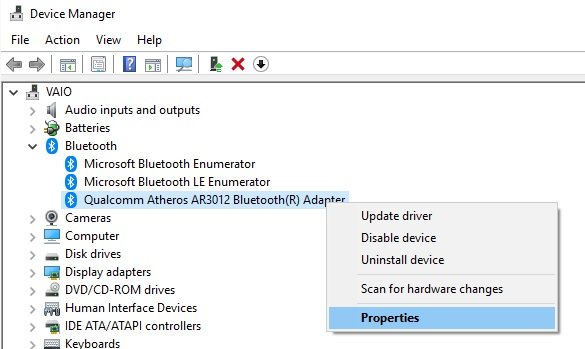
- Bluetooth and Wi-Fi: Both technologies must be enabled on the sending and receiving devices.
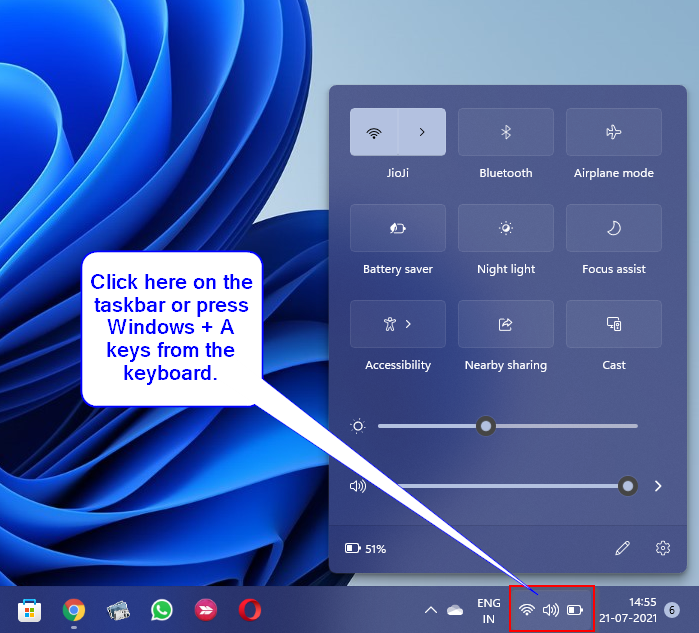
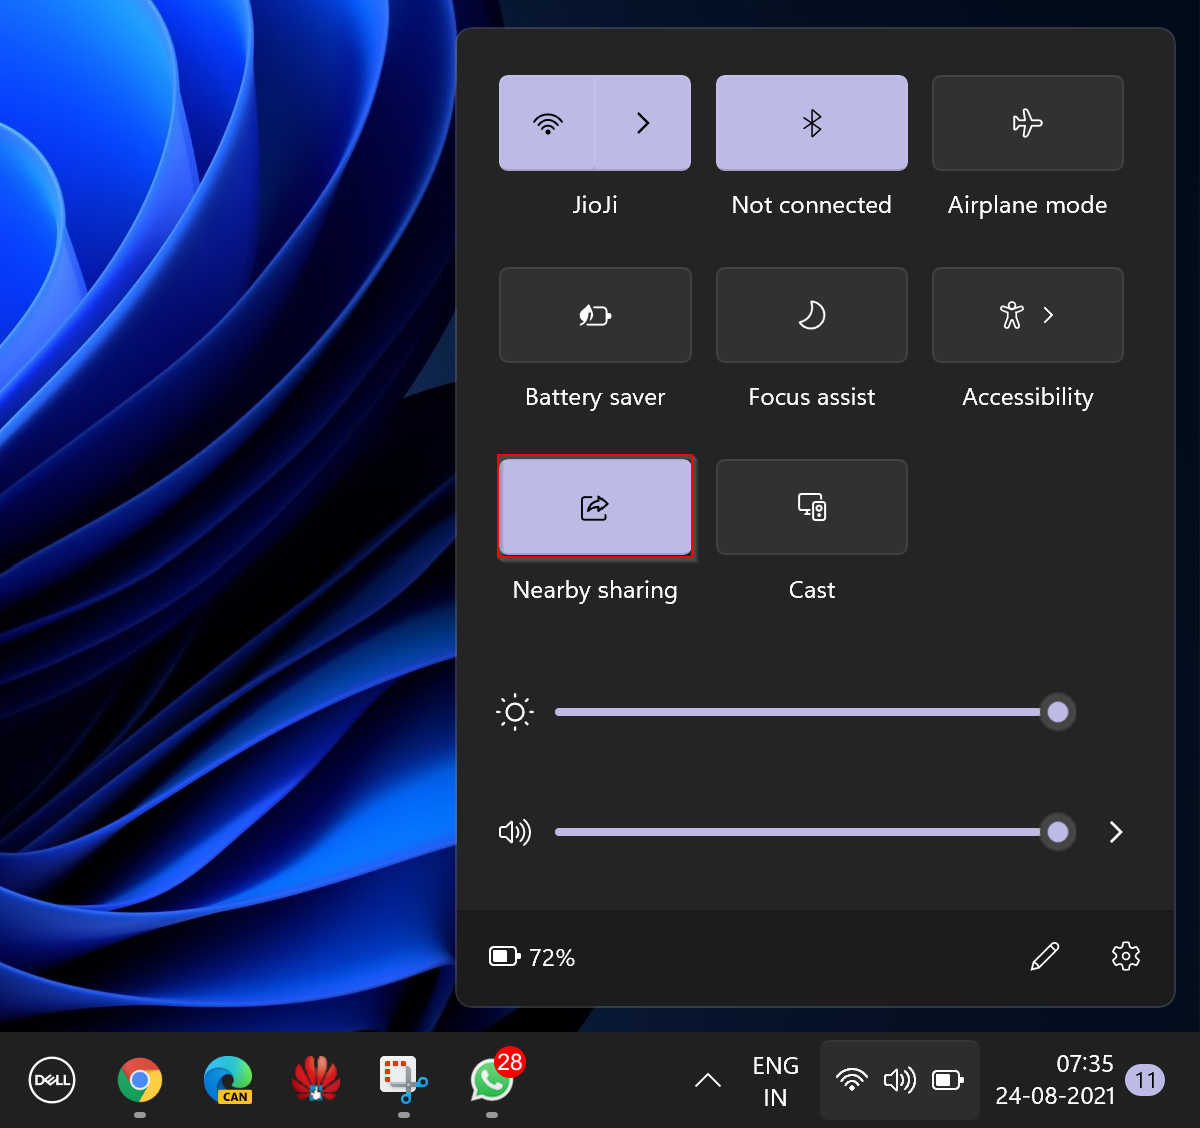
- Nearby Share Enabled: The feature needs to be activated within the Windows settings.
To enable Nearby Share:
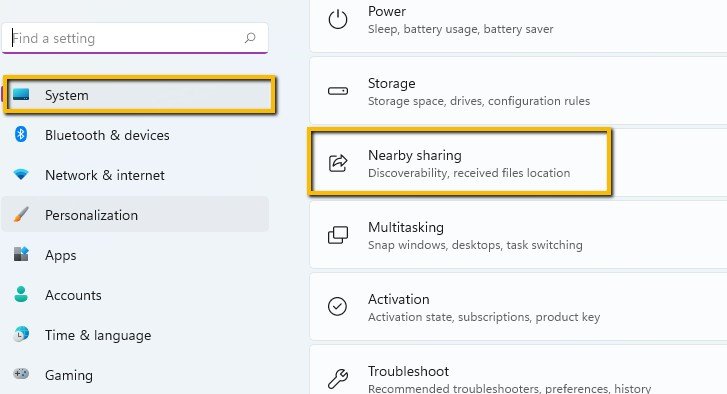
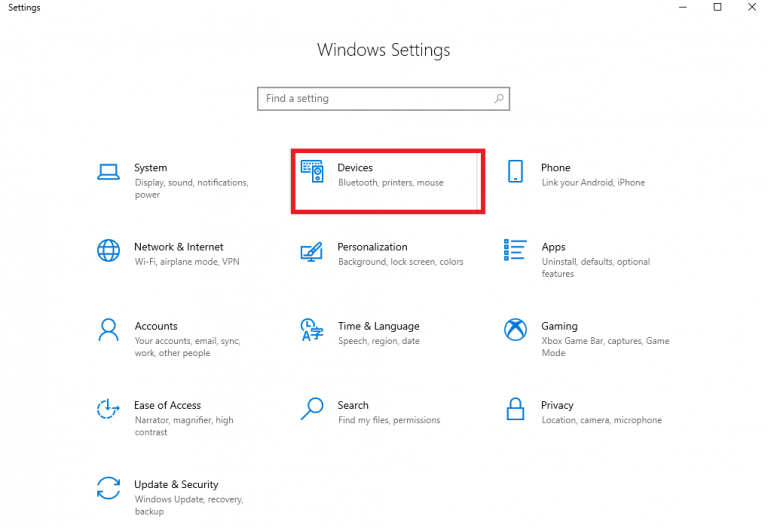
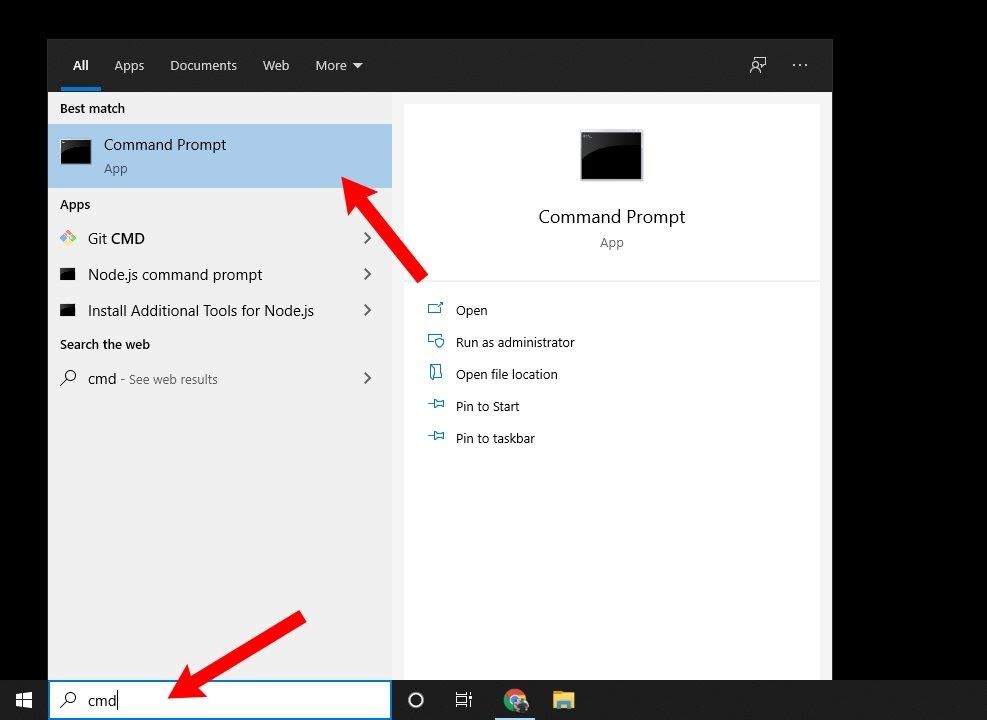
- Open the Windows Settings application.
- Navigate to System > Shared experiences.
- Toggle Nearby Share to On.
- Configure the desired settings, such as device visibility and the types of files to share.
Using Nearby Share for File Transfer
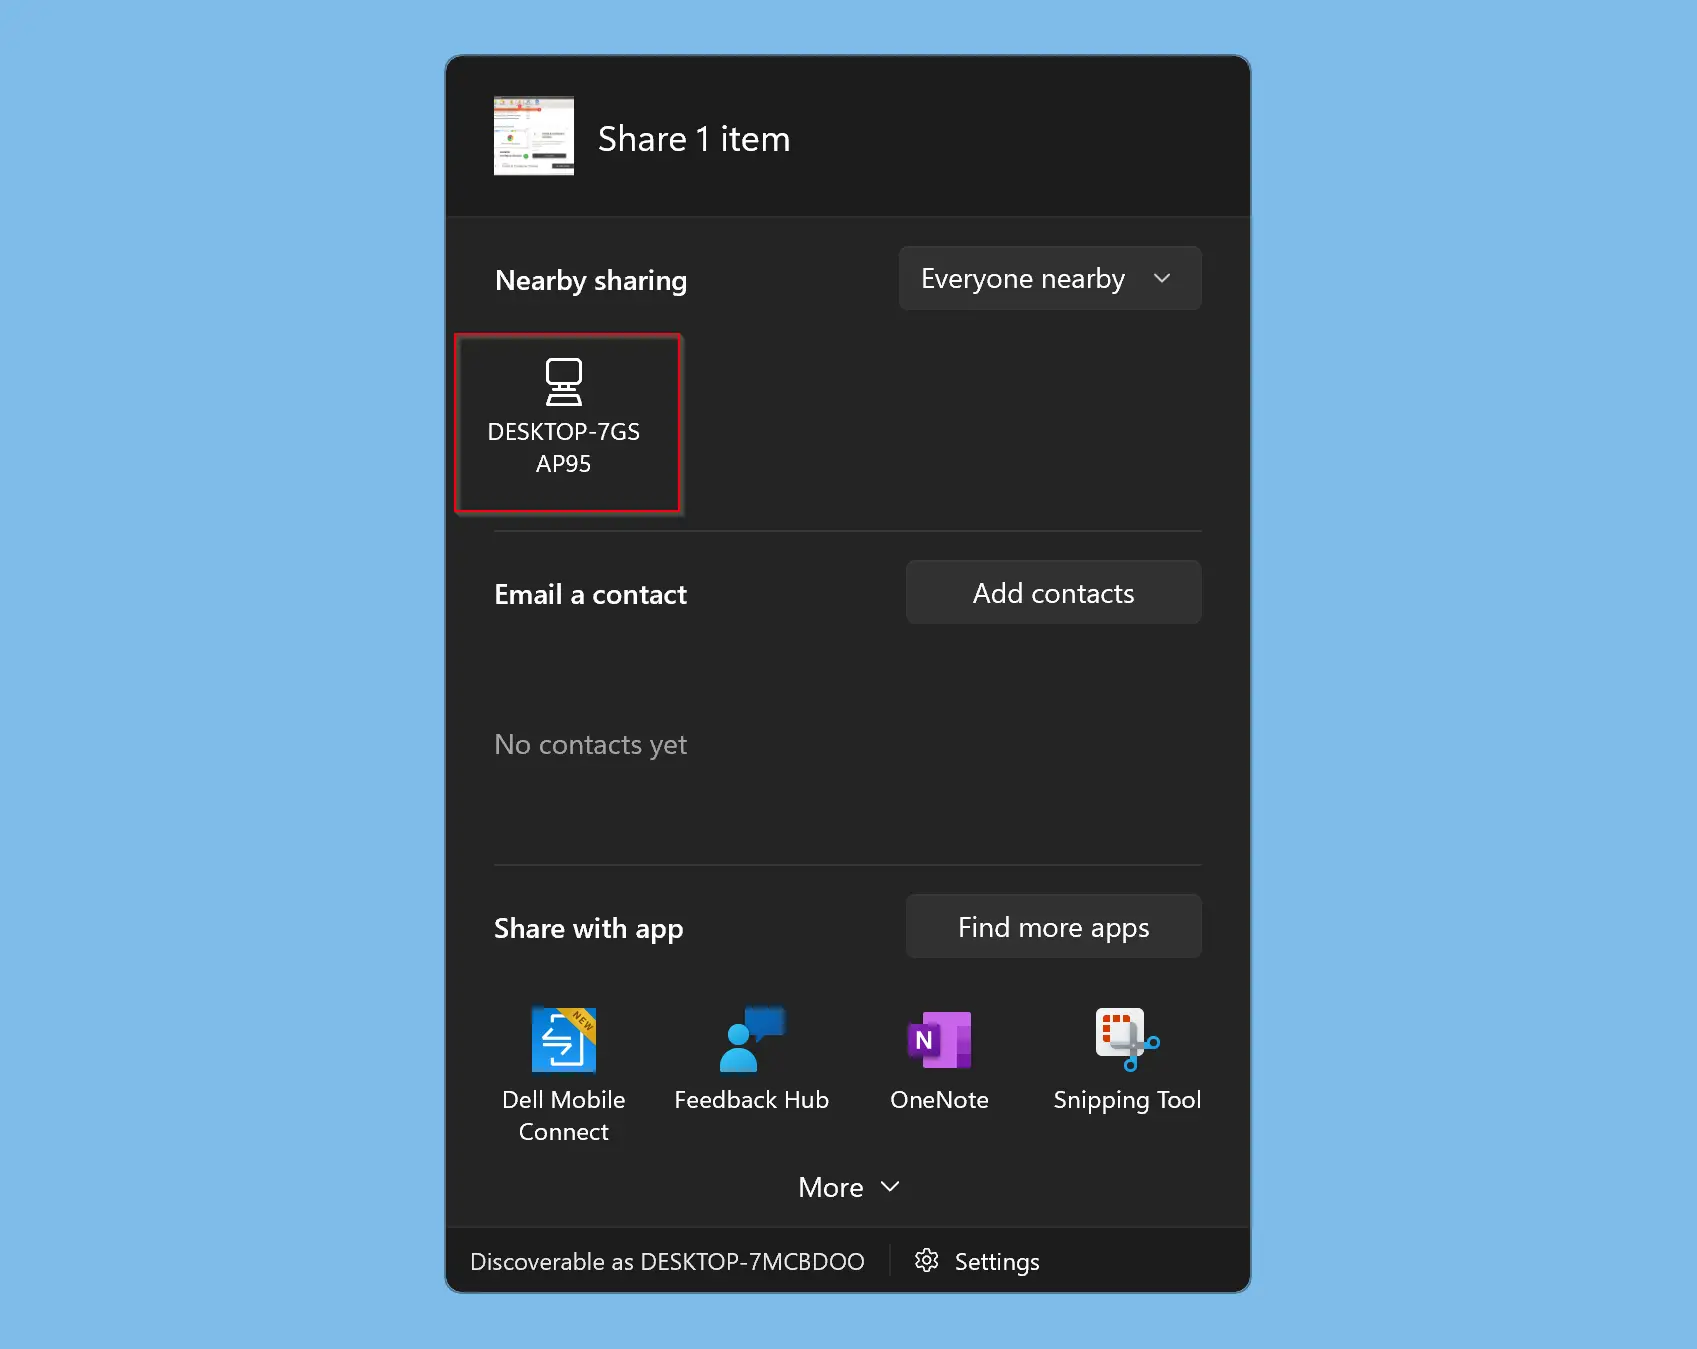
Once Nearby Share is enabled, transferring files is a simple process:
- Select the file(s) you wish to share.
- Right-click on the selected files and choose "Share."
- Select the receiving device from the list of available devices.
- The receiving device will prompt the user to accept the transfer.
- Once accepted, the files will be transferred to the receiving device.
Troubleshooting Nearby Share Issues
While Nearby Share is generally reliable, users may encounter occasional issues. Common troubleshooting steps include:
- Ensuring Bluetooth and Wi-Fi are enabled.
- Checking for available updates for both devices.
- Restarting both devices.
- Temporarily disabling firewalls or antivirus software.
- Verifying the receiving device is within range.
- Restarting the Nearby Share service within the Windows settings.
Exploring Advanced Features
Nearby Share offers additional functionalities beyond basic file transfers:
- Sharing to Multiple Devices: Users can simultaneously share files to multiple devices within range.
- Sharing with Specific Devices: Users can select specific devices to receive files, ensuring targeted sharing.
- Password Protection: For sensitive files, users can set a password to restrict access.
- Sharing with Nearby PCs: The feature allows users to share files with other Windows 11 devices directly, bypassing the need for cloud storage or external drives.
FAQs Regarding Nearby Share
Q: Is Nearby Share compatible with older versions of Windows?
A: No, Nearby Share is exclusive to Windows 11.
Q: Can I share files with iOS devices?
A: Currently, Nearby Share does not support direct file sharing with iOS devices.
Q: Is Nearby Share secure?
A: Nearby Share uses Bluetooth and Wi-Fi to establish a direct connection, minimizing the risk of unauthorized access.
Q: What is the maximum file size I can share?
A: There is no specific file size limit, but the speed and success of the transfer may depend on the network connection and file size.
Q: Can I use Nearby Share to transfer files over the internet?
A: No, Nearby Share requires both devices to be within the same local network.
Tips for Optimizing Nearby Share
- Maintain a Strong Wi-Fi Connection: A stable internet connection can significantly improve transfer speeds.
- Keep Devices Updated: Regular software updates ensure optimal performance and compatibility.
- Use a Password for Sensitive Files: Adding a password to sensitive files enhances security.
- Check for Device Compatibility: Ensure both devices support Nearby Share and are within range.
- Explore Advanced Settings: Utilize features like device visibility and file type selection to optimize your experience.
Conclusion
Windows 11’s Nearby Share feature provides a convenient and efficient method for transferring files between compatible devices within a local network. Its ease of use, speed, privacy, and cross-platform compatibility make it a valuable tool for both personal and professional use. As technology advances, we can expect further refinements and enhancements to Nearby Share, solidifying its position as a crucial component of modern file sharing solutions.


Closure
Thus, we hope this article has provided valuable insights into A Comprehensive Guide to Windows 11’s Nearby Share Feature. We thank you for taking the time to read this article. See you in our next article!


![Fix: PC won't go to sleep mode in Windows 11 [2022 Guide]](https://10scopes.com/wp-content/uploads/2021/09/fix-computer-wont-sleep-windows-11.jpg)
![[SOLVED] Windows 11 Won't Go To Sleep (2024)](https://techartful.com/wp-content/uploads/2021/09/pc-wont-go-to-sleep-windows-11.jpg)

![How to Fix PC Won't Go to sleep in Windows 11 [2024 Update]](https://10pcg.com/wp-content/uploads/pc-wont-go-to-sleep-in-windows-11.jpg)
![[SOLVED] Computer Won't Wake Up From Sleep Windows 11/10 - Driver Easy](https://www.drivereasy.com/wp-content/uploads/2019/04/sleep.jpg)
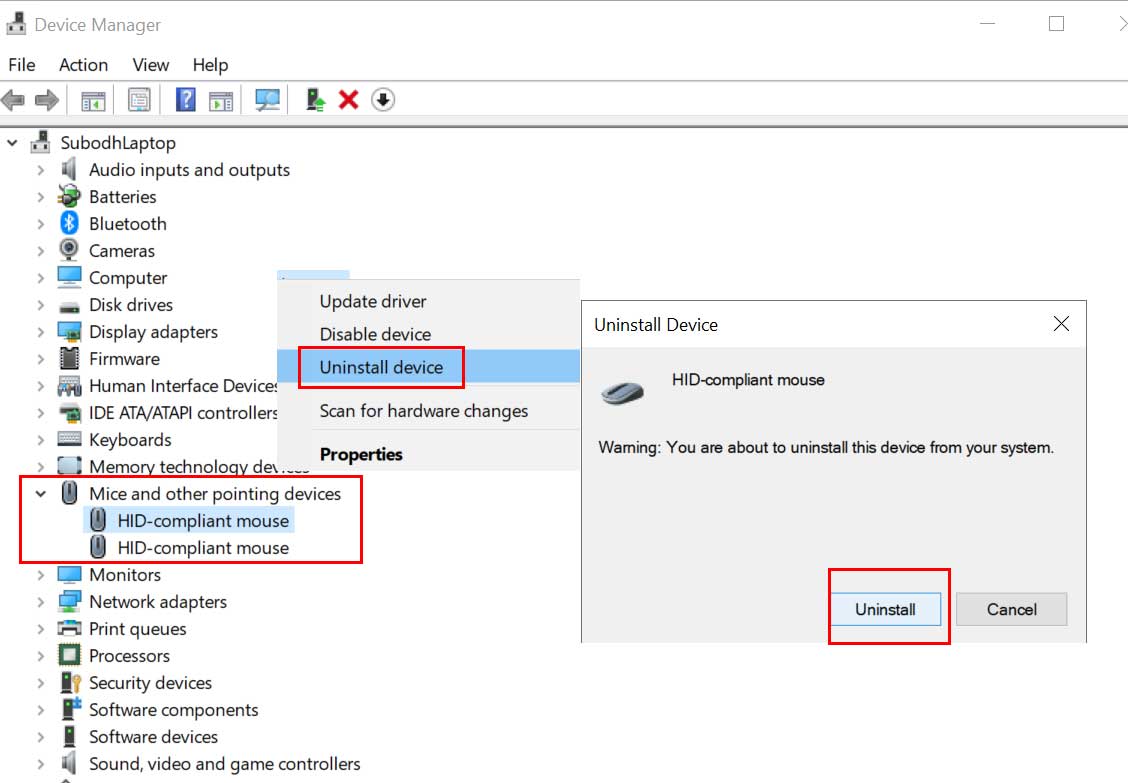
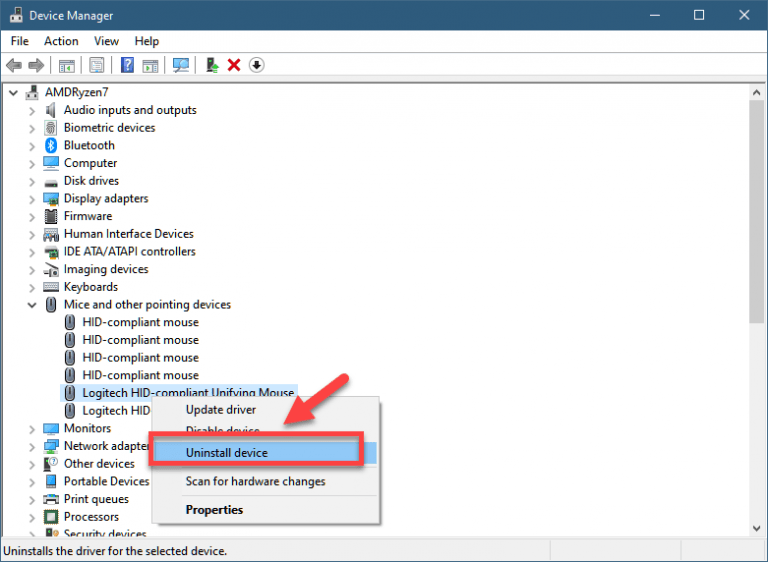
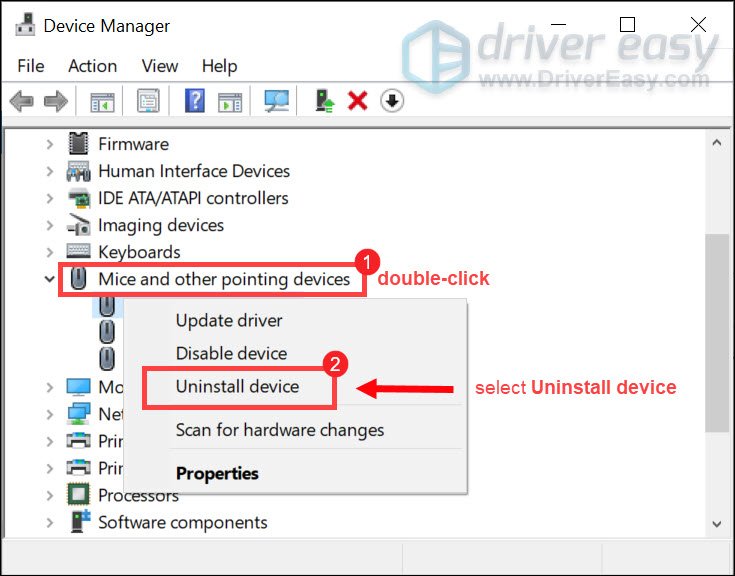
![How To Reinstall Mouse Drivers In Windows 10 [Tutorial] - YouTube](https://i.ytimg.com/vi/I2pbBIkIS_c/maxresdefault.jpg)


![[Simple Guide] How to Reinstall Windows 10 without Losing Data or Programs/Apps - Sysprobs](https://www.sysprobs.com/wp-content/uploads/2019/02/Running-reinstallation-of-Windows-10.png)

![[Simple Guide] How to Reinstall Windows 10 without Losing Data or Programs/Apps - Sysprobs](https://www.sysprobs.com/wp-content/uploads/2019/02/Completing-Windows-10-reinstallation.png)