The Enigma Of Unresponsive Windows 11 After Sleep: A Comprehensive Guide
The Enigma of Unresponsive Windows 11 After Sleep: A Comprehensive Guide
Related Articles: The Enigma of Unresponsive Windows 11 After Sleep: A Comprehensive Guide
Introduction
With great pleasure, we will explore the intriguing topic related to The Enigma of Unresponsive Windows 11 After Sleep: A Comprehensive Guide. Let’s weave interesting information and offer fresh perspectives to the readers.
Table of Content
The Enigma of Unresponsive Windows 11 After Sleep: A Comprehensive Guide
The seamless transition from sleep mode to a fully functional state is a cornerstone of modern computing. However, Windows 11 users occasionally encounter a frustrating scenario where their device fails to wake up after entering sleep mode. This issue, while seemingly straightforward, can stem from a variety of underlying causes, demanding a systematic approach to troubleshooting and resolution.
Understanding the Problem
When Windows 11 enters sleep mode, it minimizes power consumption by suspending most system operations. Upon waking, the system should swiftly resume normal functionality. However, a failure to wake up can manifest in several ways:
- No Response: The device remains completely unresponsive, with no lights or sounds indicating activity.
- Partial Wake: The system partially wakes, displaying a blank screen or a frozen cursor, but remains unresponsive to input.
- Delayed Wake: The device takes an unusually long time to wake up, resulting in a frustratingly slow response.
Common Causes of Unresponsive Wake-up
The root cause of this issue can be attributed to a multitude of factors, ranging from software glitches to hardware malfunctions:
- Driver Issues: Outdated, corrupted, or incompatible device drivers can disrupt the wake-up process, preventing the system from properly responding to the wake signal.
- Power Management Settings: Incorrectly configured power management settings can cause the system to enter a deeper sleep state, making it difficult to wake up.
- Software Conflicts: Certain software applications, especially those with aggressive power management features, can interfere with the wake-up process.
- Hardware Malfunctions: Faulty hardware components, such as the motherboard, RAM, or power supply, can lead to inconsistent wake-up behavior.
- System Files Corruption: Corrupted system files, particularly those related to power management, can disrupt the wake-up process.
- Overheating: Excessive heat can trigger a system shutdown or prevent proper wake-up functionality.
- BIOS Settings: Incorrect BIOS settings, such as those related to power management or wake-on-LAN, can hinder the wake-up process.
Troubleshooting Strategies
Addressing the unresponsive wake-up issue requires a systematic approach, involving a series of troubleshooting steps:
1. Basic Checks:
- Power Supply: Ensure the power cord is securely connected and the power outlet is functioning correctly.
- Physical Connections: Check for loose connections to external devices, such as monitors or peripherals.
- Battery: For laptops, ensure the battery is charged sufficiently or replace it if necessary.
2. Software Troubleshooting:
- Driver Updates: Update all device drivers, especially those related to the graphics card, network card, and USB controllers.
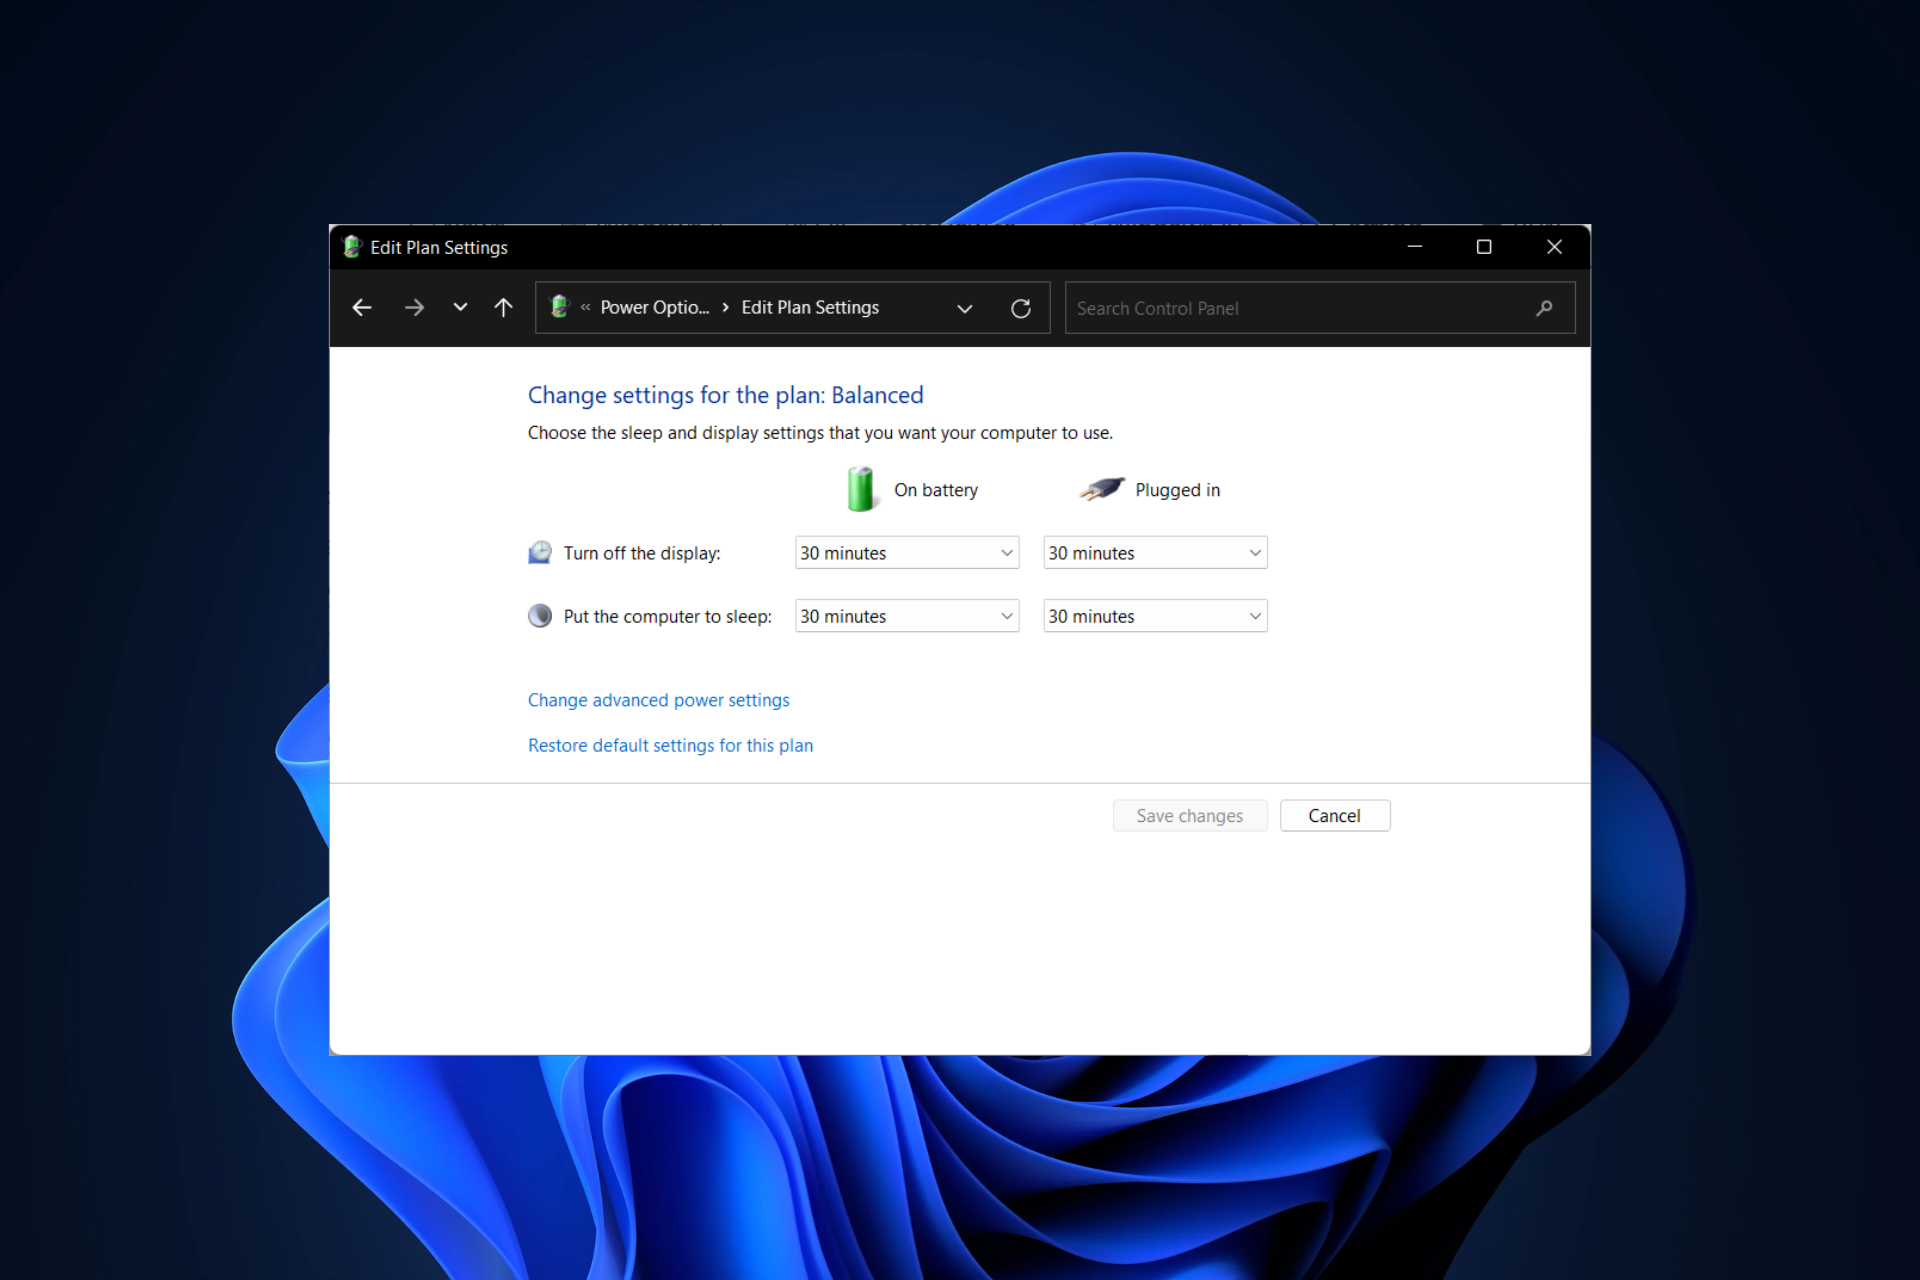
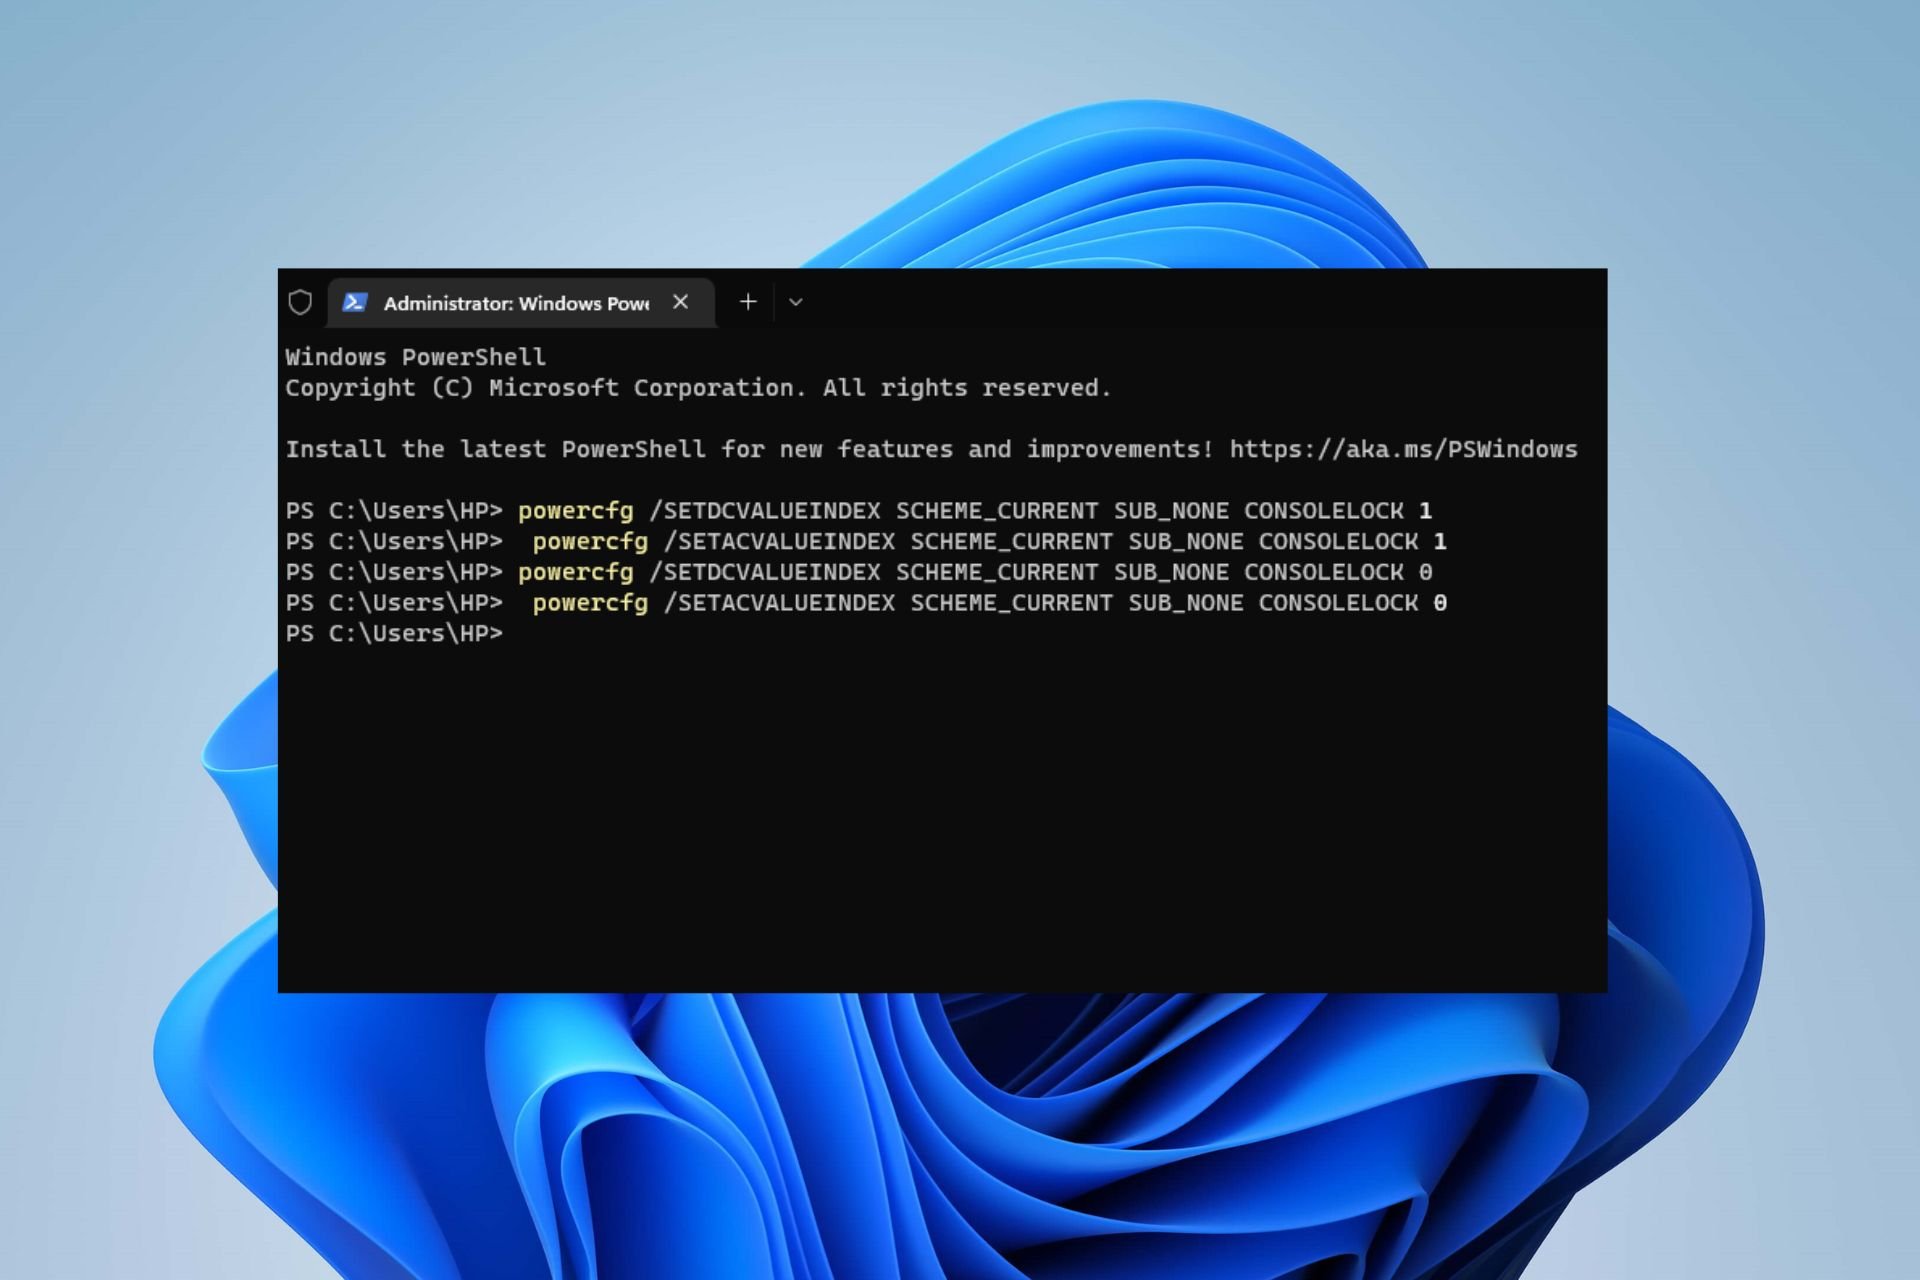
- Power Management Settings: Adjust power management settings to ensure the system wakes up properly.
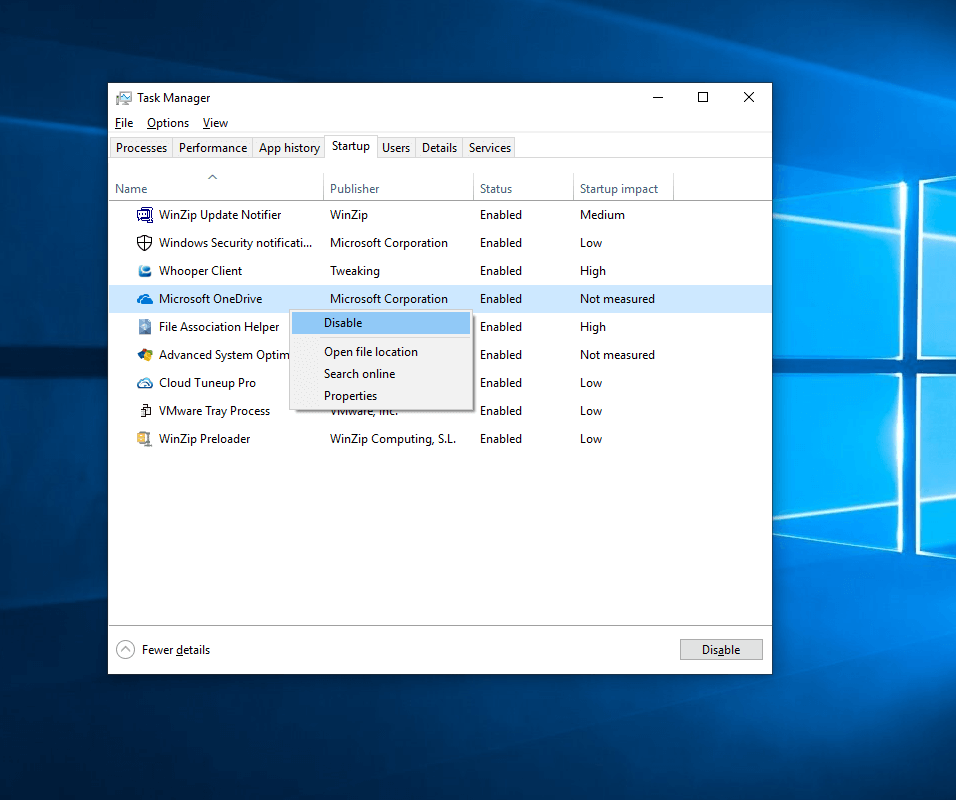
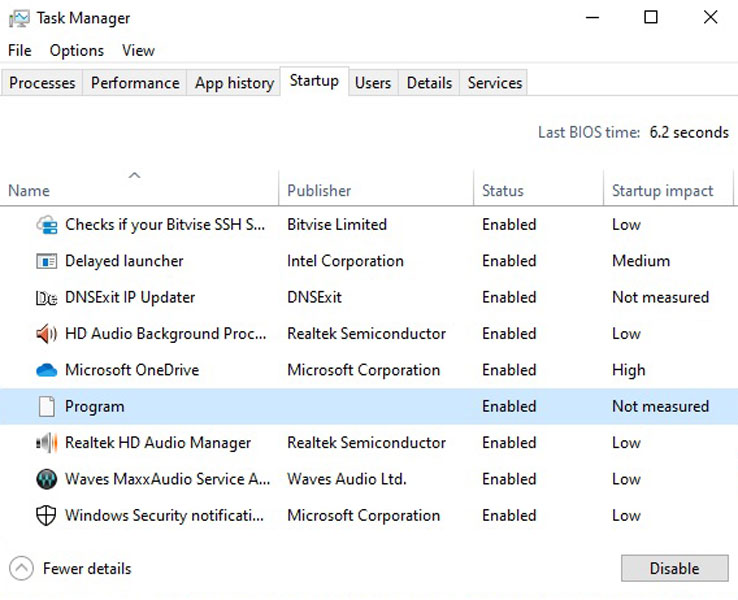
- Software Conflicts: Temporarily disable or uninstall recently installed software applications that might be interfering with the wake-up process.
- System File Checker (SFC): Run the System File Checker to repair any corrupted system files.
3. Hardware Troubleshooting:
- Memory Test: Run a memory test to check for faulty RAM modules.
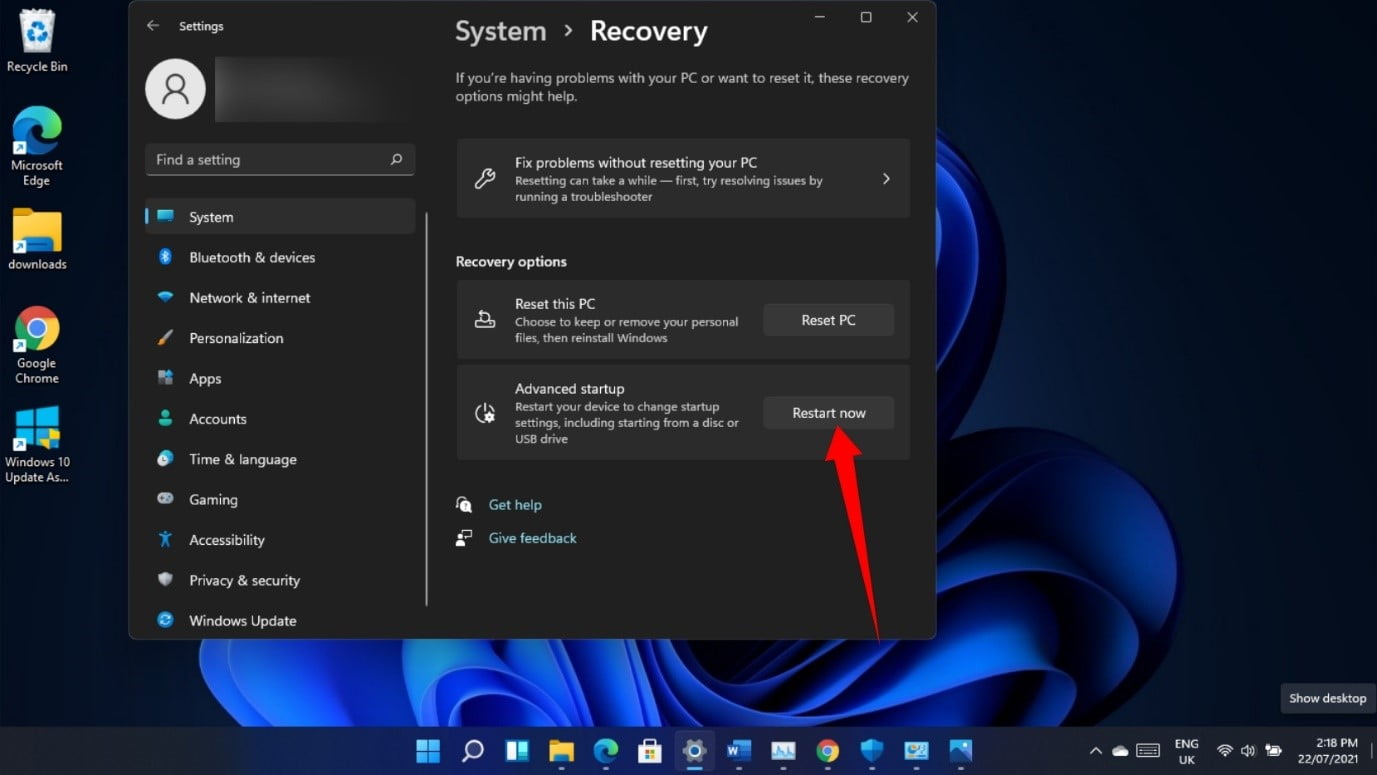
- BIOS Settings: Access the BIOS and check for any power management settings that might be preventing the system from waking up.
- Hardware Diagnostics: Utilize the built-in hardware diagnostics tools to identify any faulty components.
4. Advanced Troubleshooting:
- Clean Boot: Perform a clean boot to isolate the issue by temporarily disabling non-essential services and startup programs.
- System Restore: Restore the system to a previous point in time when the wake-up issue was not present.
- Reinstall Windows: If all other troubleshooting steps fail, reinstalling Windows might be necessary to address underlying system issues.
FAQs
Q: Why does my Windows 11 device sometimes wake up but not others?
A: Inconsistent wake-up behavior can be caused by a combination of factors, including:
- Intermittent Hardware Issues: Faulty hardware components can exhibit intermittent behavior, leading to unpredictable wake-up outcomes.
- Software Conflicts: Software conflicts can sometimes be temporary, causing intermittent wake-up failures.
- Power Management Settings: Incorrectly configured power management settings can cause the system to enter a deeper sleep state, making it difficult to wake up consistently.
Q: Can I disable sleep mode entirely to avoid this issue?
A: While disabling sleep mode can eliminate the wake-up problem, it defeats the purpose of energy-saving features. Additionally, keeping the device running constantly can lead to increased wear and tear on hardware components.
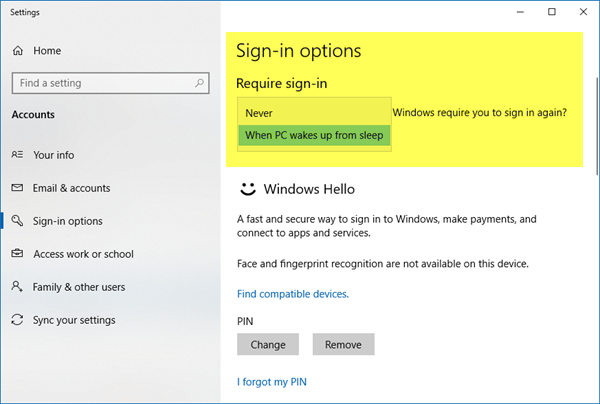
Q: Is there a specific Windows 11 setting that controls wake-up behavior?
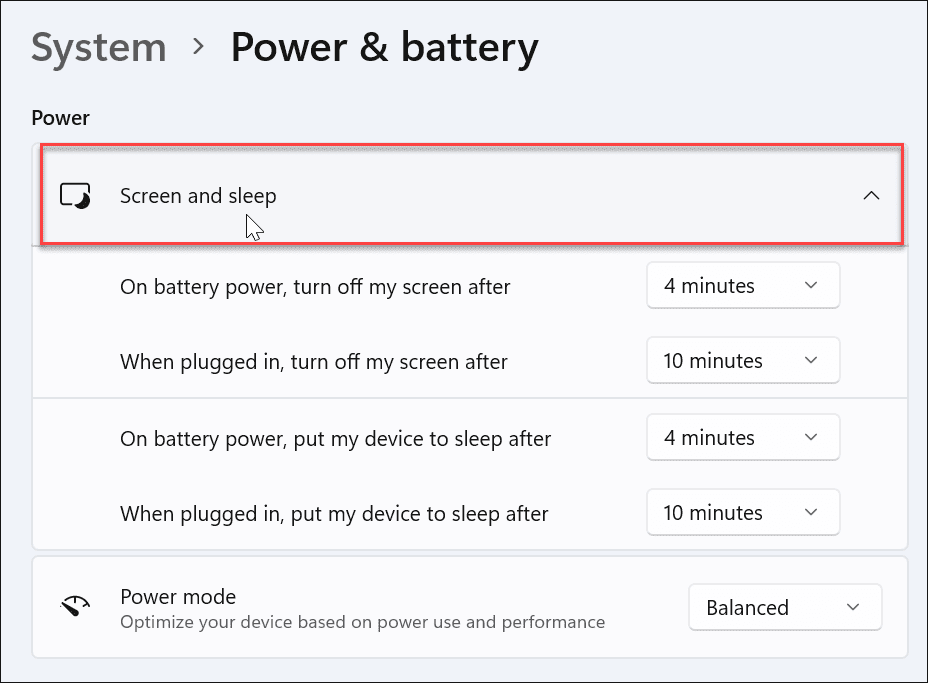
A: Yes, the "Power & sleep" settings within the Windows 11 control panel offer various options to customize wake-up behavior, including wake-on-LAN, wake-on-wireless, and wake timers.
Tips for Preventing Wake-Up Issues
- Regular Driver Updates: Regularly update device drivers to ensure compatibility and prevent driver-related wake-up issues.
- Power Management Settings: Carefully configure power management settings, ensuring the system wakes up from sleep mode as expected.
- Software Management: Install and update software applications from trusted sources to minimize the risk of conflicts.
- Hardware Maintenance: Regularly clean and maintain hardware components, especially those related to power management, to prevent overheating and ensure optimal performance.
Conclusion
The inability of a Windows 11 device to wake up from sleep mode can be a frustrating experience. However, by understanding the common causes and employing a systematic troubleshooting approach, users can effectively diagnose and resolve this issue. Regular maintenance, including driver updates, power management optimization, and hardware checks, can help prevent future occurrences of unresponsive wake-up behavior, ensuring a smooth and efficient computing experience.


Closure
Thus, we hope this article has provided valuable insights into The Enigma of Unresponsive Windows 11 After Sleep: A Comprehensive Guide. We thank you for taking the time to read this article. See you in our next article!


![How to Install Windows 10 from USB Drive – [Complete Guide]](https://www.stellarinfo.com/public/image/catalog/article/data-recovery/install-windows-10-from-usb/choose-create-installation-media-image4.jpg)


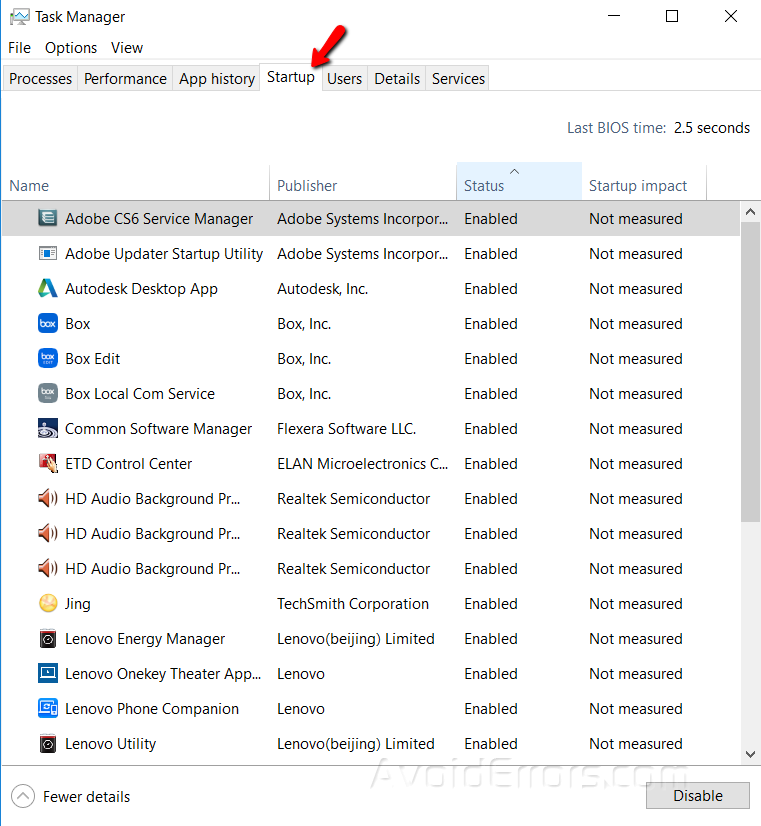
![How to Manage Startup Programs in Windows 10 [Tutorial]](https://consumingtech.com/wp-content/uploads/2017/07/Startup-status-enabled-1024x597.png)