Maintaining Optimal PC Performance: A Comprehensive Guide
Maintaining Optimal PC Performance: A Comprehensive Guide
Related Articles: Maintaining Optimal PC Performance: A Comprehensive Guide
Introduction
With great pleasure, we will explore the intriguing topic related to Maintaining Optimal PC Performance: A Comprehensive Guide. Let’s weave interesting information and offer fresh perspectives to the readers.
Table of Content
Maintaining Optimal PC Performance: A Comprehensive Guide
The intricate world of personal computers, while offering boundless opportunities for productivity, entertainment, and connectivity, is also susceptible to various issues that can hinder performance and cause frustration. These issues, ranging from software conflicts to hardware malfunctions, can manifest in slow loading times, frequent crashes, and a general sense of sluggishness.
Fortunately, a proactive approach to PC maintenance can mitigate these problems and ensure a smooth, reliable computing experience. This guide explores the importance of regular PC health checks and provides insights into effective practices for maintaining optimal performance.
Understanding the Importance of PC Health Checks
A regular PC health check is akin to a comprehensive medical checkup for your computer. It allows you to identify potential issues before they escalate into significant problems, preventing data loss, system instability, and costly repairs.
Here’s why PC health checks are crucial:
- Early Detection and Prevention: Regular checks can identify potential issues like malware infections, corrupted files, or hardware failures in their early stages, allowing for prompt resolution before they cause major disruptions.
- Enhanced Performance: By identifying and removing unnecessary files, optimizing system settings, and ensuring optimal hardware functionality, PC health checks can significantly improve system speed, responsiveness, and overall performance.
- Extended Lifespan: By addressing potential issues early, you can prevent further damage and extend the lifespan of your computer components, saving you from costly replacements.
- Data Security: Regular checks help ensure your system is secure from malware and other threats, protecting your sensitive data from unauthorized access or corruption.
- Peace of Mind: Knowing that your computer is in good health provides peace of mind and allows you to focus on your tasks without worrying about potential disruptions.
Types of PC Health Checks
There are several ways to conduct a PC health check, each offering a unique set of benefits:
- Manual Checks: This involves manually examining your computer for signs of issues like slow performance, unusual noises, or error messages. While this approach requires some technical knowledge, it allows for a deeper understanding of your system’s health.
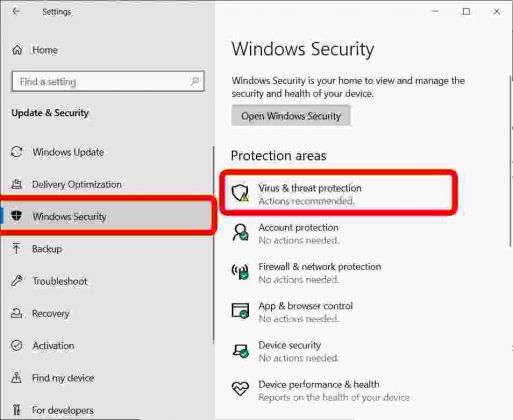
- System Utilities: Windows and other operating systems come equipped with built-in utilities that can scan for errors, optimize performance, and provide information about your system’s health. These utilities are often user-friendly and require minimal technical expertise.
- Third-Party Software: Numerous third-party software programs are designed specifically for comprehensive PC health checks. These programs offer a wide range of features, including malware detection, disk cleanup, system optimization, and hardware diagnostics.
Effective Practices for Maintaining PC Health
Beyond regular health checks, several proactive measures can contribute to optimal PC performance:
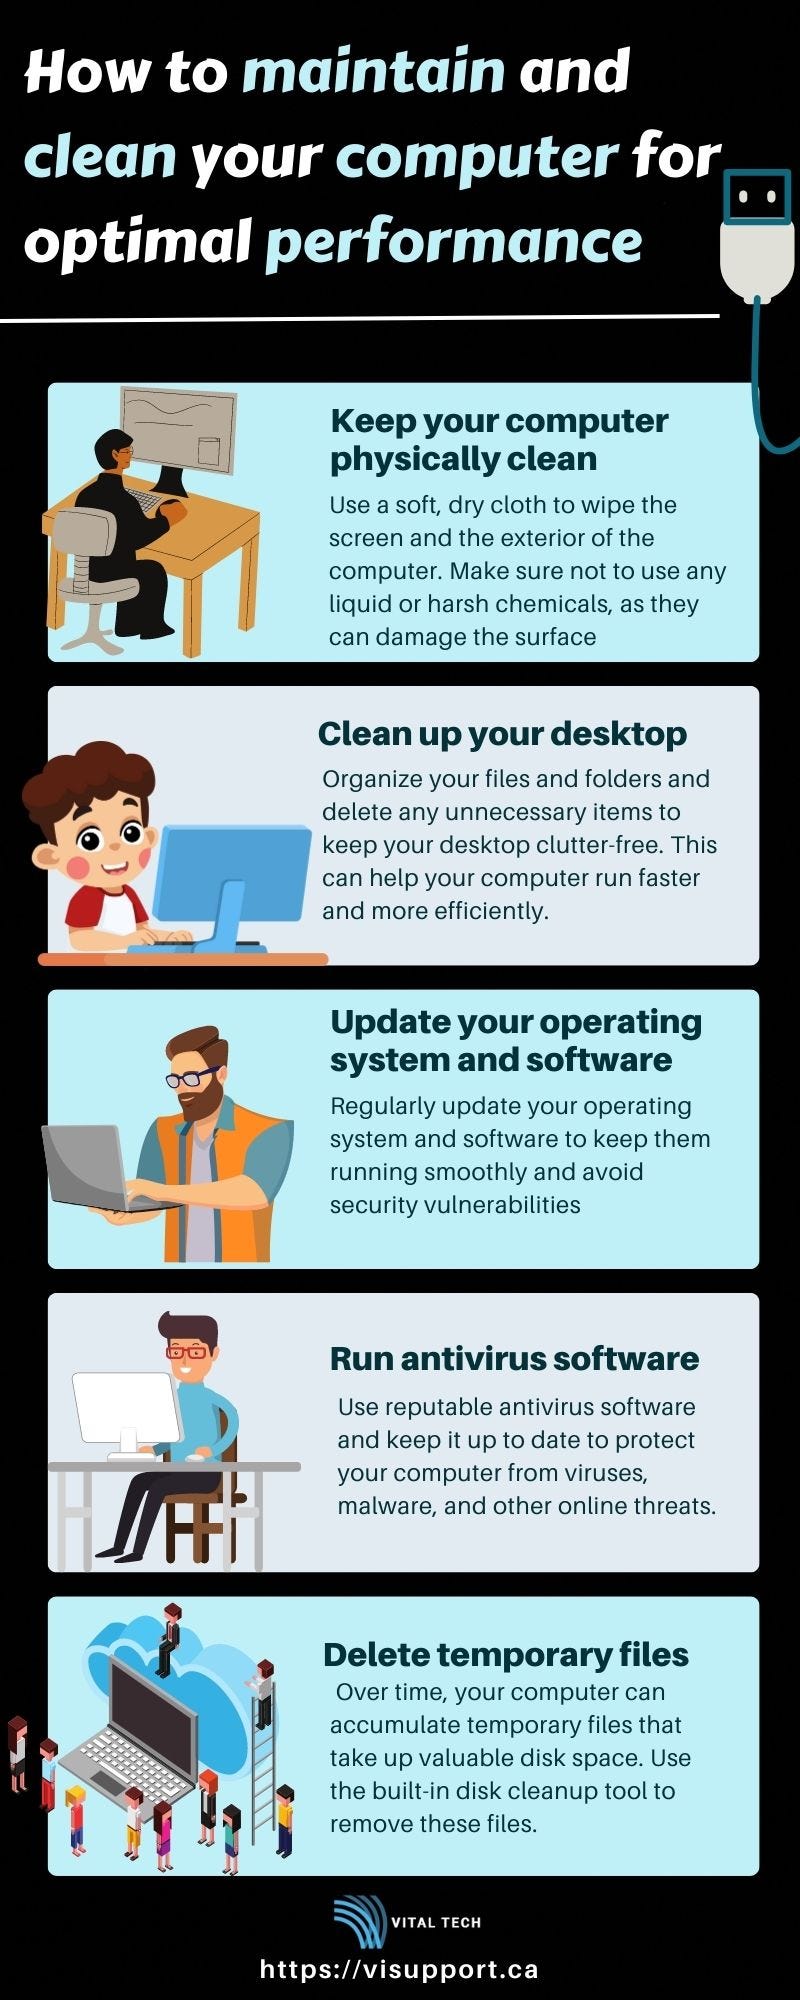
- Regular Software Updates: Keeping your operating system, antivirus software, and other applications updated is essential for security and performance. Updates often include bug fixes, security patches, and performance enhancements.
- Disk Cleanup: Regularly delete unnecessary files, such as temporary files, browser cache, and old downloads, to free up disk space and improve system speed.
- Defragmentation: This process reorganizes fragmented files on your hard drive, improving read and write speeds and enhancing system performance.
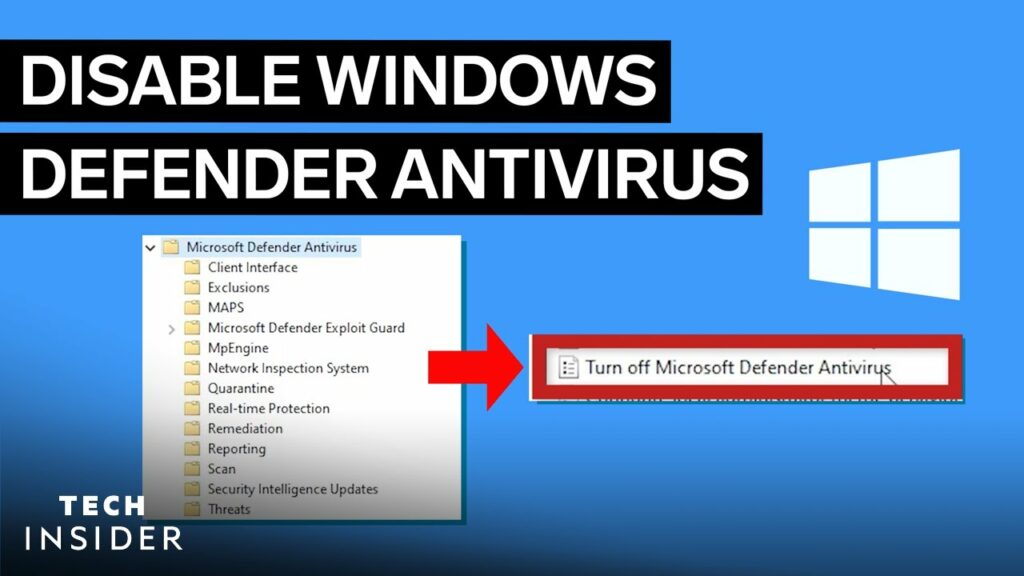
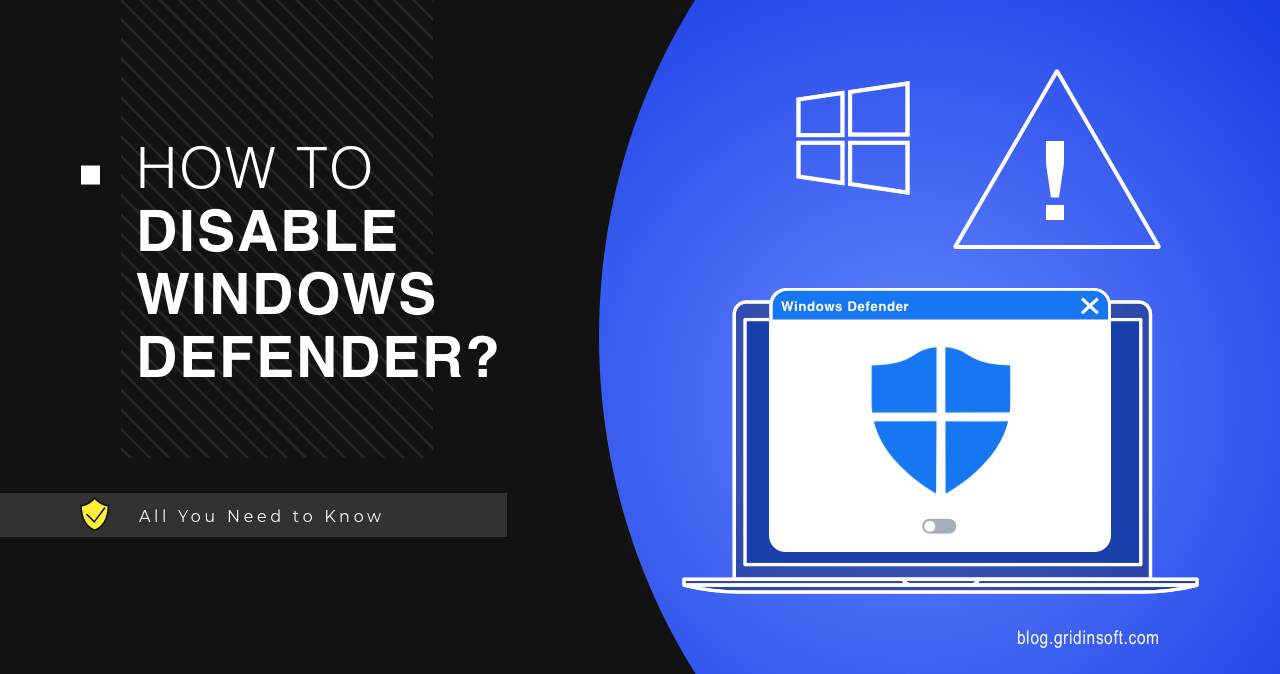
- Malware Protection: Install and maintain a reliable antivirus program to protect your computer from malware infections that can damage files, slow performance, and steal personal information.
- Hardware Maintenance: Regularly clean your computer’s internal components, including the CPU fan, heatsink, and hard drive, to prevent overheating and ensure optimal airflow.
- Proper Shutdown: Always shut down your computer properly instead of abruptly turning it off, as this can prevent data corruption and system errors.
- Backups: Regularly back up your important data to an external hard drive or cloud storage service to protect against data loss due to hardware failures or software issues.
FAQs about PC Health Checks
Q: How often should I perform a PC health check?
A: It is recommended to perform a comprehensive PC health check at least once a month. However, if you notice any performance issues or unusual behavior, it’s advisable to conduct a check immediately.
Q: What are some signs that my computer needs a health check?
A: Common signs include:
- Slow loading times
- Frequent crashes or freezes
- Error messages
- Unusual noises
- High CPU usage
- Reduced disk space
- Frequent malware alerts
Q: Are there free tools available for PC health checks?
A: Yes, many free tools are available, including built-in system utilities and third-party software.
Q: Can I perform a PC health check myself, or do I need a professional?
A: Basic health checks can be performed by most users. However, if you encounter complex issues or are uncomfortable with technical tasks, it’s best to seek help from a qualified technician.
Tips for Maintaining PC Health
- Be cautious about what you download and install: Only download files from trusted sources and be wary of suspicious emails and attachments.
- Use a strong password: A strong password helps protect your computer from unauthorized access and data theft.
- Be mindful of what you share online: Avoid sharing personal information on untrusted websites and be cautious about clicking on suspicious links.
- Keep your software updated: Regularly update your operating system, antivirus software, and other applications to ensure you have the latest security patches and performance enhancements.
- Clean your computer regularly: Dust and debris can accumulate inside your computer, hindering airflow and causing overheating. Regular cleaning helps prevent these issues.
Conclusion
Maintaining a healthy PC is essential for optimal performance, data security, and peace of mind. By implementing regular health checks and adopting proactive maintenance practices, you can ensure your computer operates smoothly and efficiently. Remember, prevention is key. By addressing potential issues early, you can prevent major disruptions and extend the lifespan of your valuable technology investment.


Closure
Thus, we hope this article has provided valuable insights into Maintaining Optimal PC Performance: A Comprehensive Guide. We hope you find this article informative and beneficial. See you in our next article!


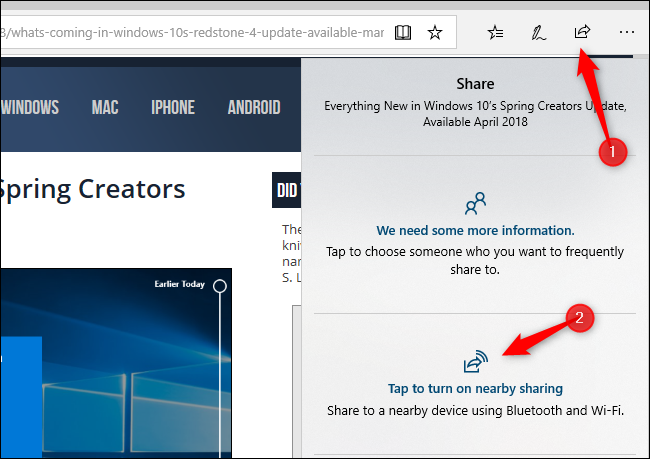
![[Step by Step Guide] How to Use Nearby Share on Windows?](https://images.airdroid.com/2022/04/disable-nearby-sharing-windows-10-768x606.jpg)
![[Step by Step Guide] How to Use Nearby Share on Windows?](https://images.airdroid.com/2022/04/enabe-nearby.jpg)


![27 Productivity Tips that Will Change the Way You Live, Work, and Feel [+Infographic]](https://www.rainsalestraining.com/hs-fs/hubfs/Virtual_Selling_Book/Productivity_Code_Model.png?width=834u0026name=Productivity_Code_Model.png)


![[Guide] Torrent Setup with OpenVPN + Qbittorrent on Windows 10 : r/FastestVPN](https://i.imgur.com/tCiRVU2.jpeg)
![How to Install Windows 11 from USB in 2021 [Easiest Guide] Beebom](https://beebom.com/wp-content/uploads/2021/08/How-to-Install-Windows-11-From-USB-on-Your-PC-1.jpg?w=750u0026quality=75)


![How to Install Windows 11 From USB Flash Drive [ Full Guide ]](https://www.buildsometech.com/wp-content/uploads/2021/07/Installing-Windows-11-OS.png)