The Enigma Of The Missing 5GHz Wi-Fi Signal: A Comprehensive Guide To Troubleshooting
The Enigma of the Missing 5GHz Wi-Fi Signal: A Comprehensive Guide to Troubleshooting
Related Articles: The Enigma of the Missing 5GHz Wi-Fi Signal: A Comprehensive Guide to Troubleshooting
Introduction
In this auspicious occasion, we are delighted to delve into the intriguing topic related to The Enigma of the Missing 5GHz Wi-Fi Signal: A Comprehensive Guide to Troubleshooting. Let’s weave interesting information and offer fresh perspectives to the readers.
Table of Content
The Enigma of the Missing 5GHz Wi-Fi Signal: A Comprehensive Guide to Troubleshooting

The allure of a faster, more robust wireless connection is undeniable. 5GHz Wi-Fi, with its higher bandwidth and reduced interference potential, promises a smoother online experience. Yet, encountering a missing 5GHz network can be frustrating, leaving users grappling with slow speeds and unreliable connectivity. This article delves into the reasons behind this common issue, providing a step-by-step guide to troubleshooting and restoring your high-speed Wi-Fi connection.
Understanding the Importance of 5GHz Wi-Fi
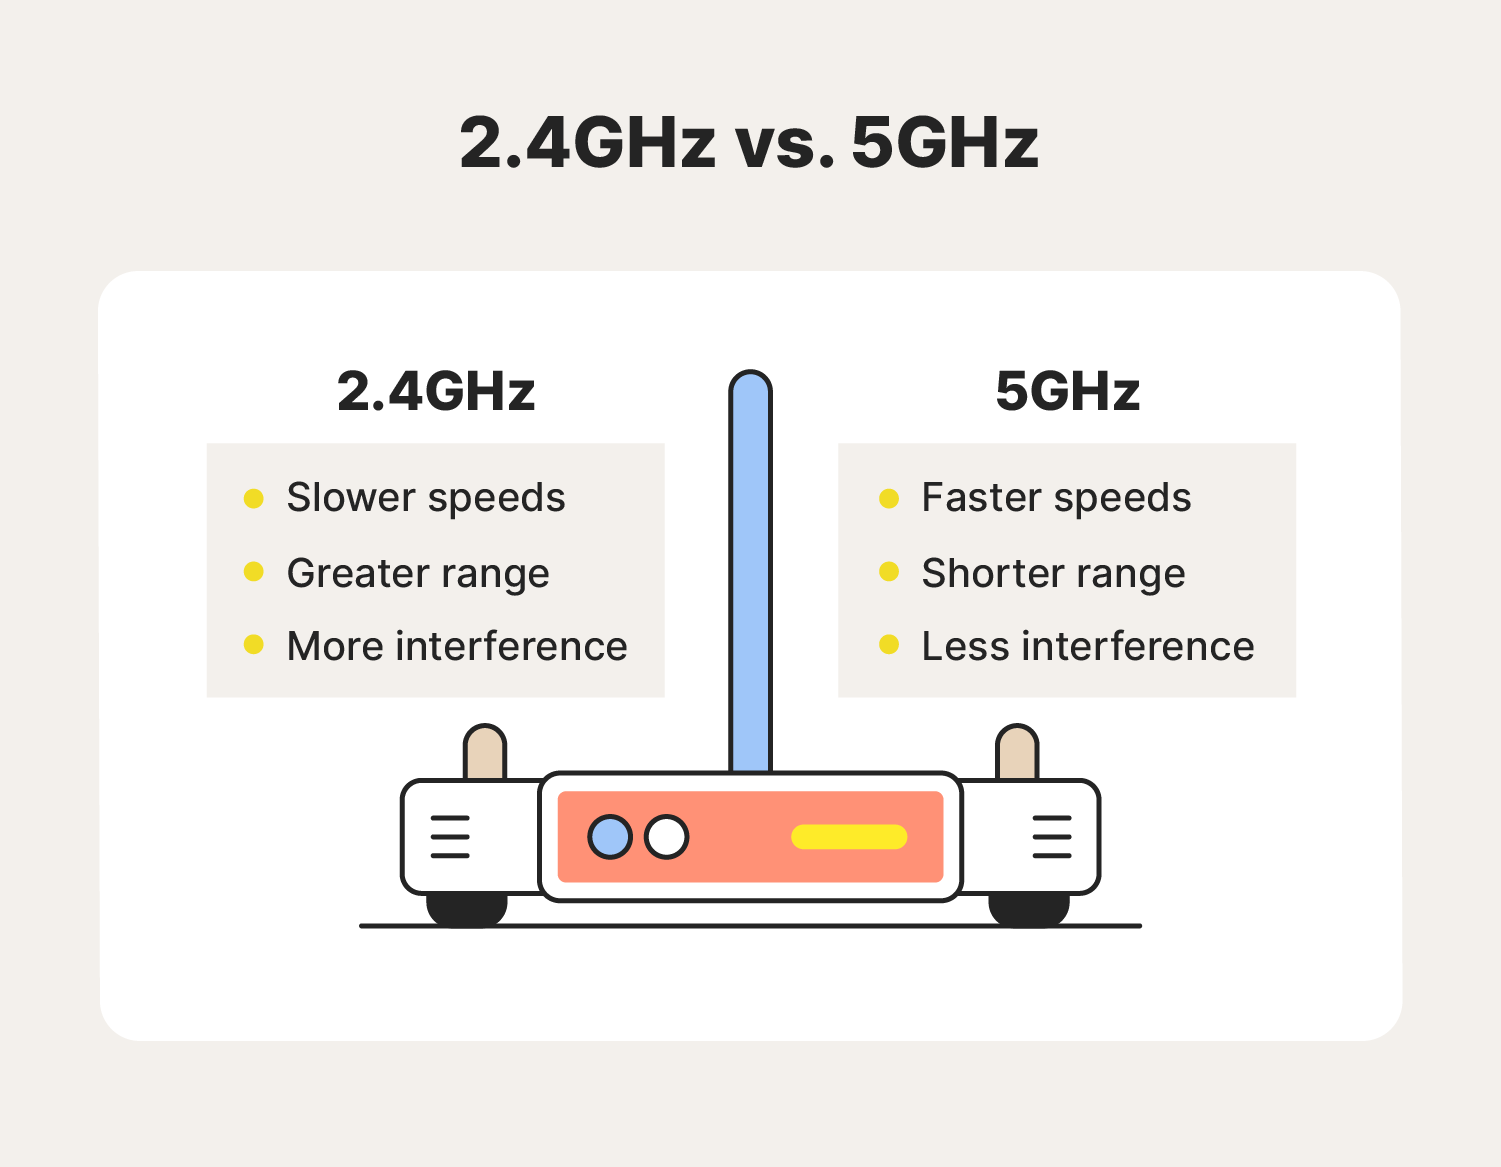
Before exploring the troubleshooting steps, it is essential to understand the benefits of 5GHz Wi-Fi. This frequency band offers several advantages over the traditional 2.4GHz band:
- Higher Bandwidth: 5GHz channels are wider, allowing for faster data transfer rates, ideal for streaming high-definition video, online gaming, and demanding applications.
- Reduced Interference: The 5GHz band is less congested than 2.4GHz, resulting in fewer collisions and a more stable connection.
- Increased Range: While 5GHz signals generally have a shorter range than 2.4GHz, advancements in technology have mitigated this difference, making it suitable for most home and office environments.
Common Causes of a Missing 5GHz Signal
The absence of a 5GHz network can stem from various factors, both technical and environmental. Understanding these causes is crucial for effective troubleshooting:
- Router Capabilities: Not all routers support 5GHz Wi-Fi. Older models may only offer the 2.4GHz band. Ensure your router is capable of broadcasting both frequencies.
- Network Configuration: The 5GHz network may be disabled in your router’s settings. Check the router’s administration interface to verify the 5GHz band is enabled and broadcasting.
- Device Compatibility: Older devices may not support 5GHz Wi-Fi. Check the specifications of your wireless devices to ensure compatibility.
- Signal Interference: Microwave ovens, cordless phones, and other devices operating in the 2.4GHz band can interfere with the 5GHz signal.
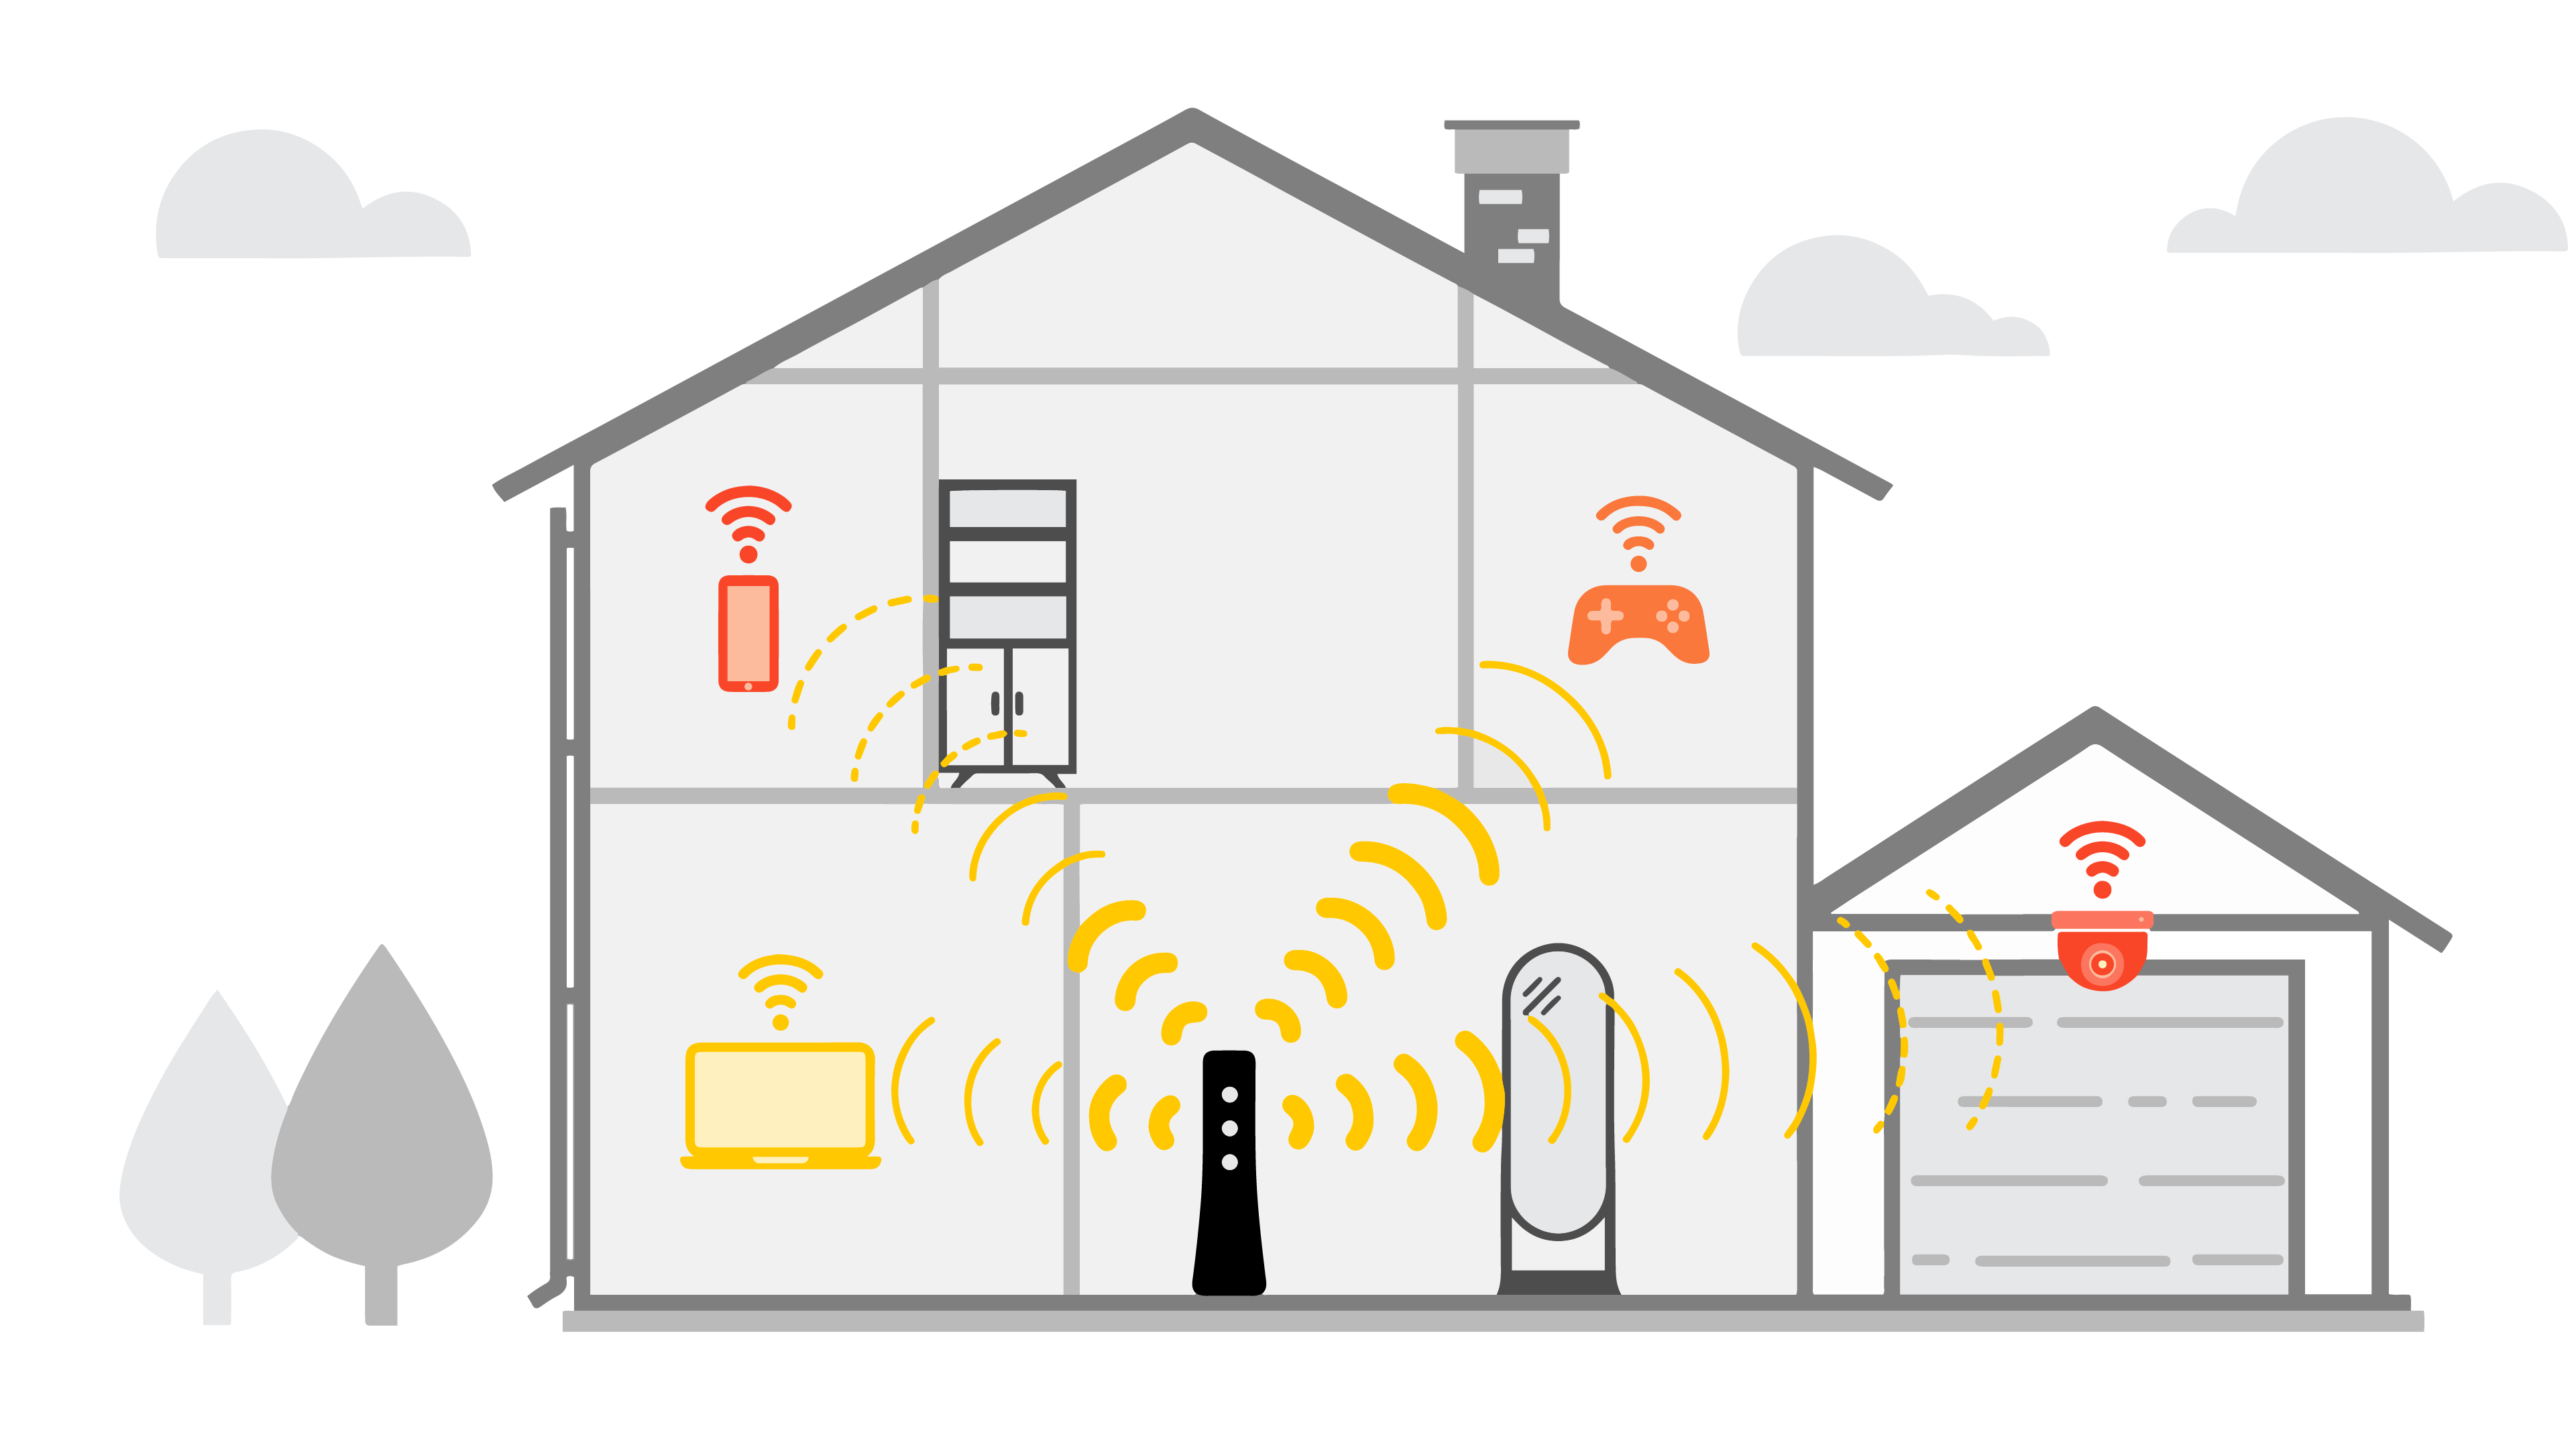
- Distance and Obstacles: Walls, furniture, and other physical barriers can significantly weaken the 5GHz signal, making it difficult to detect.
- Channel Overlap: In densely populated areas, overlapping channels from neighboring networks can create interference, hindering the 5GHz signal.
- Firmware Issues: Outdated router firmware can sometimes cause network connectivity problems, including the absence of a 5GHz signal.
- Hardware Malfunctions: In rare cases, a malfunctioning router or network adapter can prevent the 5GHz network from broadcasting.
Troubleshooting Steps: Restoring Your 5GHz Connection
Once you have identified the potential causes, you can begin troubleshooting the issue systematically:
1. Verify Router Capabilities:
- Consult your router’s documentation or manufacturer website to confirm its support for 5GHz Wi-Fi.
- Look for a physical switch or indicator on the router that enables/disables the 5GHz band.
2. Check Network Settings:
- Access your router’s administration interface using a web browser. The login details are usually found on a sticker attached to the router.
- Navigate to the Wi-Fi settings and ensure the 5GHz network is enabled and broadcasting.
- Verify the SSID (network name) and password for the 5GHz network are correct.
3. Ensure Device Compatibility:
- Check the specifications of your wireless devices to confirm they support 5GHz Wi-Fi.
- If your device is compatible, ensure the Wi-Fi settings are configured to search for 5GHz networks.
4. Minimize Signal Interference:
- Identify potential sources of interference, such as microwave ovens or cordless phones, and move them away from your router.
- Consider using a different Wi-Fi channel for the 5GHz network to reduce interference from neighboring networks.
5. Optimize Placement and Environment:
- Position your router in a central location with minimal obstacles between it and your devices.
- Ensure the router is not placed near metal objects or reflective surfaces that can block the signal.
6. Update Firmware:
- Visit your router manufacturer’s website to download and install the latest firmware updates.
- Updates often include bug fixes and performance enhancements, which can resolve connectivity issues.
7. Restart Router and Devices:
- Power cycle your router by unplugging it, waiting for 30 seconds, and then plugging it back in.
- Restart your wireless devices to refresh their network connections.
8. Reset Router to Factory Defaults:
- As a last resort, reset your router to factory defaults. This will erase all custom settings, including the 5GHz network configuration.
- Refer to your router’s documentation for instructions on performing a factory reset.
FAQs: Addressing Common Questions
Q: Why is my 5GHz network only showing up on some devices?
A: This could be due to device compatibility issues, outdated firmware, or signal strength limitations. Check the device specifications, update firmware, and optimize the router’s placement.
Q: Can I force my router to broadcast only on 5GHz?
A: While some routers allow disabling the 2.4GHz band, it is generally not recommended. Older devices or devices with limited range may struggle to connect to the 5GHz network.
Q: What is the difference between 5GHz and 2.4GHz Wi-Fi?
A: 5GHz offers faster speeds and reduced interference but has a shorter range. 2.4GHz has a wider range but is more prone to interference and slower speeds.
Q: Can I improve the 5GHz signal strength?
A: Yes, optimizing the router’s placement, minimizing interference, and using a compatible Wi-Fi extender can improve signal strength.
Tips: Enhancing Your 5GHz Network
- Use a Wi-Fi Analyzer: Tools like Wi-Fi Analyzer can identify the best channels for your 5GHz network, minimizing interference from neighboring networks.
- Consider a Wi-Fi Extender: If your 5GHz signal is weak in certain areas of your home, a Wi-Fi extender can extend the coverage and improve connectivity.
- Utilize a Mesh Wi-Fi System: Mesh Wi-Fi systems consist of multiple nodes that work together to create a seamless and reliable network, even in large homes.
Conclusion: A Clear Path to Faster Wi-Fi
The absence of a 5GHz Wi-Fi signal can be a frustrating experience, but it is not insurmountable. By understanding the potential causes and following the troubleshooting steps outlined in this article, you can effectively diagnose and resolve the issue, restoring your high-speed wireless connection. Remember to prioritize device compatibility, minimize interference, and optimize router placement to ensure a reliable and efficient 5GHz network.


Closure
Thus, we hope this article has provided valuable insights into The Enigma of the Missing 5GHz Wi-Fi Signal: A Comprehensive Guide to Troubleshooting. We appreciate your attention to our article. See you in our next article!


![[osu!] windows 11 - YouTube](https://i.ytimg.com/vi/1Dyy9bKv-wk/maxresdefault.jpg)


![osu! - The Most Fun & Complete Rhythm Game You'll Find [MUO Gaming]](https://www.makeuseof.com/wp-content/uploads/2013/04/osu1.png)


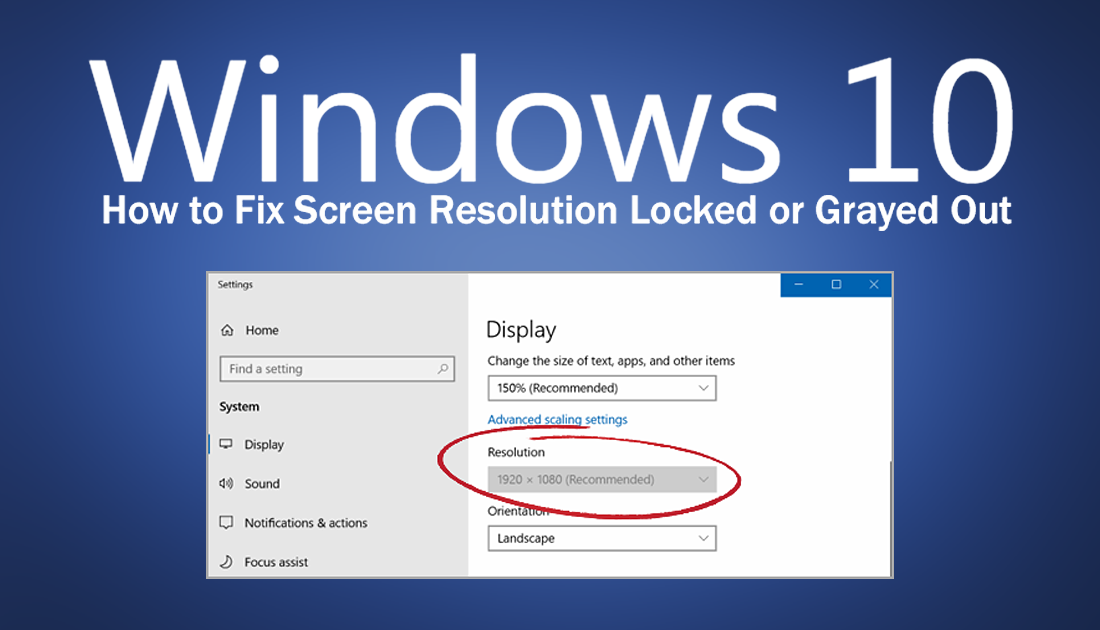
![Fix Screen Resolution Problem in Windows 10 [2024 Tutorial] - YouTube](https://i.ytimg.com/vi/eU0TlF4U7jg/maxresdefault.jpg)