The Silent Upgrade: Troubleshooting Audio Issues After Windows 11
The Silent Upgrade: Troubleshooting Audio Issues After Windows 11
Related Articles: The Silent Upgrade: Troubleshooting Audio Issues After Windows 11
Introduction
In this auspicious occasion, we are delighted to delve into the intriguing topic related to The Silent Upgrade: Troubleshooting Audio Issues After Windows 11. Let’s weave interesting information and offer fresh perspectives to the readers.
Table of Content
The Silent Upgrade: Troubleshooting Audio Issues After Windows 11
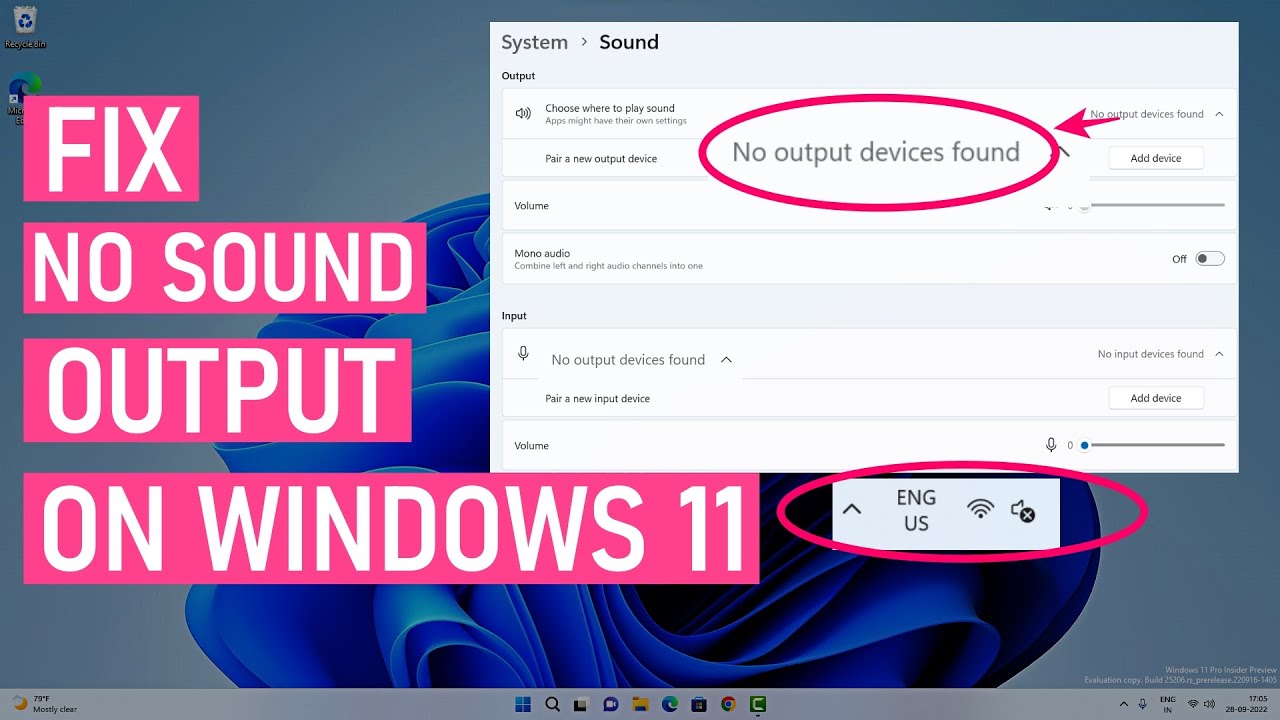
![Fix No Audio after Windows 11 Update [3 Minute Fix 2024]](https://10scopes.com/wp-content/uploads/2022/03/fix-no-audio-after-windows-11-update.jpg)
The allure of a fresh operating system is undeniable. Windows 11, with its sleek design and enhanced features, promises a revitalized computing experience. However, for some users, the upgrade comes with an unwelcome surprise: a silent computer. The absence of sound, a seemingly simple issue, can significantly impact the user experience, hindering communication, multimedia enjoyment, and overall system functionality.
This article delves into the intricacies of audio issues arising after a Windows 11 upgrade, providing a comprehensive guide to understanding, diagnosing, and resolving these problems.
Understanding the Source of the Silence
The lack of sound after a Windows 11 upgrade can stem from various factors, each requiring a distinct approach to resolution. The most common culprits include:
- Driver Issues: Windows 11’s new architecture may not be fully compatible with the existing audio drivers. This incompatibility can lead to malfunctioning or non-functional audio devices.
- System Configuration Errors: The upgrade process may inadvertently alter critical system settings, impacting audio functionality.
- Hardware Problems: Though less frequent, faulty hardware, such as a damaged audio jack or a malfunctioning sound card, can also be the root cause.
- Software Conflicts: Newly installed software or existing programs may interfere with the audio drivers or system settings.
- Windows Updates: While Windows updates are designed to improve system stability and performance, they can sometimes introduce bugs or glitches affecting audio functionality.
Troubleshooting the Silent Upgrade
Tackling the issue of no sound after a Windows 11 upgrade requires a methodical approach. The following steps provide a comprehensive guide to diagnosing and resolving the problem:
1. Restart Your Computer: A simple restart can resolve temporary glitches or software conflicts that may be interfering with audio functionality.
2. Check Audio Device Settings: Ensure that the correct audio device is selected and that the volume is not muted.
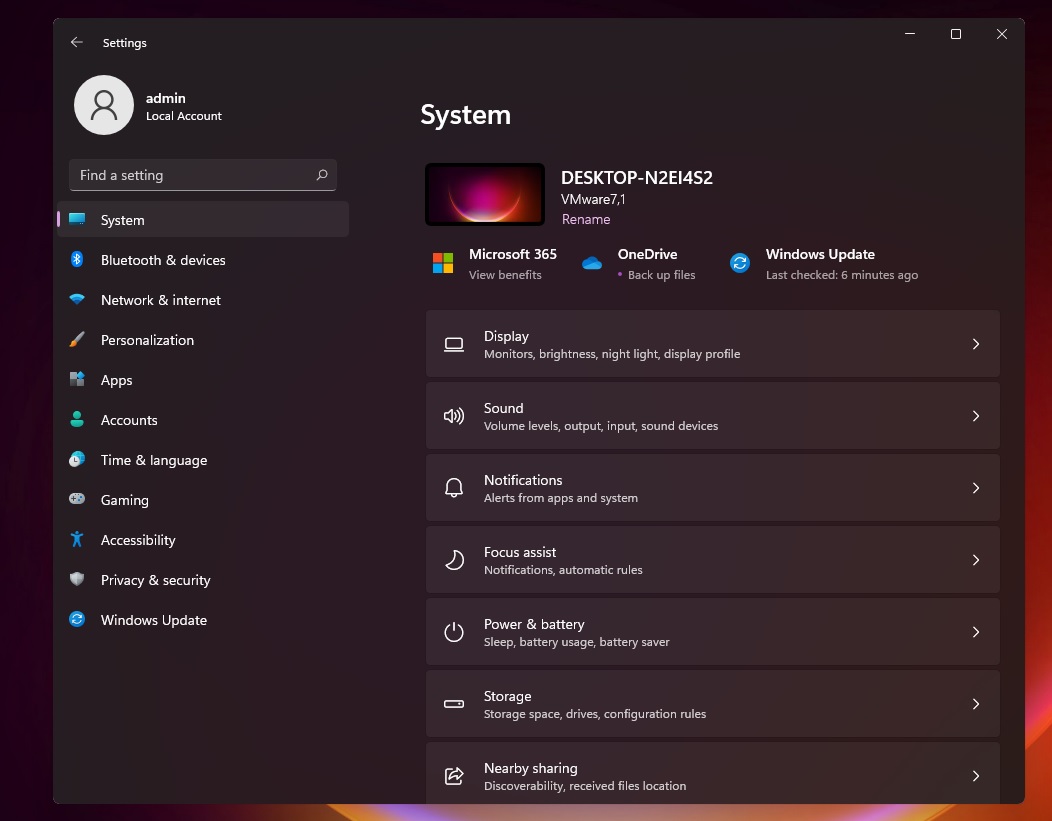
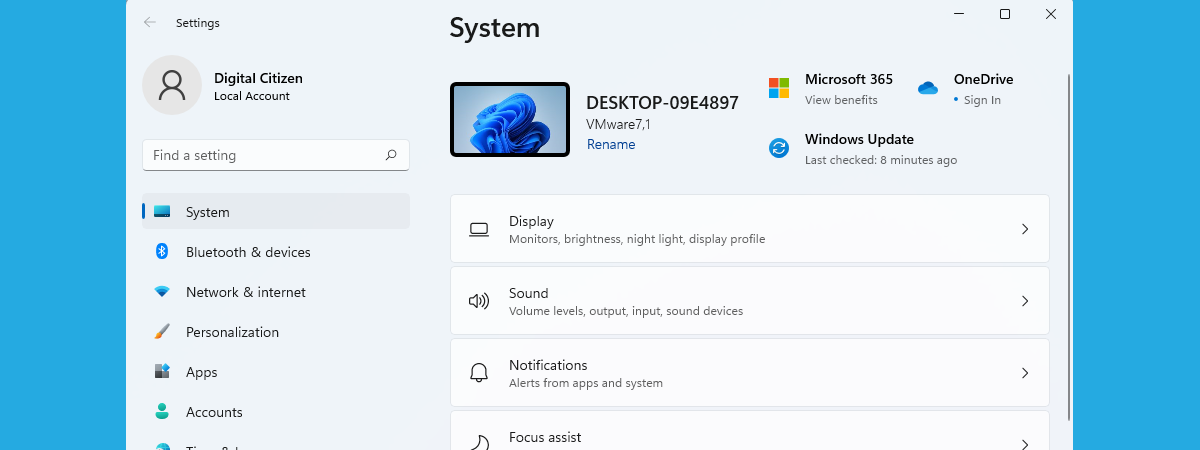
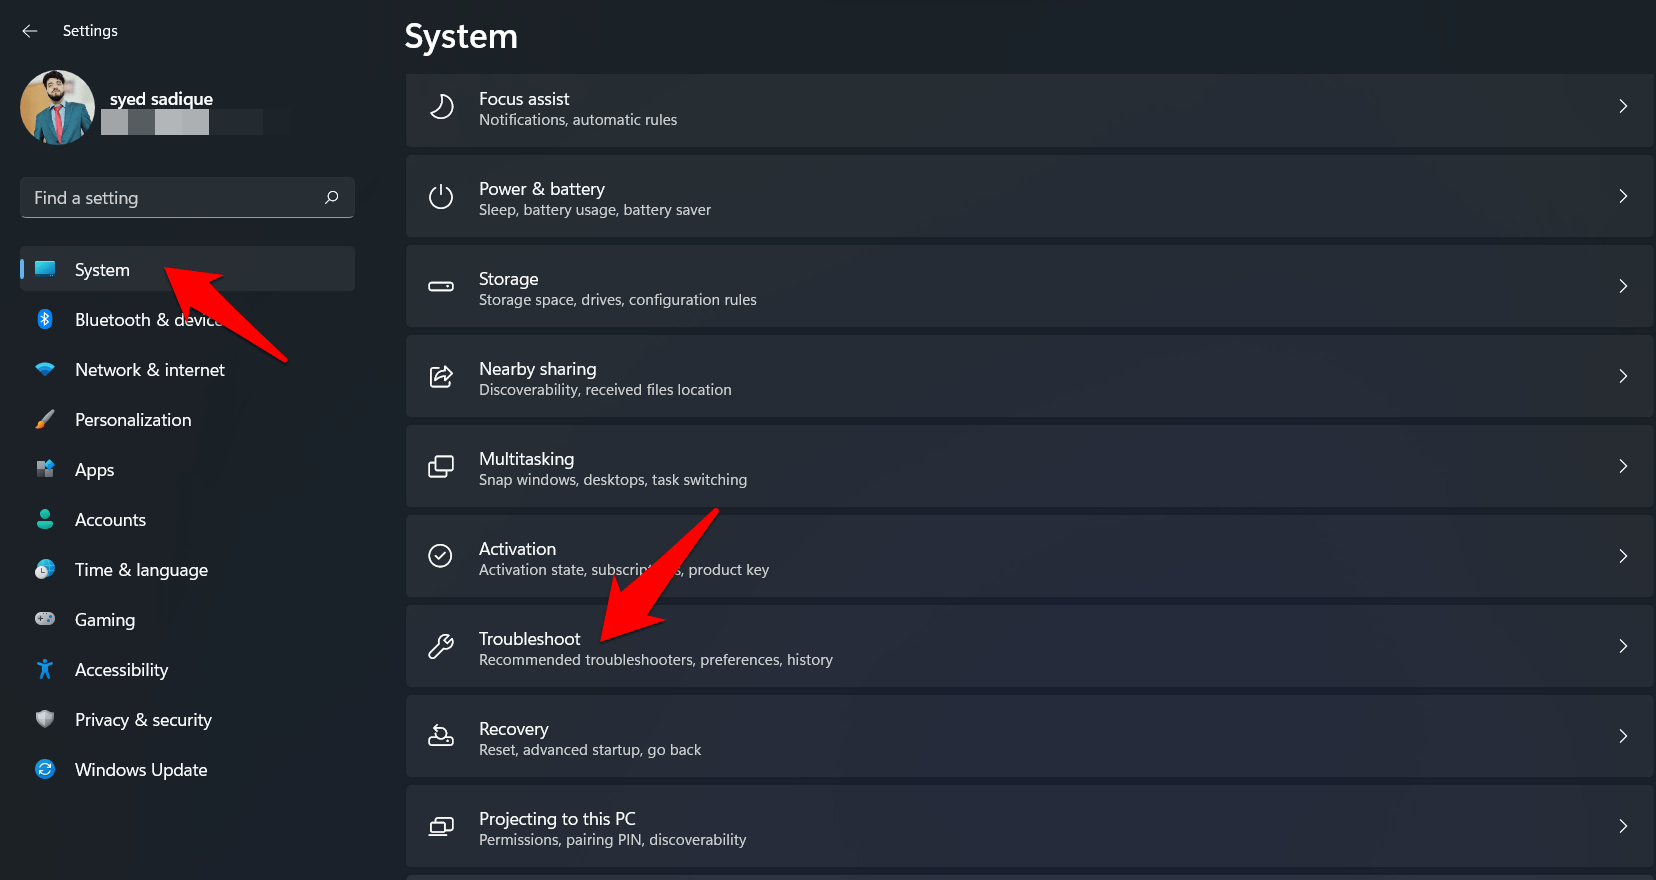
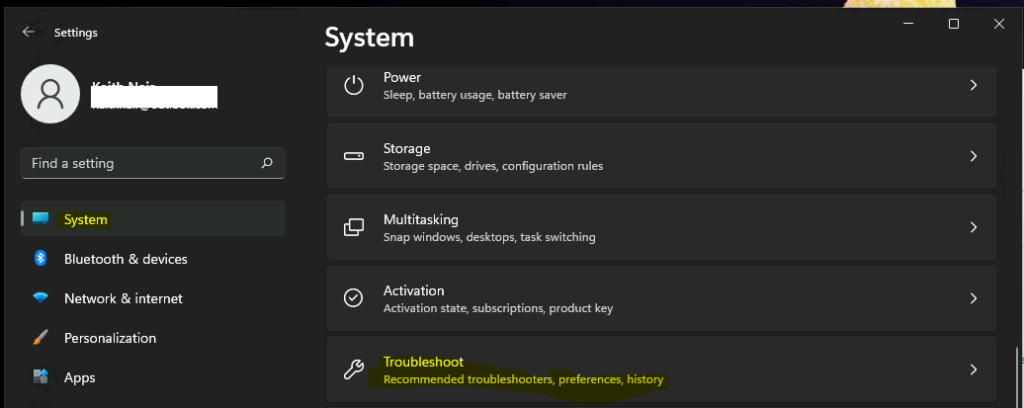
- Open the Windows Settings: Click the Start button, then select "Settings."
- Navigate to System: Select "System" from the left-hand menu.
- Choose Sound: Click "Sound" from the options on the right.
- Verify Output Device: Ensure that the desired output device is selected under "Choose your output device."
- Adjust Volume: Check the volume slider and ensure it is not muted.
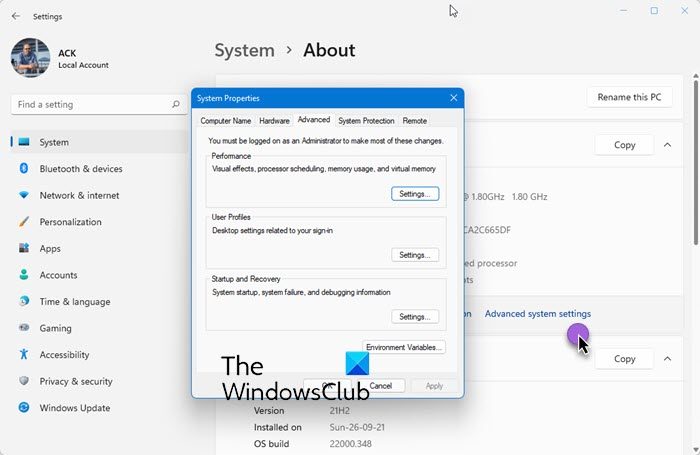
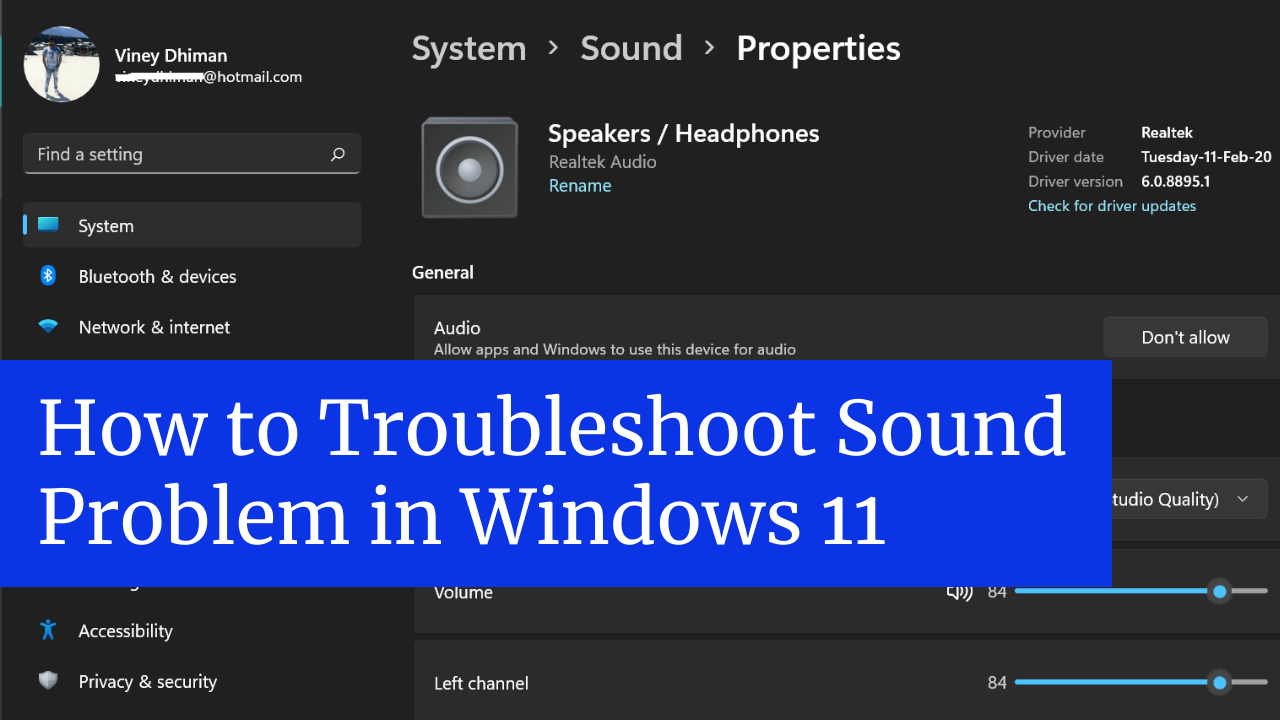
3. Update or Reinstall Audio Drivers: Outdated or incompatible audio drivers are a common cause of sound issues.
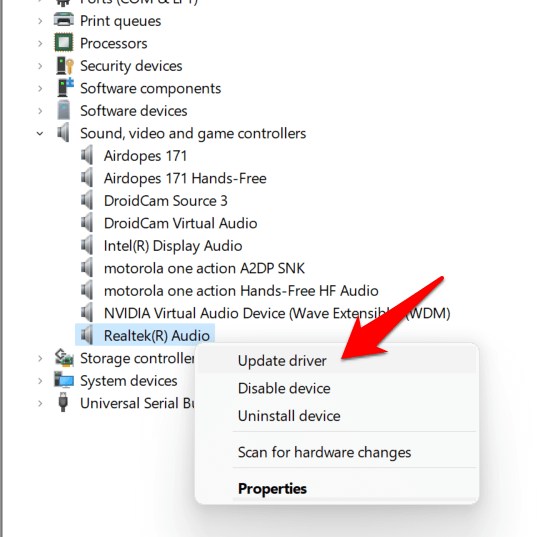
- Device Manager: Press "Windows Key + X" and select "Device Manager."
- Locate Audio Devices: Expand the "Sound, video and game controllers" section.
- Update or Reinstall Drivers: Right-click on your audio device and select "Update driver" or "Uninstall device."
- Download Drivers: If the "Update driver" option doesn’t work, visit the manufacturer’s website to download the latest drivers for your specific model.
- Reinstall Drivers: After uninstalling the drivers, restart your computer and reinstall them from the manufacturer’s website.
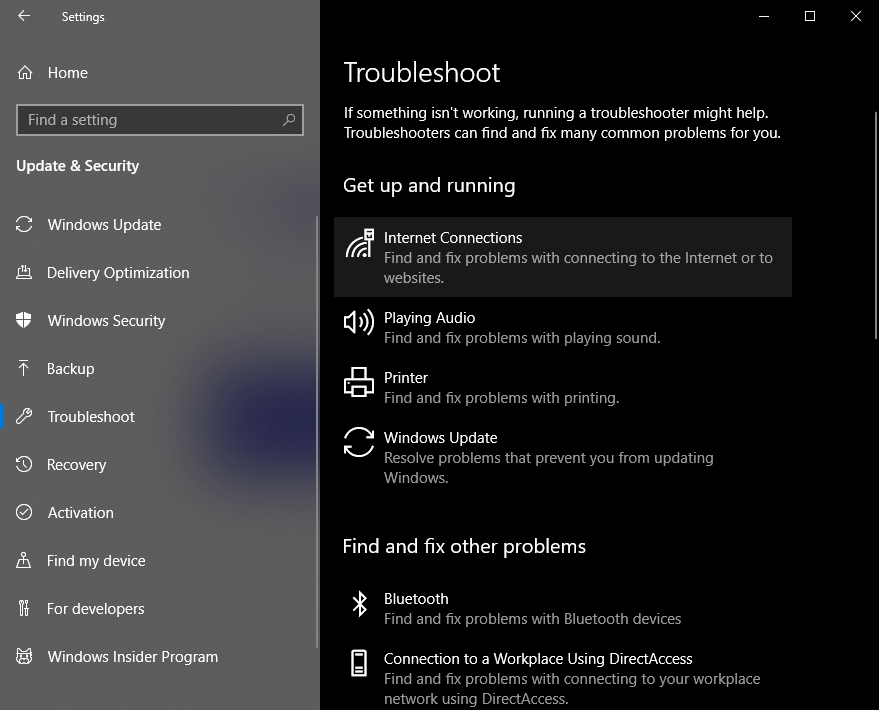
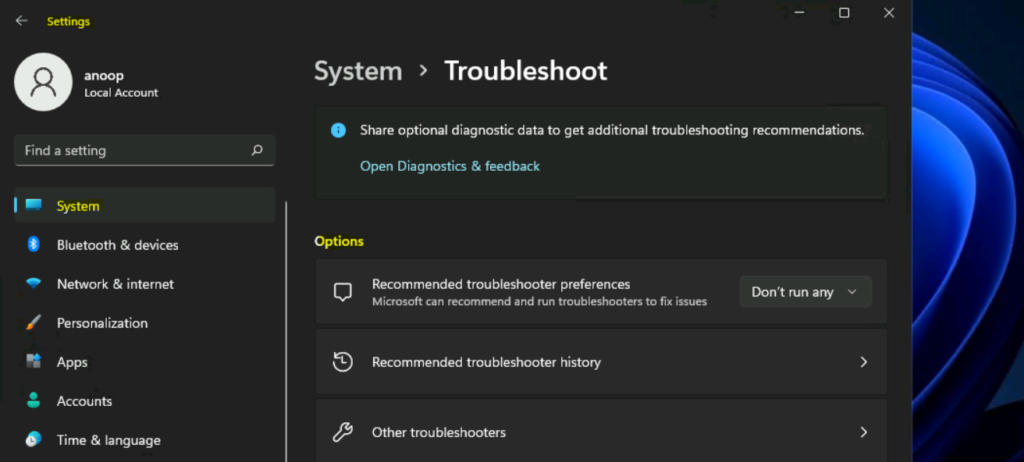
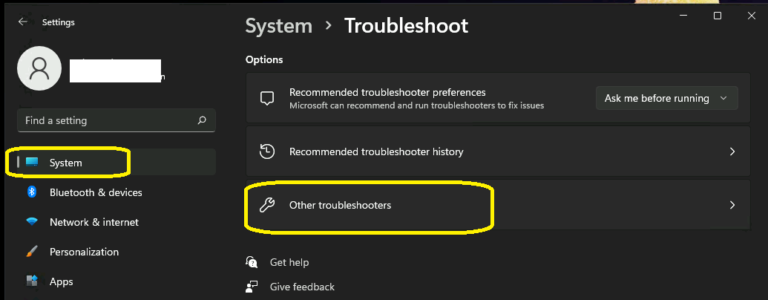
4. Run the Audio Troubleshooter: Windows 11 provides a built-in troubleshooter that can automatically detect and fix common audio problems.
- Open the Settings App: Click the Start button, then select "Settings."
- Navigate to System: Select "System" from the left-hand menu.
- Choose Troubleshoot: Click "Troubleshoot" from the options on the right.
- Run the Audio Troubleshooter: Select "Other troubleshooting tools" and click "Run" for the "Playing Audio" troubleshooter.
5. Check for Software Conflicts: Newly installed software or existing programs can interfere with audio functionality.
- Uninstall Recently Installed Programs: If you recently installed new software, try uninstalling it to see if it resolves the issue.
- Disable Startup Programs: Temporarily disable startup programs to see if they are interfering with audio functionality.
6. Reset Audio Settings: Resetting audio settings to their default values can resolve configuration errors that may be affecting sound.
- Open the Control Panel: Search for "Control Panel" in the Windows search bar and open it.
- Navigate to Sound: Select "Sound" from the Control Panel options.
- Reset Default Settings: Click the "Default" tab and select "Set Defaults" to restore the default audio settings.
7. Perform a System Restore: A system restore can revert your computer to a previous state, potentially undoing any changes made during the upgrade that may have caused the audio issue.
- Open System Restore: Search for "System Restore" in the Windows search bar and open it.
- Choose a Restore Point: Select a restore point from before the Windows 11 upgrade and follow the on-screen instructions.
8. Contact Your Device Manufacturer: If the problem persists, contact your device manufacturer for further assistance. They may be able to provide specific troubleshooting steps or identify hardware issues.
9. Seek Professional Help: In some cases, the issue may require the expertise of a qualified technician. If all other troubleshooting steps fail, consider contacting a computer repair service.
FAQs: Addressing Common Concerns
Q: What if my audio device is not listed in the sound settings?
A: This indicates a driver issue. Update or reinstall the audio drivers using the steps outlined in Section 3. If the device still doesn’t appear, check for hardware problems or contact your device manufacturer.
Q: Why is my microphone not working after the upgrade?
A: Microphone issues can also stem from driver problems or system configuration errors. Follow the troubleshooting steps outlined in this article, focusing on updating or reinstalling drivers and checking microphone settings in the Sound settings.
Q: Can I revert back to Windows 10 if I’m unable to fix the sound issue?
A: Yes, you can revert back to Windows 10 within a certain timeframe after upgrading. To do this, open Settings, select "System," then "Recovery." Choose "Go back to a previous build" and follow the on-screen instructions.
Tips for Preventing Future Audio Issues
- Back up Your System: Before upgrading to Windows 11, create a system backup to ensure you have a restore point in case of issues.
- Check for Compatible Drivers: Before upgrading, visit the manufacturer’s website to ensure that your audio drivers are compatible with Windows 11.
- Update Windows Regularly: Keep your Windows operating system up to date with the latest updates to ensure optimal performance and compatibility.
- Monitor System Changes: After upgrading, pay attention to any changes in your system’s audio settings or drivers.
Conclusion
The absence of sound after a Windows 11 upgrade can be frustrating, but it is not insurmountable. By understanding the potential causes and applying the troubleshooting steps outlined in this article, users can effectively diagnose and resolve audio issues. Remember to approach the problem systematically, starting with basic checks and progressing to more advanced solutions. If the issue persists, seeking professional assistance can provide a swift and effective resolution.


![How to Fix: No Sound After Windows 10/11 Update - Sound Missing 2024 [Solved] - YouTube](https://i.ytimg.com/vi/tvjynf0zMG8/maxresdefault.jpg)
Closure
Thus, we hope this article has provided valuable insights into The Silent Upgrade: Troubleshooting Audio Issues After Windows 11. We thank you for taking the time to read this article. See you in our next article!


:max_bytes(150000):strip_icc()/NetworkInternet-2b1bc40d9b4c43c5a44f738a210537ea.jpg)