Windows 11: A Comprehensive Look At New Features And Enhancements
Windows 11: A Comprehensive Look at New Features and Enhancements
Related Articles: Windows 11: A Comprehensive Look at New Features and Enhancements
Introduction
With great pleasure, we will explore the intriguing topic related to Windows 11: A Comprehensive Look at New Features and Enhancements. Let’s weave interesting information and offer fresh perspectives to the readers.
Table of Content
Windows 11: A Comprehensive Look at New Features and Enhancements
Windows 11, Microsoft’s latest operating system, has been rolling out since late 2021, bringing a host of new features and improvements designed to enhance the user experience. While it builds upon the foundation laid by Windows 10, Windows 11 introduces a significant visual overhaul, refined functionality, and an emphasis on modern productivity and security. This article provides a detailed exploration of the key changes and additions in Windows 11, highlighting their significance and benefits for users.
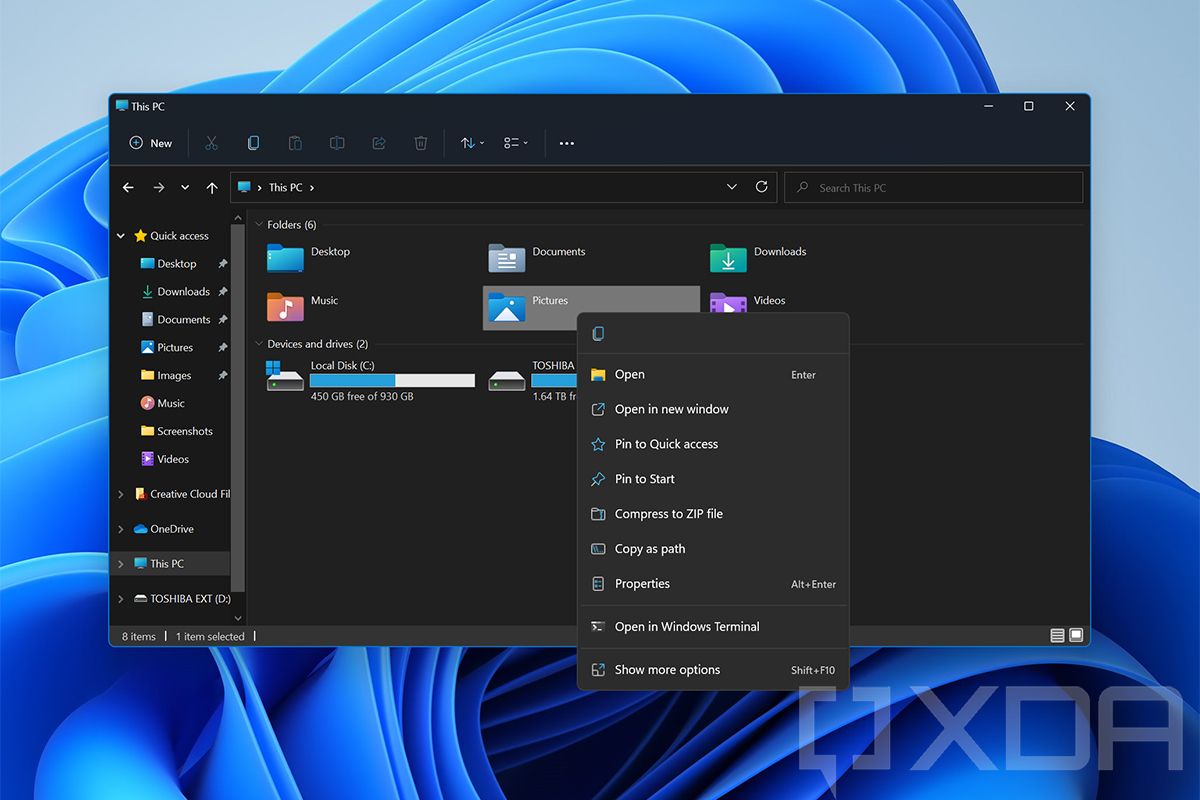
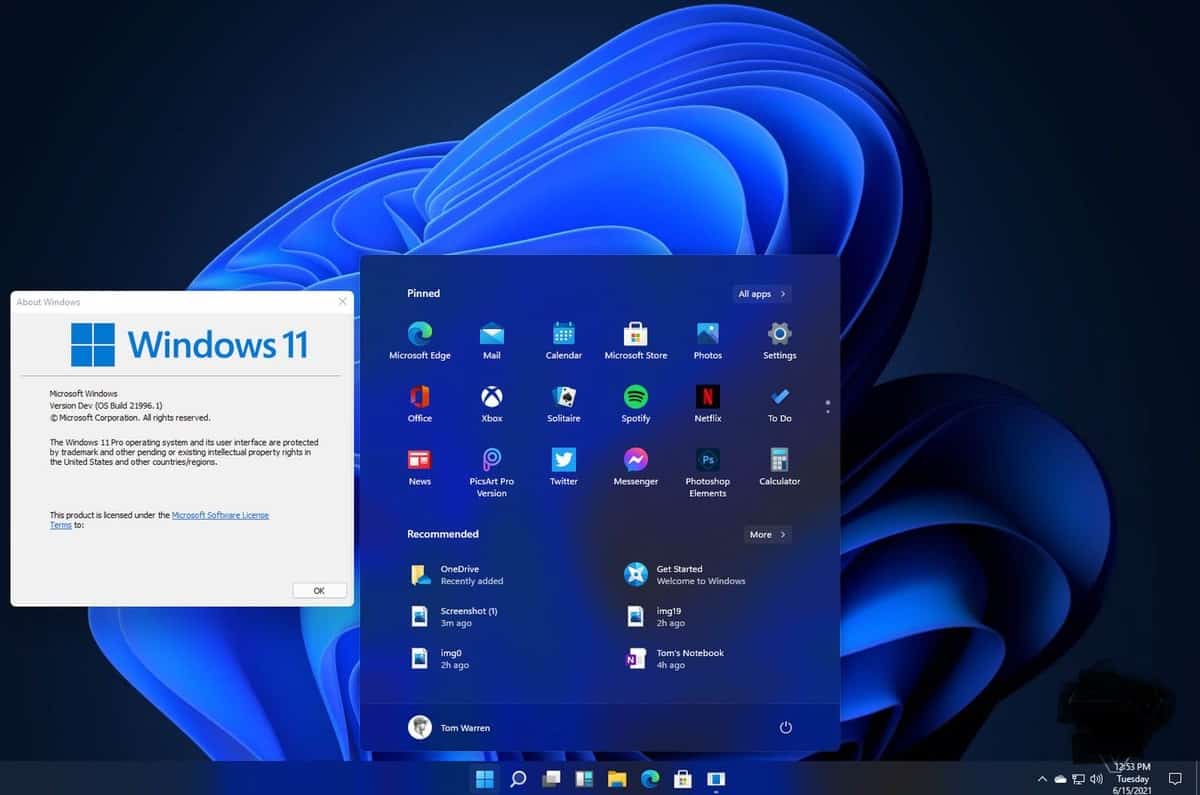
Visual Refresh and User Interface Enhancements:
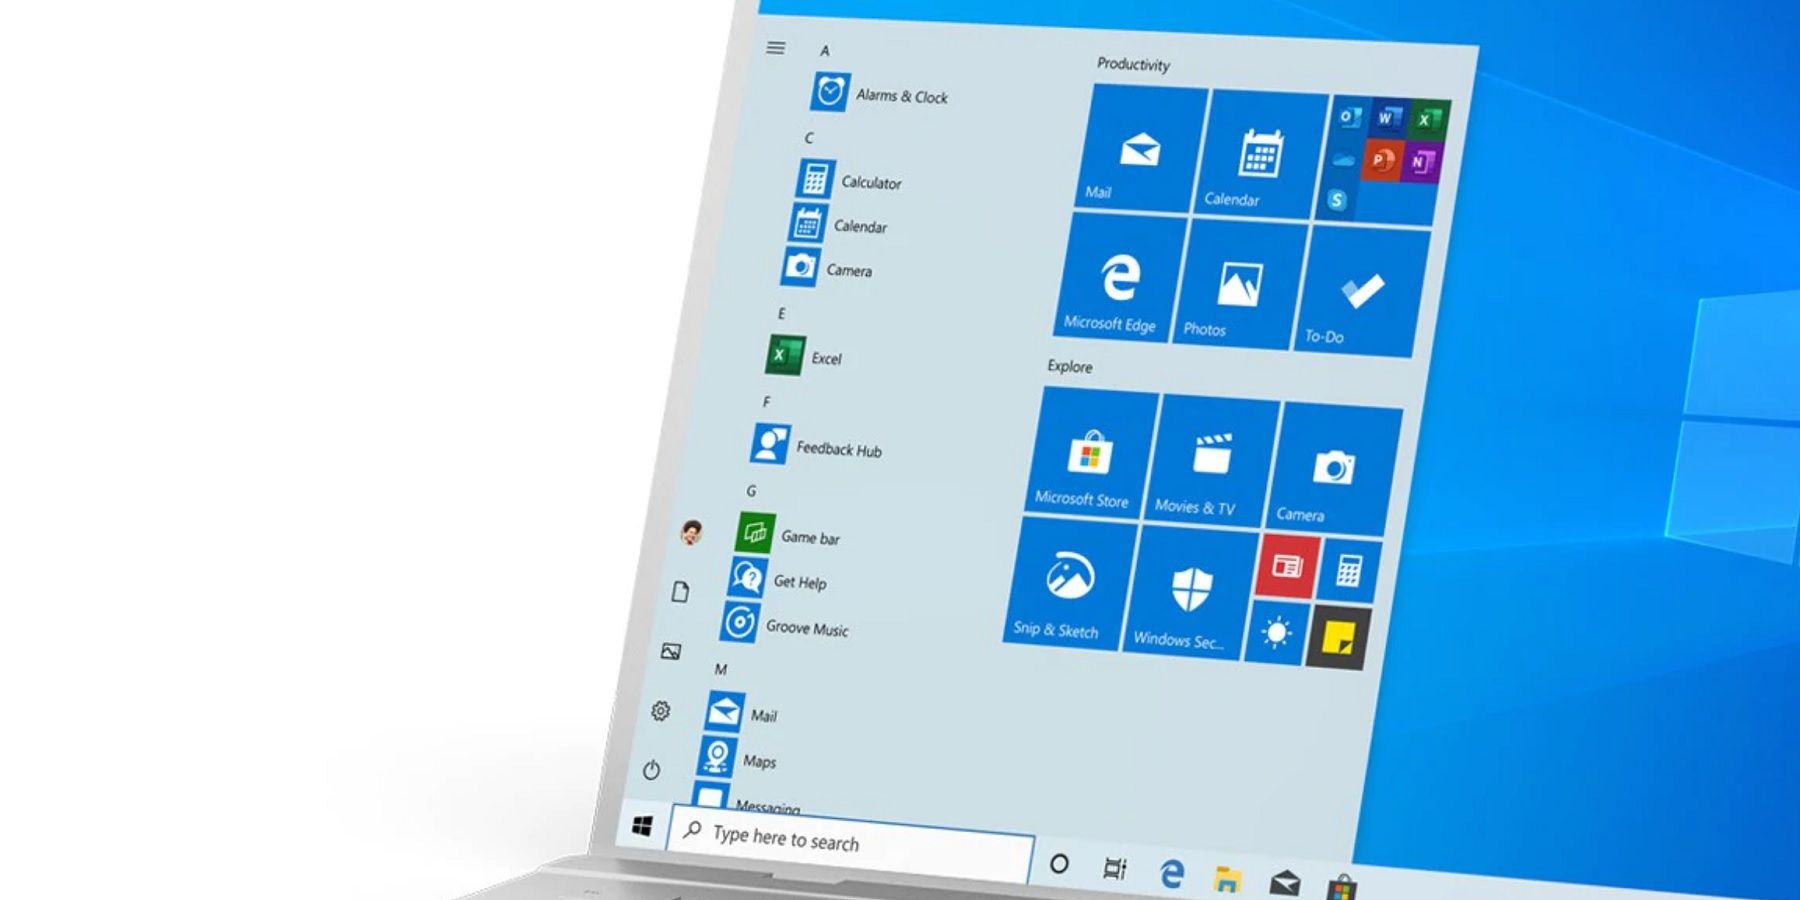
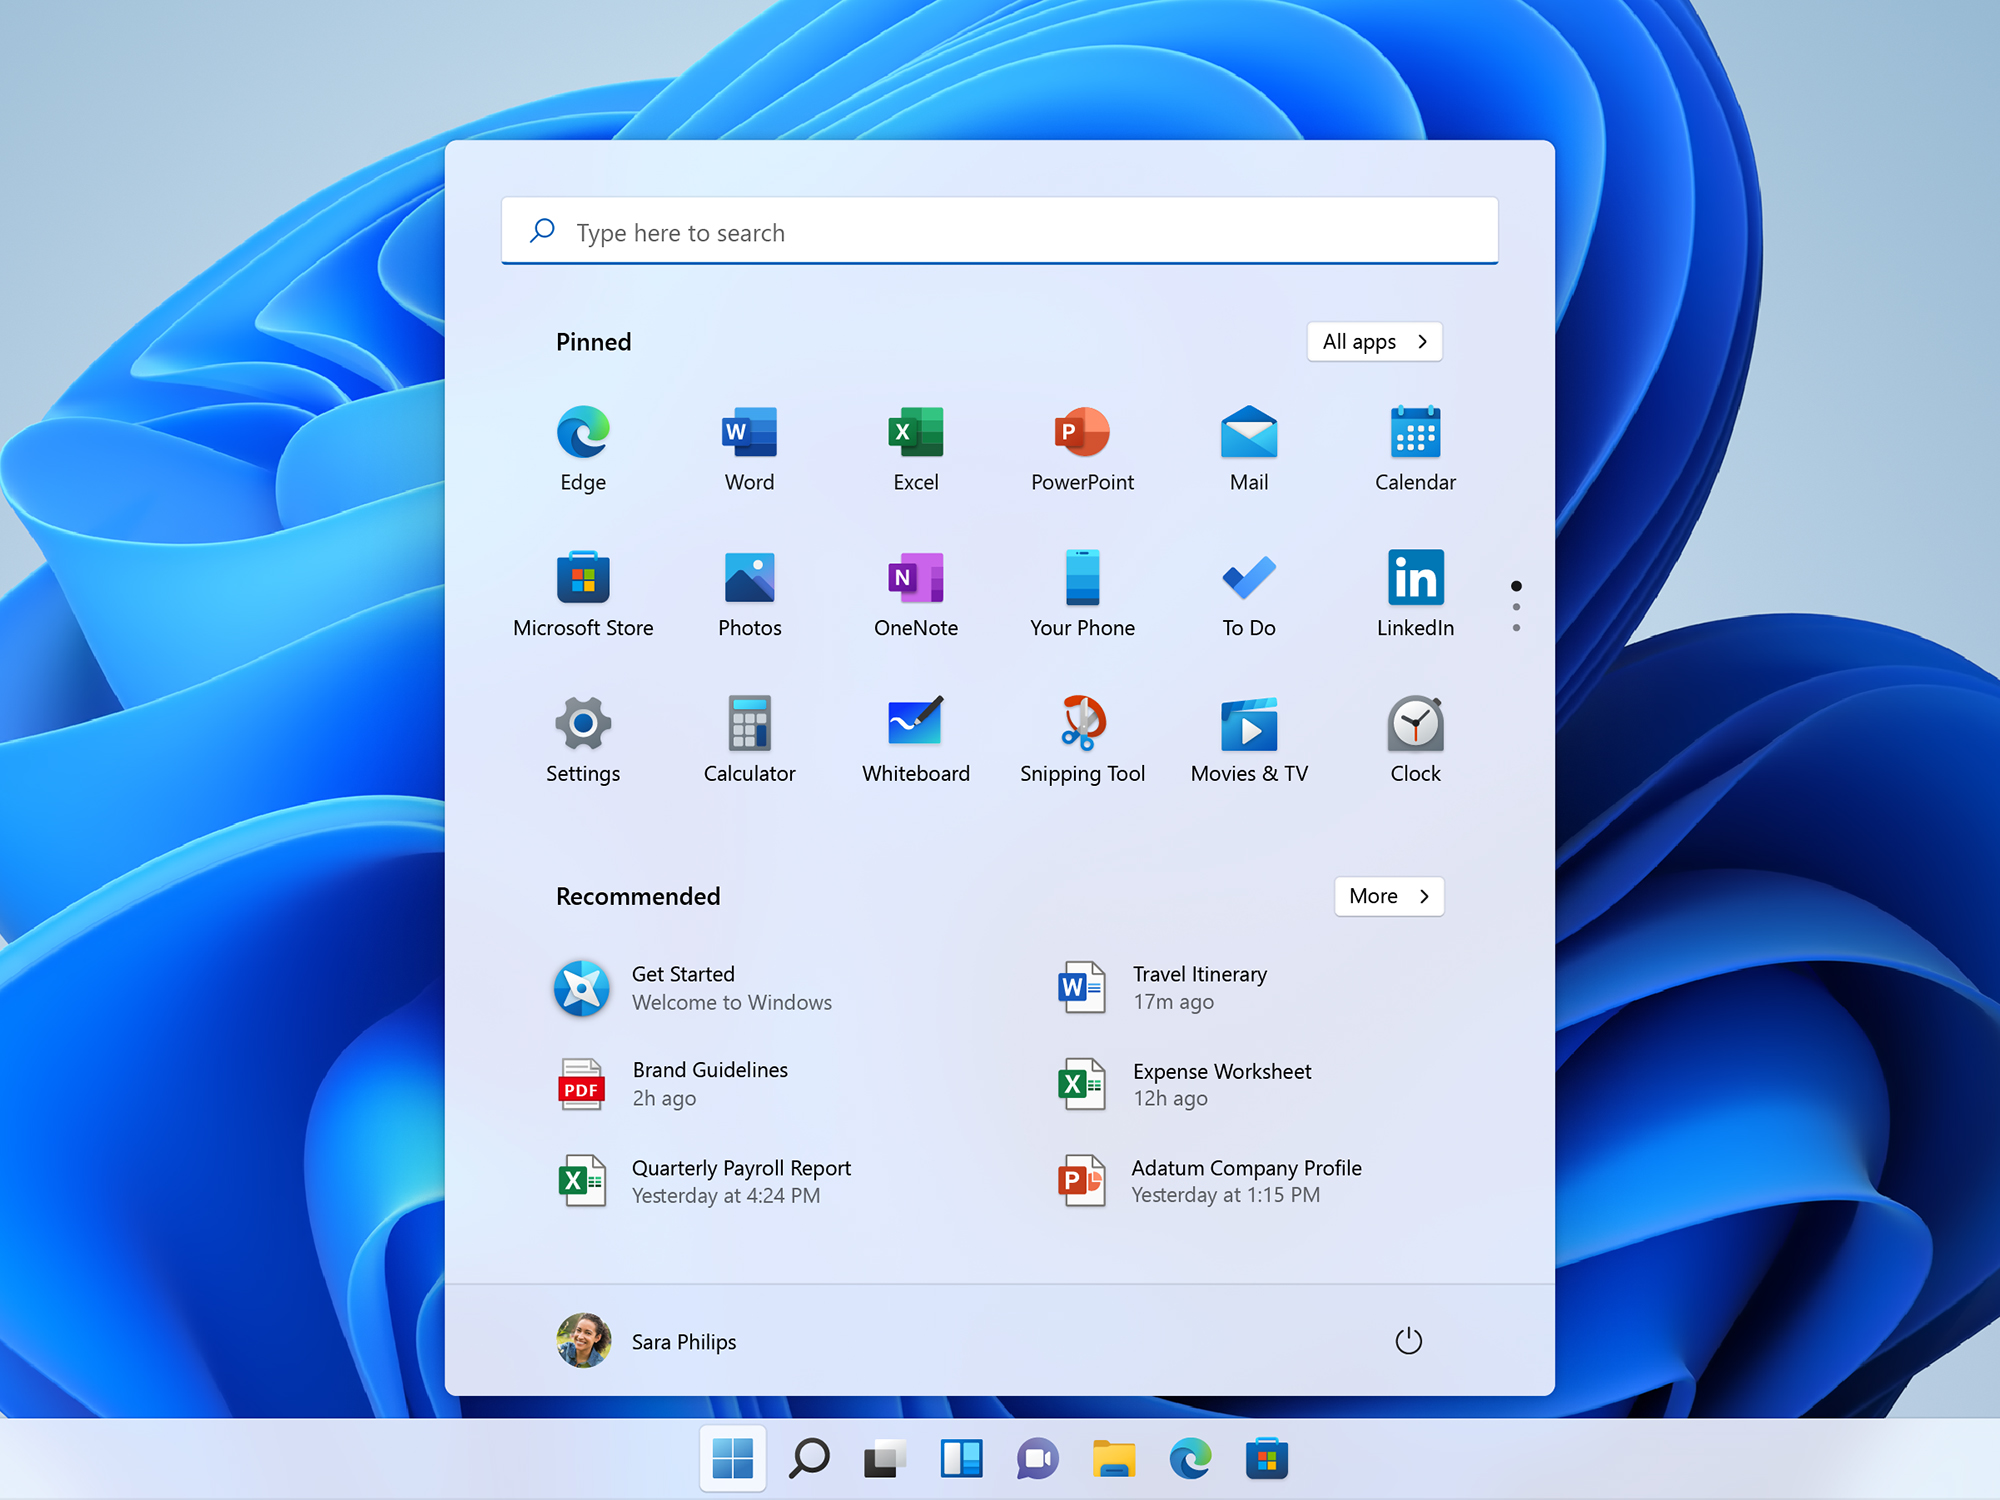
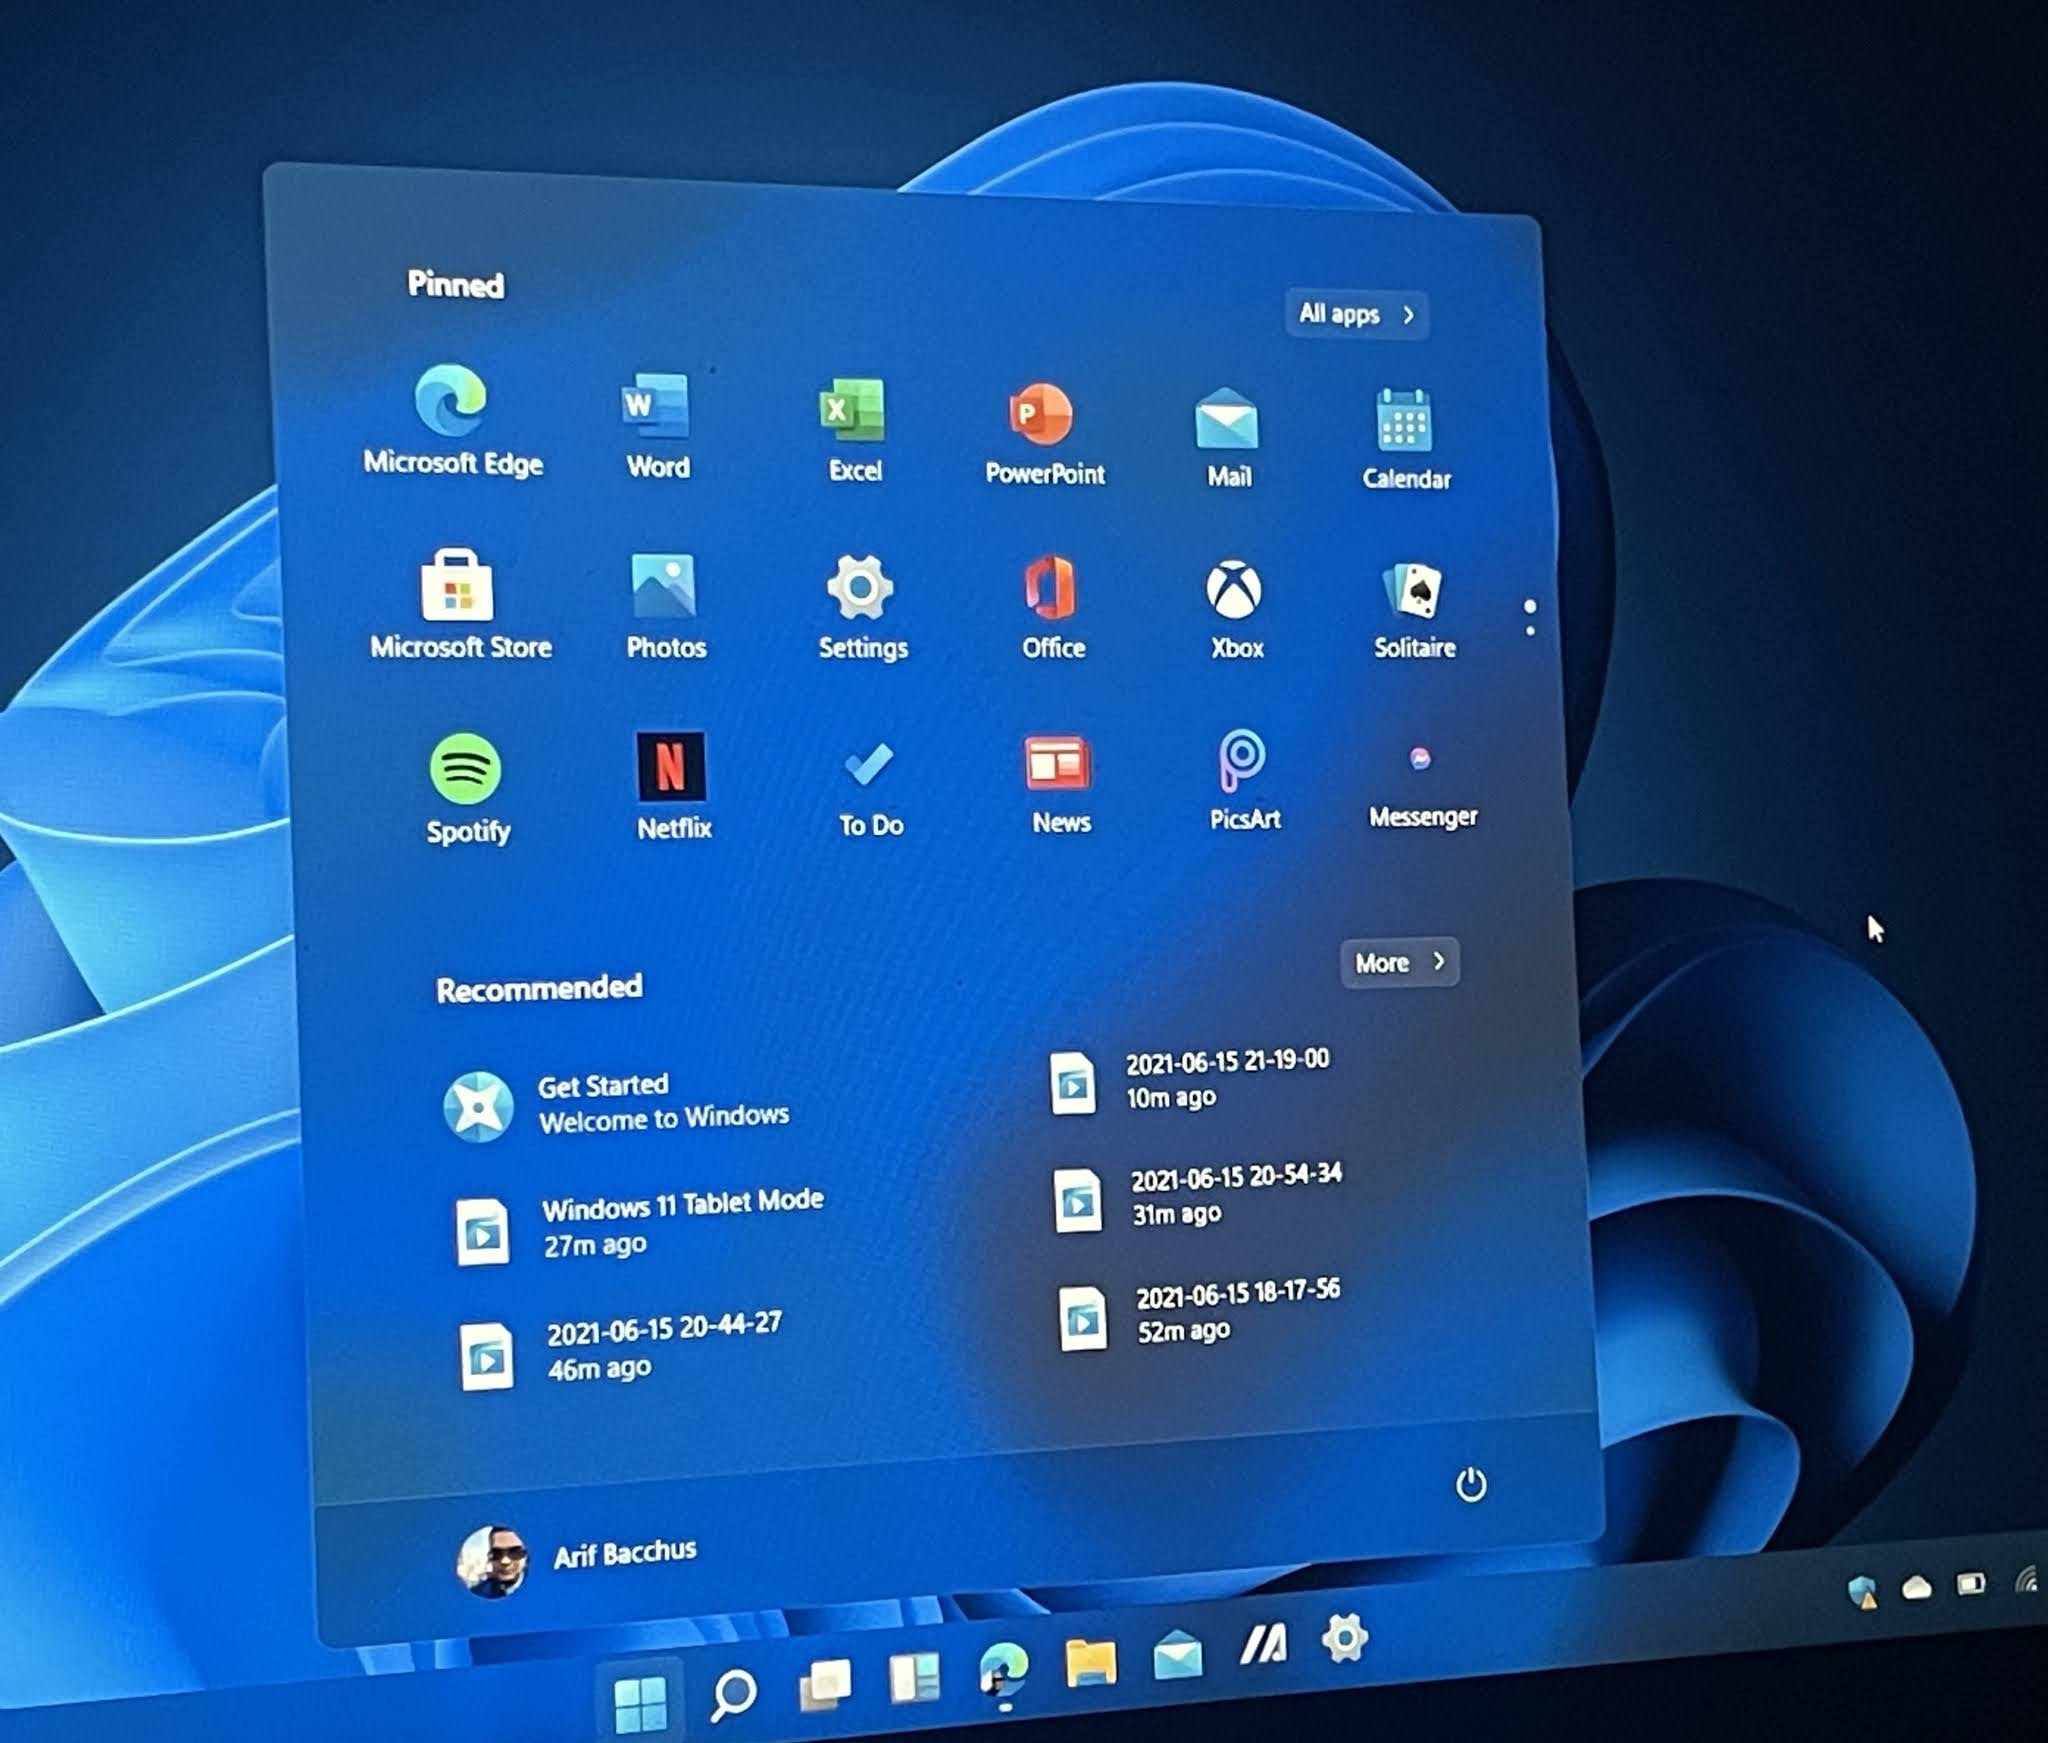
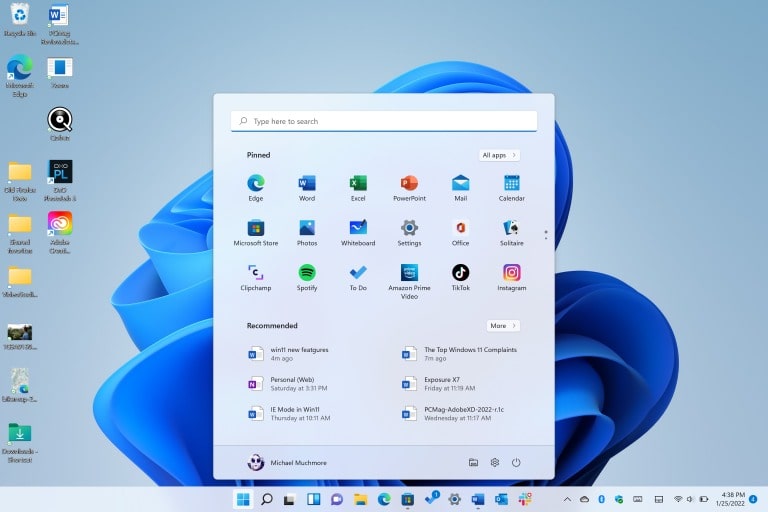
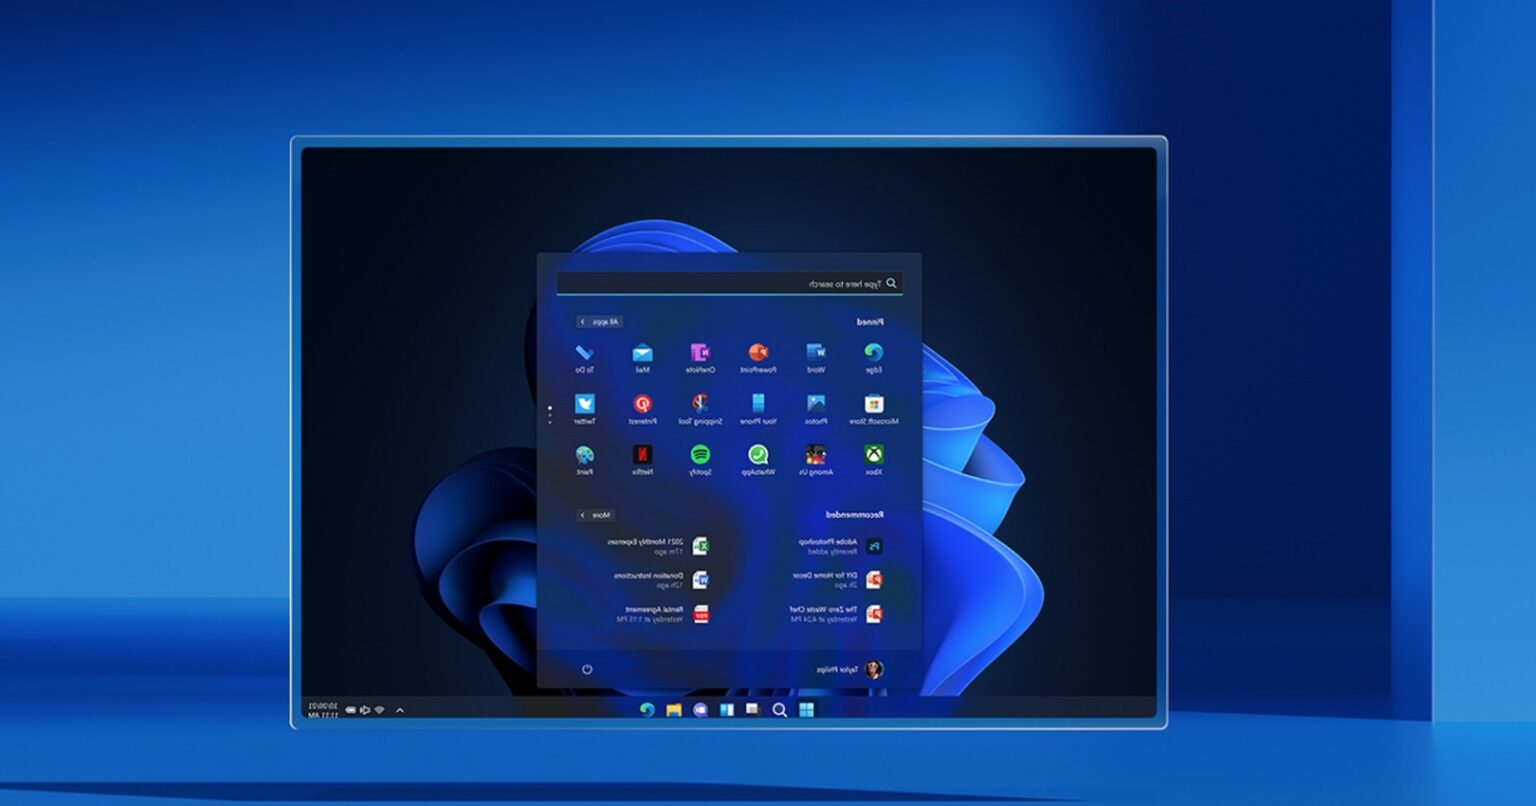
One of the most striking changes in Windows 11 is its visual redesign. The Start Menu, a cornerstone of the Windows experience, has been completely revamped. It now adopts a centered layout, offering quick access to frequently used apps and pinned files. The Start Menu is also more streamlined, featuring a simplified design that emphasizes clarity and ease of navigation.
The taskbar, too, has undergone a transformation. It now resides at the bottom of the screen, aligning with the standard layout of most modern operating systems. The taskbar icons are smaller and more compact, contributing to a cleaner and less cluttered visual aesthetic.
The overall design philosophy of Windows 11 prioritizes minimalism and clarity. Rounded corners, translucent effects, and a softer color palette create a more modern and visually appealing interface. This design approach aims to enhance the user experience by making the operating system feel more intuitive and less overwhelming.
Improved Performance and Efficiency:
Windows 11 boasts a number of performance enhancements designed to deliver a smoother and more responsive user experience. The operating system leverages the power of modern hardware, optimizing for multi-core processors and supporting the latest technologies like DirectX 12 Ultimate and Windows Subsystem for Android.
The integration of Windows Subsystem for Android allows users to run Android apps directly on their Windows 11 devices. This feature bridges the gap between the two platforms, enabling users to access a wider range of applications and services.
Enhanced Security and Privacy:
Windows 11 prioritizes security and privacy, offering robust protection against malware and other threats. The operating system features built-in security features like Windows Defender Antivirus, which continuously monitors and protects against malicious software.
Windows 11 also includes advanced security features like Windows Hello, enabling users to log in using biometric authentication, such as facial recognition or fingerprint scanning. This technology enhances security by offering a more secure and convenient way to access user accounts.
Focus on Productivity and Collaboration:
Windows 11 introduces several features aimed at enhancing productivity and collaboration. The new Snap Layouts feature allows users to easily arrange windows in different configurations, maximizing screen space and improving workflow efficiency.
Microsoft Teams integration is deeply embedded in Windows 11, enabling users to easily collaborate and communicate with colleagues, friends, and family. The Teams app is readily accessible from the taskbar, making it effortless to initiate calls, chats, and video conferences.
New Features and Enhancements:
Windows 11 introduces a number of new features and enhancements that go beyond visual changes and performance improvements. These include:
- Focus Modes: This feature allows users to create customized workspaces, minimizing distractions and enhancing concentration.
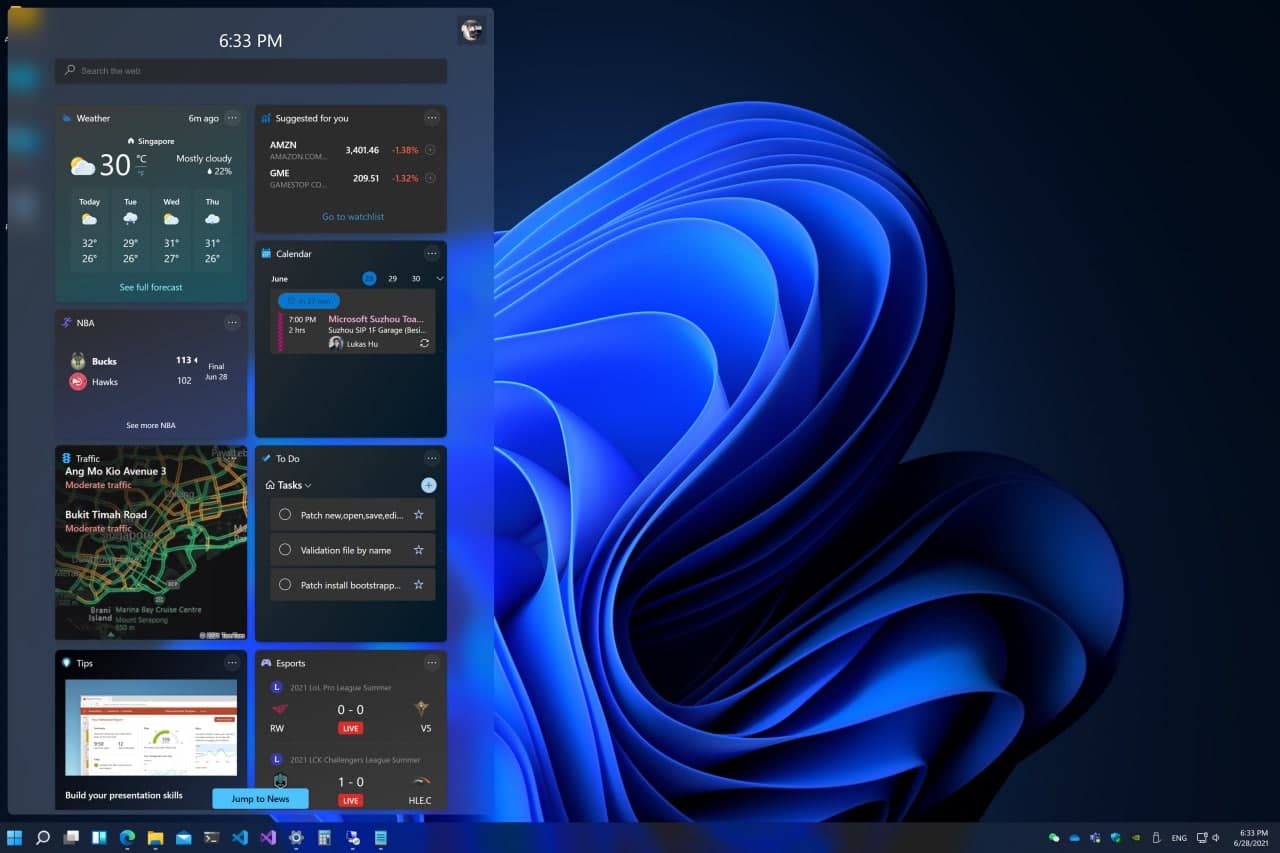
- Widgets: Widgets provide quick access to information and tools, offering a more personalized and dynamic experience.
- DirectStorage: This technology enables faster loading times for games and other applications, enhancing the overall user experience.
- Windows 365: This cloud-based service enables users to access their Windows desktop and applications from any device, offering greater flexibility and accessibility.
FAQs on Windows 11:
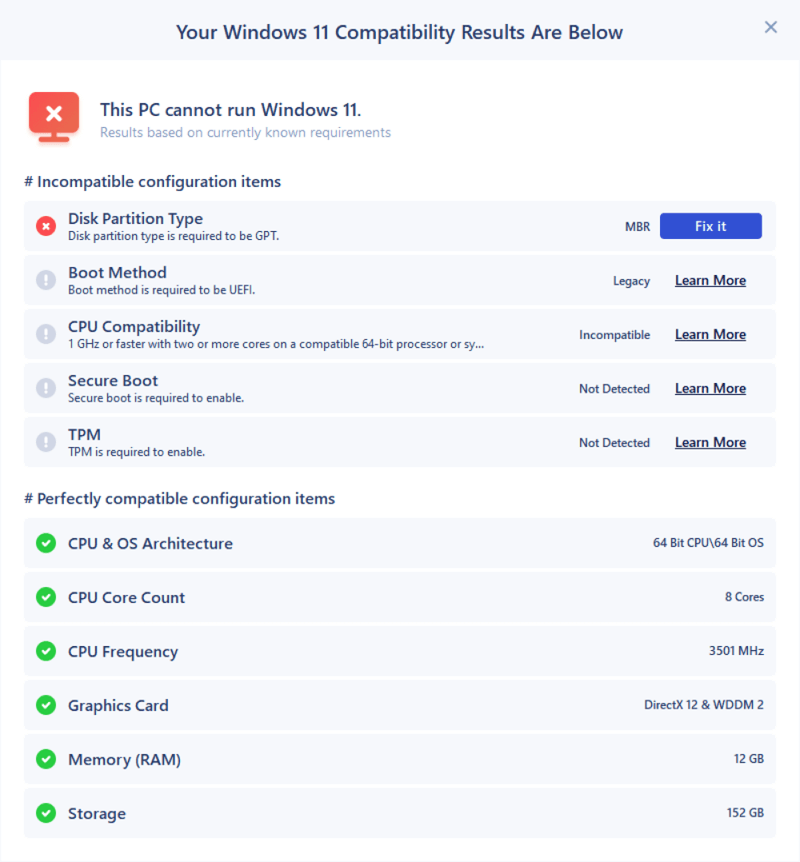
1. What are the minimum system requirements for Windows 11?
Windows 11 requires a processor with a clock speed of 1 GHz or faster, at least 4 GB of RAM, and 64 GB of storage space. The operating system also requires a compatible graphics card and a TPM 2.0 module.
2. Is Windows 11 free to upgrade?
For eligible devices running Windows 10, the upgrade to Windows 11 is free. However, not all Windows 10 devices are compatible with Windows 11.
3. What are the key differences between Windows 10 and Windows 11?
Windows 11 features a redesigned user interface, improved performance, enhanced security, and new features like Snap Layouts, Focus Modes, and Widgets. It also includes deeper integration with Microsoft Teams and supports Windows Subsystem for Android.
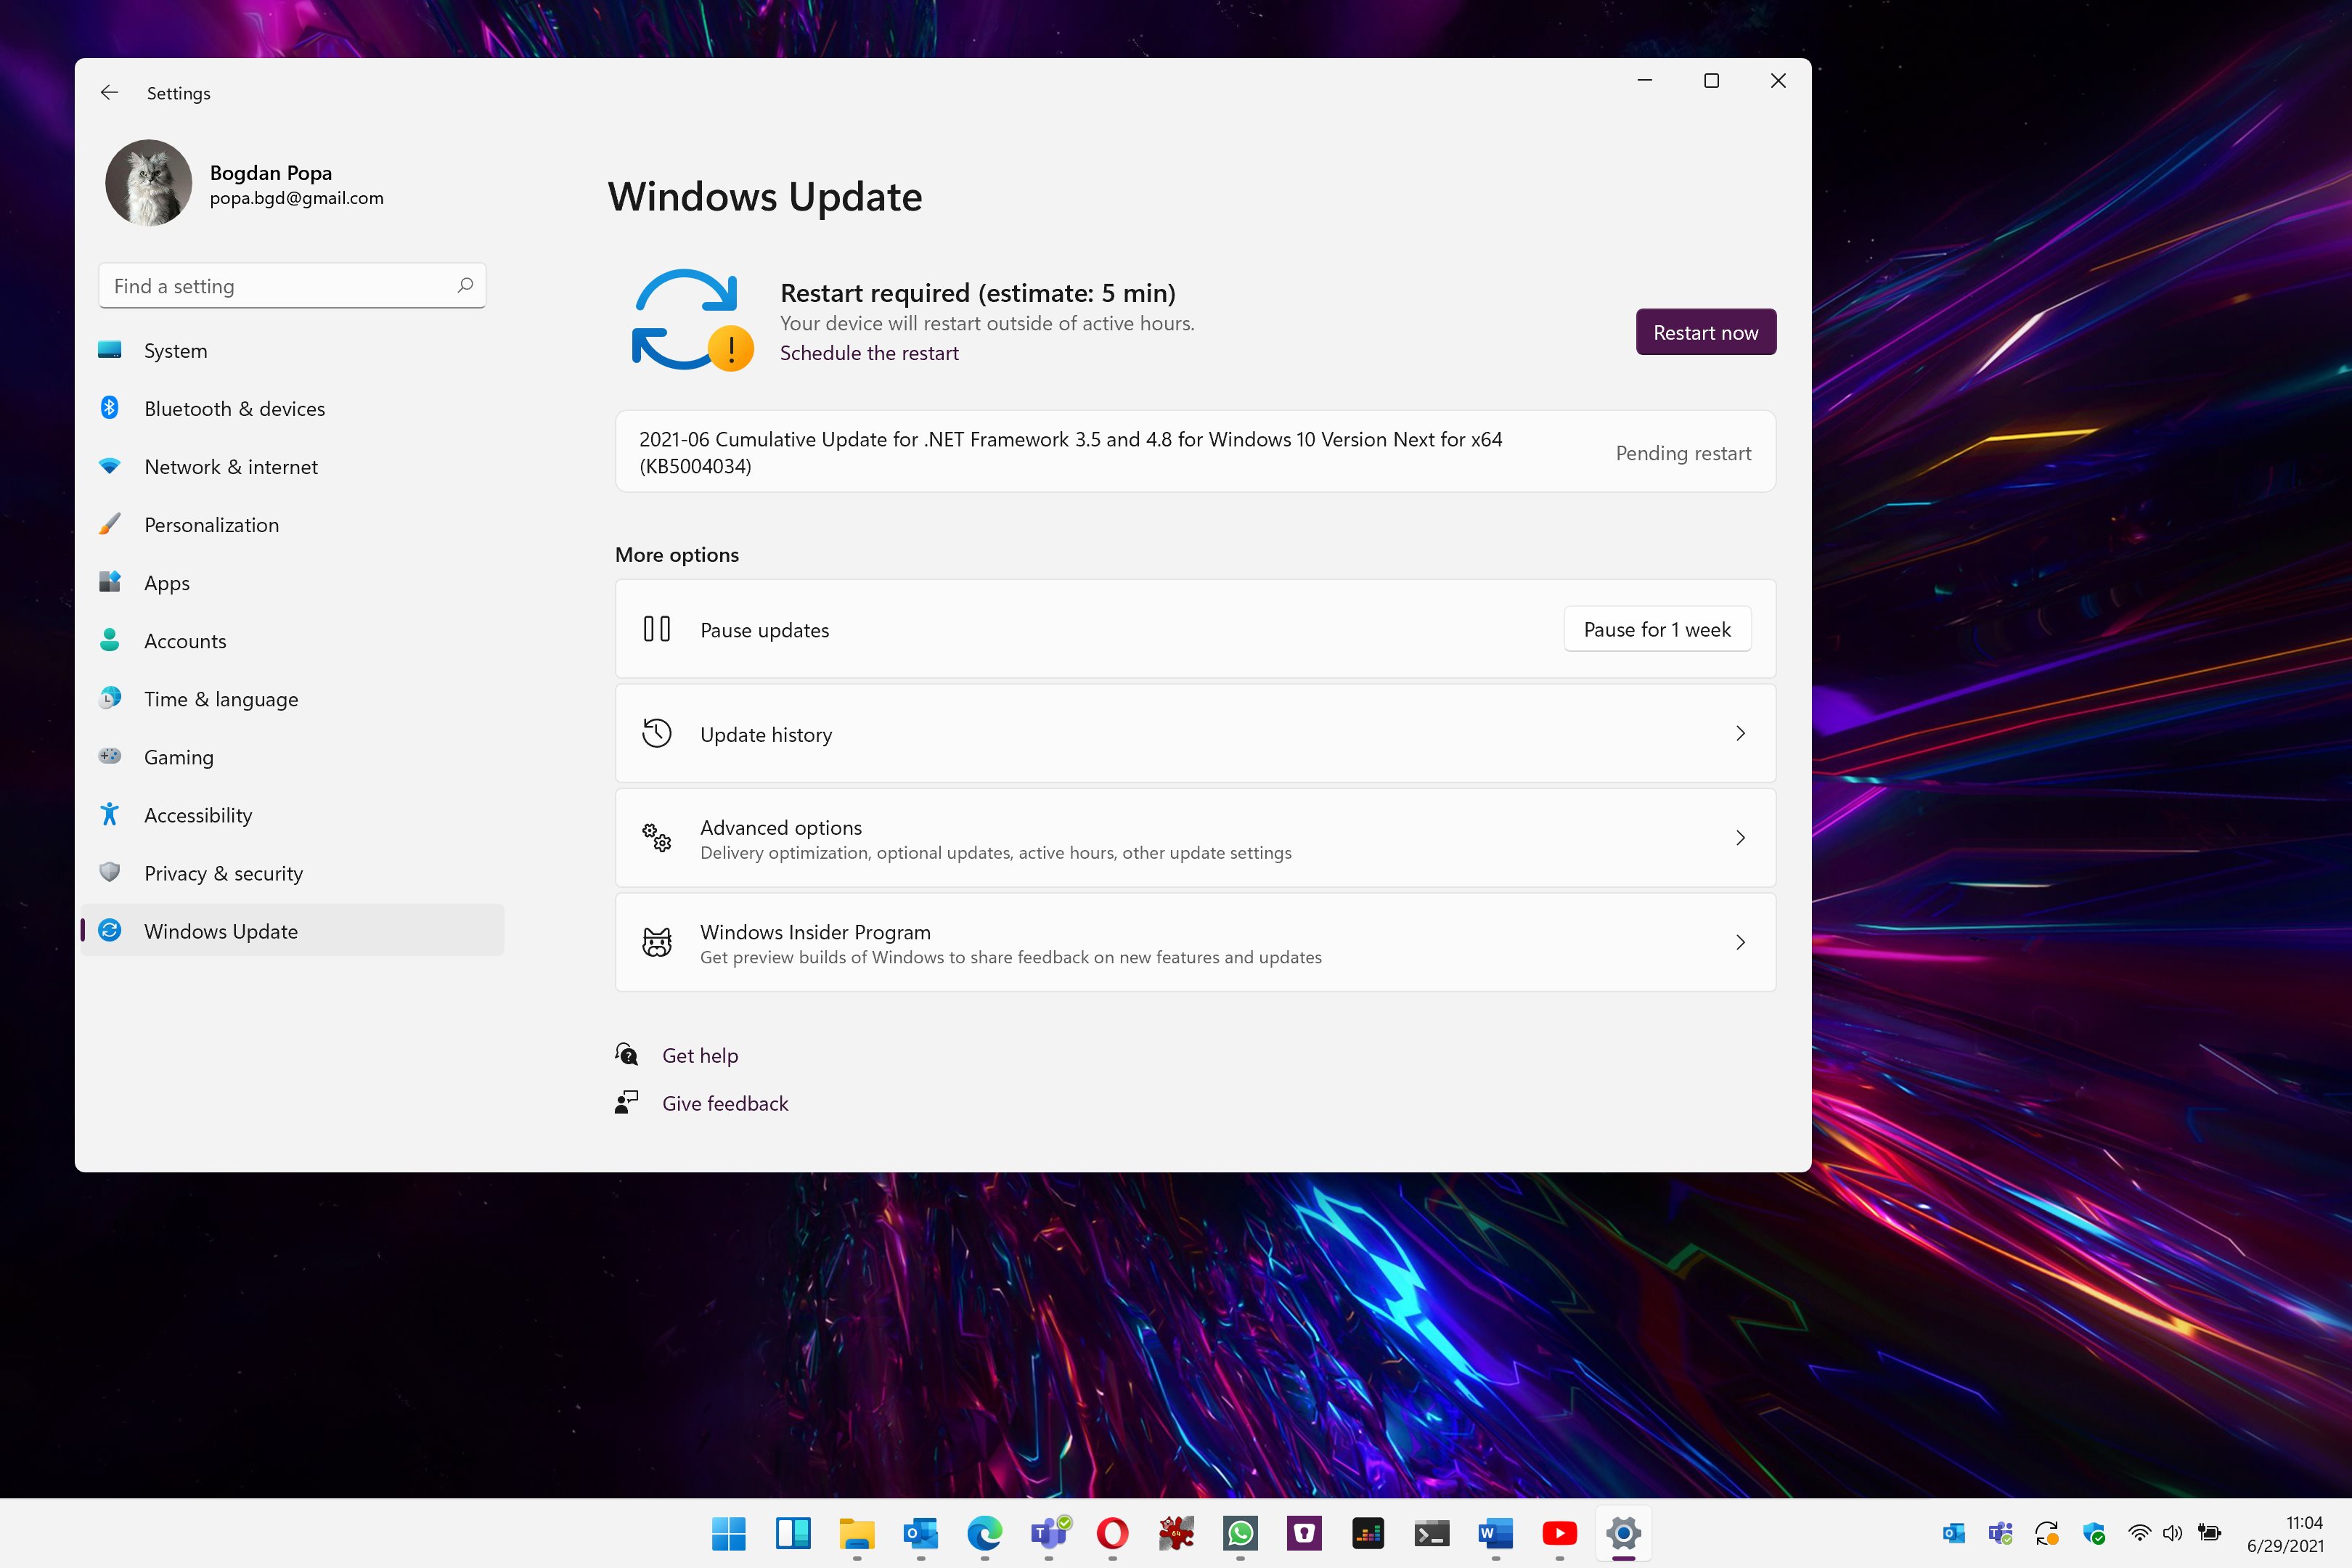
4. How do I install Windows 11?
If your device meets the system requirements, you can upgrade to Windows 11 through the Windows Update settings. You can also download and install Windows 11 from the Microsoft website.
5. Is Windows 11 compatible with my current applications and drivers?
Most applications and drivers compatible with Windows 10 should also work with Windows 11. However, it’s always advisable to check for updates or compatibility information before upgrading.
Tips for Using Windows 11:
- Explore the new Start Menu: Take advantage of the redesigned Start Menu for quick access to frequently used apps and files.
- Customize your Widgets: Add and personalize widgets to display information and tools relevant to your needs.
- Utilize Snap Layouts for improved productivity: Experiment with different layout configurations to optimize your workspace and enhance workflow efficiency.
- Take advantage of Windows Hello for enhanced security: Enable biometric authentication for a more secure and convenient login experience.
- Explore Windows Subsystem for Android: Download and run Android apps directly on your Windows 11 device, expanding your application options.
Conclusion:
Windows 11 represents a significant evolution for the Windows operating system. It introduces a modern user interface, improved performance, enhanced security, and a host of new features aimed at enhancing productivity, collaboration, and user experience. While it builds upon the foundation laid by Windows 10, Windows 11 offers a more streamlined and intuitive experience, empowering users to work, play, and connect in new and innovative ways. With its focus on visual aesthetics, performance optimization, and enhanced security, Windows 11 is poised to redefine the future of computing.
.jpg)


Closure
Thus, we hope this article has provided valuable insights into Windows 11: A Comprehensive Look at New Features and Enhancements. We appreciate your attention to our article. See you in our next article!

![How to Check Windows 11 Compatibility [3 Easy Methods] - Waftr.com](https://www.waftr.com/wp-content/uploads/2021/07/how-to-check-windows-11-compatibility.jpg)


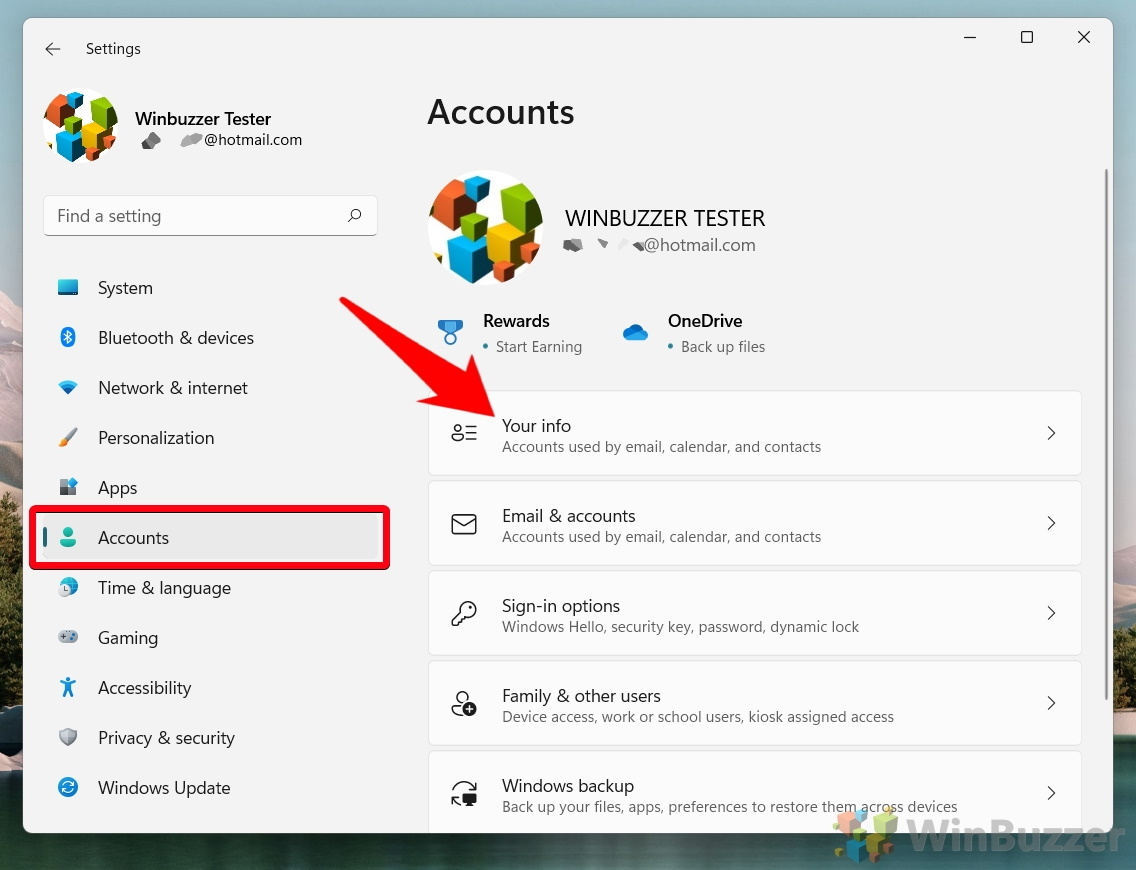
![How to Remove Microsoft Account from Windows 11 [Guide] Beebom](https://beebom.com/wp-content/uploads/2021/07/Create-Local-Account-On-Your-Windows-11-PC-body-1.jpg)


![Seamless Android File Transfer on Windows PC [7 Methods]](https://www.samsung-messages-backup.com/public/images/upload/android-file-transfer-on-windows.jpg)