Navigating The World Of Data Analysis: Downloading The Latest R Version For Windows 10
Navigating the World of Data Analysis: Downloading the Latest R Version for Windows 10
Related Articles: Navigating the World of Data Analysis: Downloading the Latest R Version for Windows 10
Introduction
With great pleasure, we will explore the intriguing topic related to Navigating the World of Data Analysis: Downloading the Latest R Version for Windows 10. Let’s weave interesting information and offer fresh perspectives to the readers.
Table of Content
Navigating the World of Data Analysis: Downloading the Latest R Version for Windows 10
R, a free and open-source programming language and software environment, has become an indispensable tool for data scientists, statisticians, and researchers across diverse disciplines. Its powerful capabilities for statistical computing, data visualization, and machine learning have revolutionized the way we analyze and interpret data. This article provides a comprehensive guide on downloading and installing the latest R version for Windows 10, highlighting its significance and benefits for users.
Understanding the Importance of R’s Latest Version
The R ecosystem is constantly evolving, with new features, packages, and improvements being released regularly. Downloading the latest version offers several key advantages:
- Enhanced Functionality: New releases often include enhanced functionality, providing access to cutting-edge statistical methods, data manipulation techniques, and visualization tools. This expands the range of analytical tasks that can be performed within R.
- Improved Performance: Optimization efforts in new versions can lead to significant performance improvements, resulting in faster execution of code, particularly for complex computations and large datasets.
- Security Updates: Regular updates address security vulnerabilities, ensuring a safe and reliable environment for data analysis. This is crucial for protecting sensitive data and maintaining the integrity of research findings.
- Package Compatibility: Newer versions may offer enhanced compatibility with the latest packages, ensuring smooth integration and access to a wider range of functionalities.
Downloading and Installing the Latest R Version for Windows 10
The process of downloading and installing the latest R version for Windows 10 is straightforward:
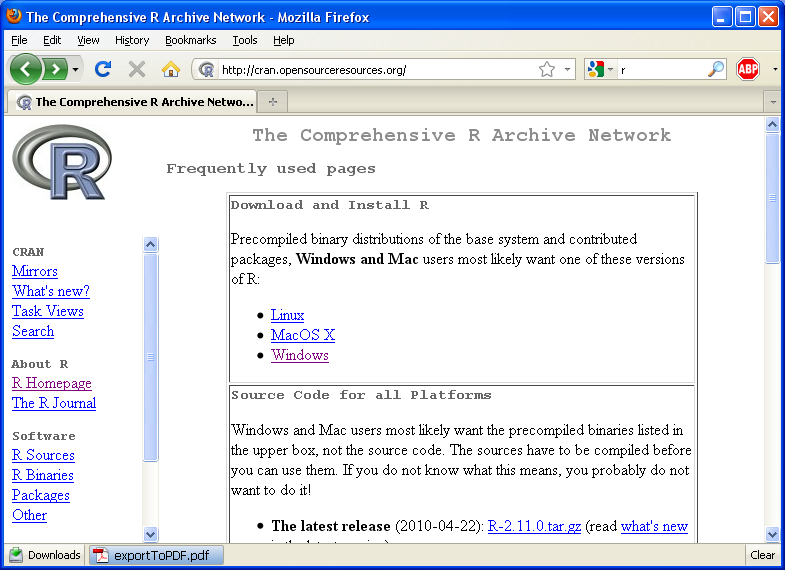
- Visit the CRAN Website: The Comprehensive R Archive Network (CRAN) is the official repository for R packages and the primary source for downloading the latest R version. Navigate to the CRAN website at https://cran.r-project.org/.
- Select the Download Mirror: CRAN provides a network of mirrors worldwide to ensure efficient downloads. Choose a mirror closest to your geographic location for optimal download speed.
- Download the Installer: On the mirror website, locate the "Download R for Windows" section. Select the appropriate installer based on your operating system’s architecture (32-bit or 64-bit).
- Run the Installer: Once downloaded, double-click the installer file to initiate the installation process. Follow the on-screen instructions to complete the installation.
Essential Tips for a Smooth Installation:
- Administrator Privileges: It is recommended to run the installer with administrator privileges for a successful installation.
- Default Settings: Accepting the default settings during installation is generally sufficient. However, you can customize the installation directory if desired.
- Restart Your Computer: After the installation is complete, it is advisable to restart your computer to ensure that all changes are applied correctly.
Exploring the R Environment
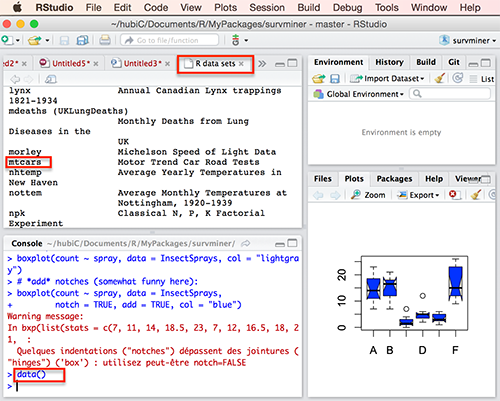
After installation, you can access the R environment by searching for "R" in the Windows search bar and launching the application. R provides a powerful command-line interface for executing code and manipulating data. However, for a more user-friendly experience, consider using a graphical user interface (GUI) like RStudio, which offers a comprehensive development environment for R.
Frequently Asked Questions
Q: What is the difference between R and RStudio?
A: R is the programming language and software environment, while RStudio is a graphical user interface (GUI) that provides a more user-friendly environment for working with R. RStudio offers features like code completion, syntax highlighting, and project management that enhance the R development experience.
Q: How do I update R to the latest version?
A: Updating R to the latest version is typically not necessary, as new versions are backward compatible. However, if you wish to update, you can download and install the latest version from the CRAN website as described above.
Q: What are R packages, and how do I install them?
A: R packages are collections of functions and datasets that extend R’s capabilities. To install a package, use the install.packages() function in the R console. For example, to install the ggplot2 package for data visualization, type: install.packages("ggplot2").
Q: Where can I find resources for learning R?
A: There are numerous resources available for learning R, including:
- The R Project Website: https://www.r-project.org/
- The R for Data Science Book: https://r4ds.had.co.nz/
- DataCamp Courses: https://www.datacamp.com/
- Coursera Courses: https://www.coursera.org/
Conclusion
Downloading and installing the latest R version for Windows 10 is a crucial step for data analysts, researchers, and anyone seeking to harness the power of R for data analysis. The latest version offers enhanced functionality, improved performance, security updates, and compatibility with the latest packages, ensuring a robust and efficient environment for data exploration and manipulation. By leveraging the resources available and exploring the vast possibilities offered by R, users can unlock the potential of data and gain valuable insights across diverse fields.


Closure
Thus, we hope this article has provided valuable insights into Navigating the World of Data Analysis: Downloading the Latest R Version for Windows 10. We hope you find this article informative and beneficial. See you in our next article!


:max_bytes(150000):strip_icc()/Screenshot_2018-10-27-19-02-20-5bd4eed2c9e77c00516e73c3.png)


![Best 15 Free Photo Editing Software for Windows 10 - [2021 UPDATED]](https://media.photolemur.com/uploads/blog/15595540115cf4e7db905120.57089797.jpg)
![[Detailed Guide] How to Install Windows 11 on Your PC or Laptop](https://geekermag.com/wp-content/uploads/2021/06/Windows-11-notification-area.png)


![[Tutorial] How to Delete Files on Windows 11 Easily](https://www.diskpart.com/screenshot/en/others/windows-7/delete-command.png)


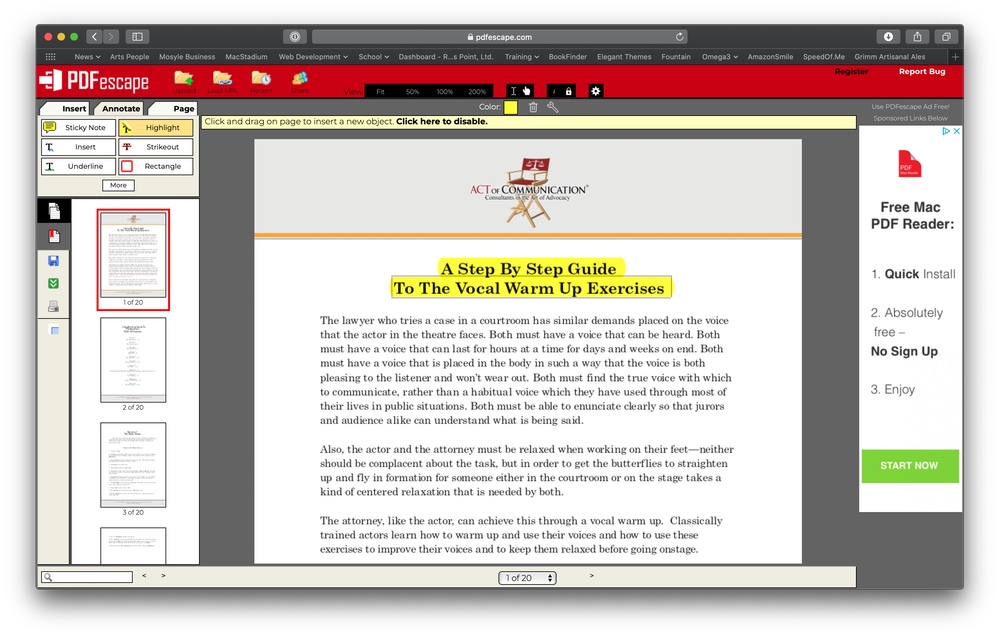
![The Best Free PDF Editors for Windows 10 [2020]](https://i1.wp.com/www.techjunkie.com/wp-content/uploads/2019/04/pdfescape.png?resize=1281,580u0026ssl=1)

![TOP 10 Best PDF Editor Free Download for Windows 10 [Updated] - EaseUS](https://toolbox.easeus.com/images/toolbox/pdf-editor/resource/icecream-free-pdf-editor-for-windows.png)