Photo Impressions 6: A Comprehensive Guide To Windows 10’s Image Editing Powerhouse
Photo Impressions 6: A Comprehensive Guide to Windows 10’s Image Editing Powerhouse
Related Articles: Photo Impressions 6: A Comprehensive Guide to Windows 10’s Image Editing Powerhouse
Introduction
With great pleasure, we will explore the intriguing topic related to Photo Impressions 6: A Comprehensive Guide to Windows 10’s Image Editing Powerhouse. Let’s weave interesting information and offer fresh perspectives to the readers.
Table of Content
Photo Impressions 6: A Comprehensive Guide to Windows 10’s Image Editing Powerhouse
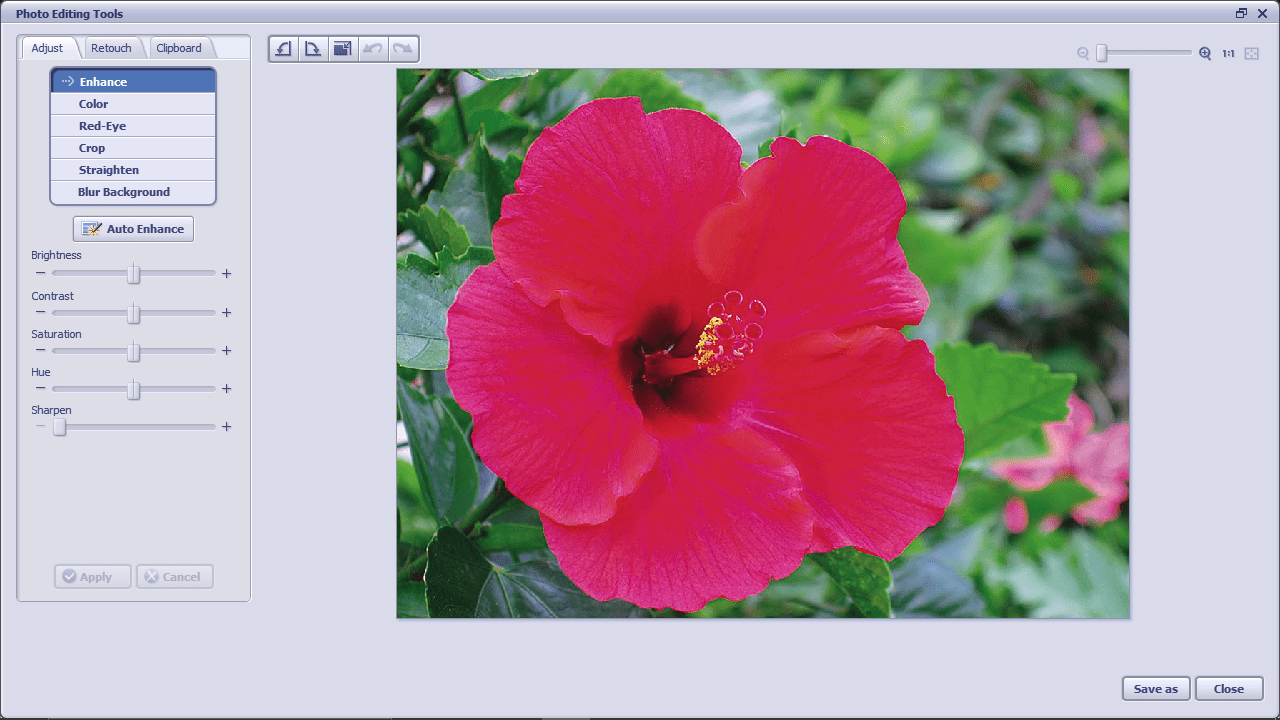
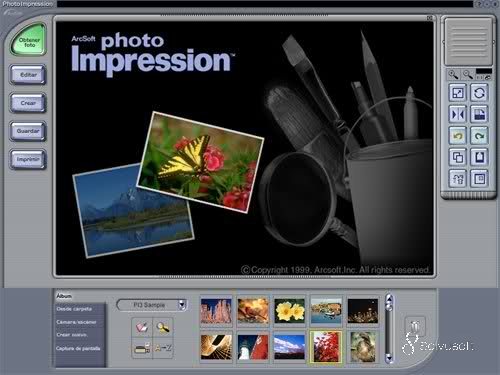
Photo Impressions 6, a robust and intuitive image editing software, is a core component of Windows 10, offering a wide range of tools and features for enhancing, manipulating, and creating visually stunning images. Its user-friendly interface and comprehensive functionality make it an ideal choice for both novice and experienced photographers, designers, and casual users alike.
Understanding the Importance of Photo Impressions 6
Photo Impressions 6 empowers users to take control of their digital images, offering a diverse toolkit for:
- Basic Image Editing: Adjusting brightness, contrast, color balance, and saturation are fundamental image editing tasks. Photo Impressions 6 provides straightforward sliders and tools for making these adjustments with precision.
- Advanced Image Manipulation: Beyond basic adjustments, the software facilitates cropping, resizing, rotating, and flipping images. It also offers tools for red-eye removal, blemish correction, and object removal, allowing users to refine images with a high level of detail.
- Creative Image Enhancement: Photo Impressions 6 includes filters, effects, and artistic styles that can transform ordinary images into captivating works of art. Users can explore a library of pre-designed effects or create custom styles to achieve unique and personalized results.
- Image Organization and Management: Photo Impressions 6 facilitates efficient image organization through its built-in library. Users can categorize images, create albums, and search for specific photos using keywords or tags, ensuring easy access and management of their image collection.
- Sharing and Collaboration: The software integrates seamlessly with other Windows applications and online services, allowing users to easily share images with friends, family, and colleagues. Direct uploads to social media platforms and cloud storage services streamline the image sharing process.
Exploring the Features of Photo Impressions 6
Photo Impressions 6 boasts a comprehensive suite of features designed to meet the diverse needs of image editing enthusiasts. Some key features include:
- Layers: This powerful feature allows users to work on different parts of an image independently, enabling complex manipulations and creative layering effects.
- Brushes: Photo Impressions 6 offers a variety of brushes, each with unique properties and textures, for painting, retouching, and adding artistic effects to images.
- Selection Tools: Precisely selecting specific areas of an image is crucial for targeted edits. Photo Impressions 6 provides a range of selection tools, including lasso, magic wand, and quick selection tools, for accurate and efficient selection.
- Text Tools: Adding text to images for captions, titles, or watermarks is a common task. Photo Impressions 6 includes a versatile text tool with customizable font styles, sizes, and colors.
- Color Correction: Achieving accurate color representation is essential for professional-looking images. Photo Impressions 6 offers advanced color correction tools, including white balance, color temperature, and hue/saturation adjustments.
- Special Effects: The software includes a vast library of special effects, such as blur, sharpen, emboss, and vignette, for adding artistic flair and visual interest to images.
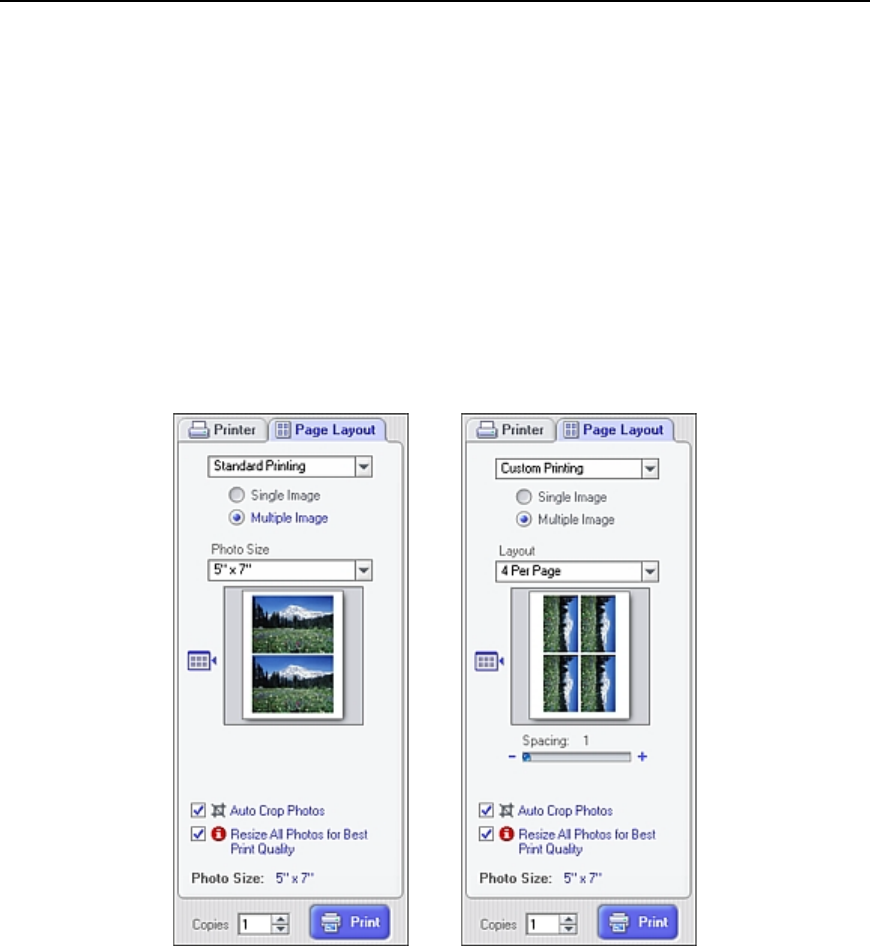
- Templates and Presets: Photo Impressions 6 provides a selection of pre-designed templates and presets for common image tasks, such as creating collages, photo albums, and social media graphics.
Benefits of Using Photo Impressions 6
Utilizing Photo Impressions 6 offers numerous advantages for users:
- Accessibility: As an integrated part of Windows 10, Photo Impressions 6 is readily available to all users without the need for additional downloads or installations.
- User-Friendly Interface: The software’s intuitive design and clear layout make it easy to navigate and use, even for beginners.
- Comprehensive Functionality: Photo Impressions 6 offers a wide range of features, catering to both basic and advanced editing needs.
- Cost-Effectiveness: Being a built-in component of Windows 10, Photo Impressions 6 is free to use, eliminating the need for expensive third-party software.
- Integration with Windows Ecosystem: The software seamlessly integrates with other Windows applications, allowing for smooth workflow and efficient image management.
Frequently Asked Questions (FAQs)
Q: Does Photo Impressions 6 offer support for RAW image formats?
A: Yes, Photo Impressions 6 supports a wide range of RAW image formats, allowing users to work directly with camera-generated RAW files for optimal image quality.
Q: Can I use Photo Impressions 6 to create animated GIFs?
A: While Photo Impressions 6 does not have dedicated animation tools, users can create simple animated GIFs by combining multiple images into a sequence.
Q: Is Photo Impressions 6 suitable for professional graphic design work?
A: While Photo Impressions 6 offers a good range of features, it is primarily designed for casual and amateur users. For professional graphic design work, more advanced software like Adobe Photoshop or GIMP may be more suitable.
Q: Are there any limitations to using Photo Impressions 6?
A: While Photo Impressions 6 is a powerful tool, it may lack some advanced features found in professional-grade image editing software. However, it is still a highly capable tool for most casual and semi-professional users.
Tips for Using Photo Impressions 6 Effectively
- Explore the Interface: Take time to familiarize yourself with the software’s layout and various tools and menus.
- Experiment with Features: Don’t hesitate to experiment with different features and settings to discover the full potential of Photo Impressions 6.
- Use Layers: Utilize layers to create complex edits and composite images without affecting the original image.
- Take Advantage of Presets: Explore the pre-designed templates and presets to streamline common image editing tasks.
- Learn from Tutorials: Numerous online tutorials and resources can guide you through various techniques and advanced features.
Conclusion
Photo Impressions 6 is an invaluable image editing tool embedded within Windows 10. Its user-friendly interface, comprehensive functionality, and seamless integration with the Windows ecosystem make it an ideal choice for users of all skill levels. Whether enhancing personal photos, creating social media graphics, or engaging in basic design work, Photo Impressions 6 empowers users to unleash their creativity and achieve visually compelling results. While it may not be as comprehensive as professional-grade software, its accessibility, user-friendliness, and impressive range of features make it a valuable asset for anyone seeking to elevate their image editing skills.


![Best 15 Free Photo Editing Software for Windows 10 - [2021 UPDATED]](https://media.photolemur.com/uploads/blog/15595540115cf4e7db905120.57089797.jpg)
Closure
Thus, we hope this article has provided valuable insights into Photo Impressions 6: A Comprehensive Guide to Windows 10’s Image Editing Powerhouse. We thank you for taking the time to read this article. See you in our next article!
![[Detailed Guide] How to Install Windows 11 on Your PC or Laptop](https://geekermag.com/wp-content/uploads/2021/06/Windows-11-notification-area.png)


![[Tutorial] How to Delete Files on Windows 11 Easily](https://www.diskpart.com/screenshot/en/others/windows-7/delete-command.png)


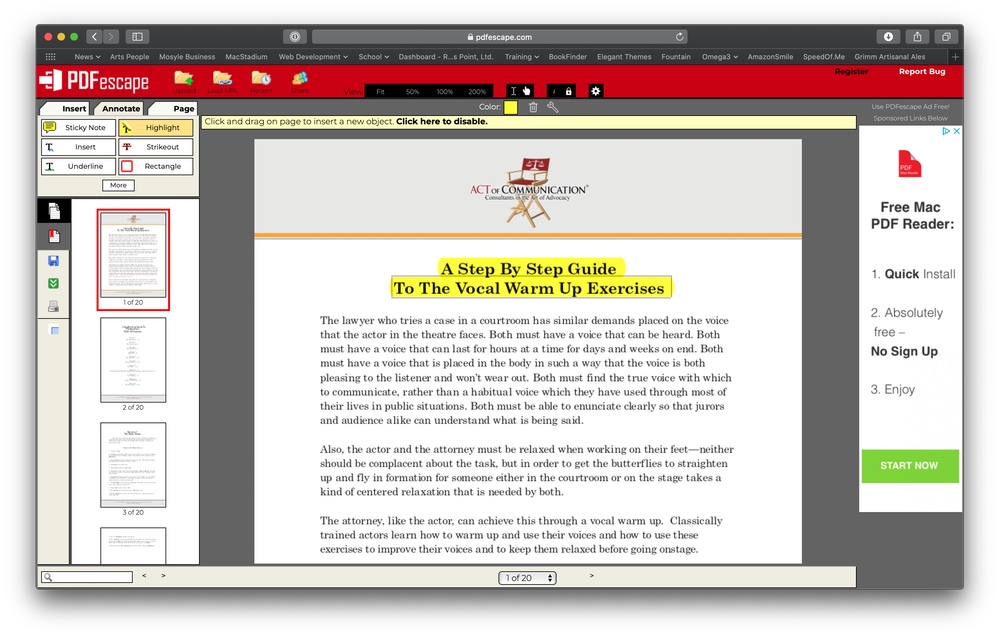
![The Best Free PDF Editors for Windows 10 [2020]](https://i1.wp.com/www.techjunkie.com/wp-content/uploads/2019/04/pdfescape.png?resize=1281,580u0026ssl=1)

![TOP 10 Best PDF Editor Free Download for Windows 10 [Updated] - EaseUS](https://toolbox.easeus.com/images/toolbox/pdf-editor/resource/icecream-free-pdf-editor-for-windows.png)


![How to Customize the Windows 11 Start Menu in 2021 [Guide] Beebom](https://beebom.com/wp-content/uploads/2021/07/x-2.jpg?w=750u0026quality=75)